Has anyone tried crack filling with a syringe and needle?
Has anyone tried crack filling with a syringe and needle?
-
Patricks Dad

- Posts: 1476
- Joined: Wed Oct 13, 2004 1:11 pm
- Location: Warrenville, Illinois

Filling fine cracks
If you're planning on doing an epoxy pre-coat, perhaps you could fill the cracks then using a squeege forcing the epoxy through.
Ed..
Ed..
Ed Alger
How do you plan on thickening the epoxy? Depending on your crack size, you may want to heat the epoxy (yes, the opposite effect of thickening - for the short term) so that it flows into the crack, but as it cools, it will thicken up quicker to help control run off.
Make sure to tape the wood along the the sides of the cracks. It is easier to clean up after. Also, be sure to tape the side opposite of your work access to control run off.
When you fill the crack, be sure that your application allows for a flow along the crack with a place for air to escape. If you have unrestricted access along the crack with the needle, then this is not an issue, simply move your neddle along the crack. If you don't have access along the full length, you may have to incrementally inject until it won't flow any further and then reinsert the needle at another location (allow for air escape).
Best of luck.
Snowman
Snowman back East

I use syringes and needles to inject epoxy into pockets formed by air bubbles etc often (after the epoxy/cloth has been applied). I usually run into two difficulties. First, I have a hard time finding needles that are big enough, as most drug stores only carry the smaller insulin needles (I suspect veterinarians may have larger ones). Second, it usually requires repeated application, because the first shot of epoxy (unthickened) that goes in tends to soak into the wood.
For long cracks in wood before the epoxy has been applied, I'd sooner fill the cracks with thickened epoxy. IMHO I think it'd be much quicker.
Cheers,
Adam
For long cracks in wood before the epoxy has been applied, I'd sooner fill the cracks with thickened epoxy. IMHO I think it'd be much quicker.
Cheers,
Adam
Who travels not by water knows not the fear of God --- 17th Century Sailor
RTC, a lot of people use syringes with thickened epoxy. I have too, but I don't think I would use a syringe for a bead smaller then 1/16" wide. If I were you I would mask around the cracks with tape and just try to squish thickened epoxy with a putty knife. All you have to worry about is if the epoxy is thin enough. Make a small batch of thickened epoxy and give it a shot. If it doesn't go in, scrape it up, thin it with some more epoxy and do it again. If a putty knife can't push it in, I don't think a syringe will. A syringe is useful if you don't want to mask off the adjoining areas. In your case, use masking tape and brute force.
A couple of more thoughts. In s&g building it is not uncommon to use a syringe to inject unthickened epoxy into seams to glue the panels together.
s.
A couple of more thoughts. In s&g building it is not uncommon to use a syringe to inject unthickened epoxy into seams to glue the panels together.
s.
You should not need a syringe. If you put a strip of masking tape on each side, exposing only the crack, and then mix up small amount of epoxy and sawdust, you can put a blob on the tape, and work it down into the crack. Don't worry if it doesn't fill the bottom of the crack, or if it hangs out the bottom, as these can both be addressed later when you deal with the inside. The sawdust should keep it from dripping out, and help to match the color. Leave it bulging above the surface. Remove the tape before it's hard, and scrape off the bulge after it's set, but within a day or so before it's fully hardened.
Alan
Thanks fellows
I am sorry for not getting back sooner, but time has not been available. I am planning to glass my canoe this weekend. I have decided to inject the epoxy into the cracks immediately before beginning the layup of glass. My thought pattern is there will be no concern about clean up and no concern about tapping for the surrounding area. I plan to use non-thickened warmed epoxy. It should flow very well and bond with the layup. I will let you know how it works out. I have some pics loaded on a site. I just have to figure out how to link them up to the site. It is very spring like here in KY, warm and rainy. I should have it ready to put in the water as soon as the weather settles down a little. Good times to all. Randal
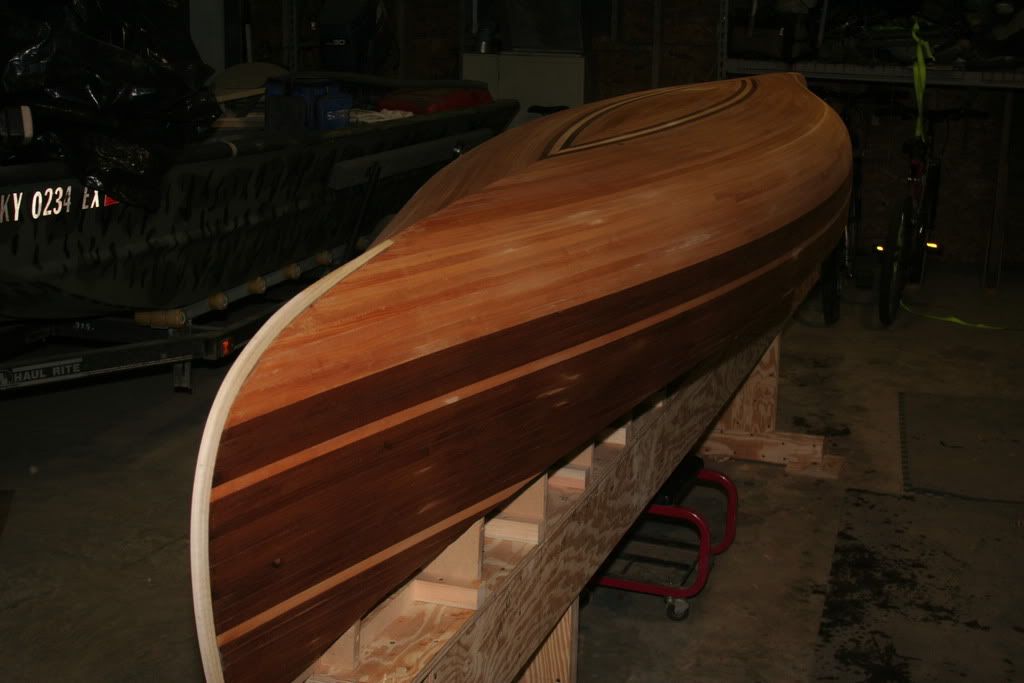
Hello all, I have finished the layup of the glass. The cracks fill it just fine. The syringe worked very well. However the overall approach did not result in the best job. I had place the cloth on the hull the night before. I looked good. When I raised the cloth to expose the crack I caused some slight wrinkles in the cloth. I could not believe that these were visible it the finished job but they are. Therefore I would recommend filling the cracks with the syringe and letting it dry. Then finish as necessary. I would NOT disturb the cloth after it has hung on the hull!
They epoxy was a new experience for me. The only thing that I can compare it to is a two-year-old child. It ran me to death. It would not stay where it was supposed to be. The first coat was not a problem. The rest of the coats were a battle no matter how thin I applied the coat. It would run if I turned my back for a minute. After the scraping and sanding it does look good.
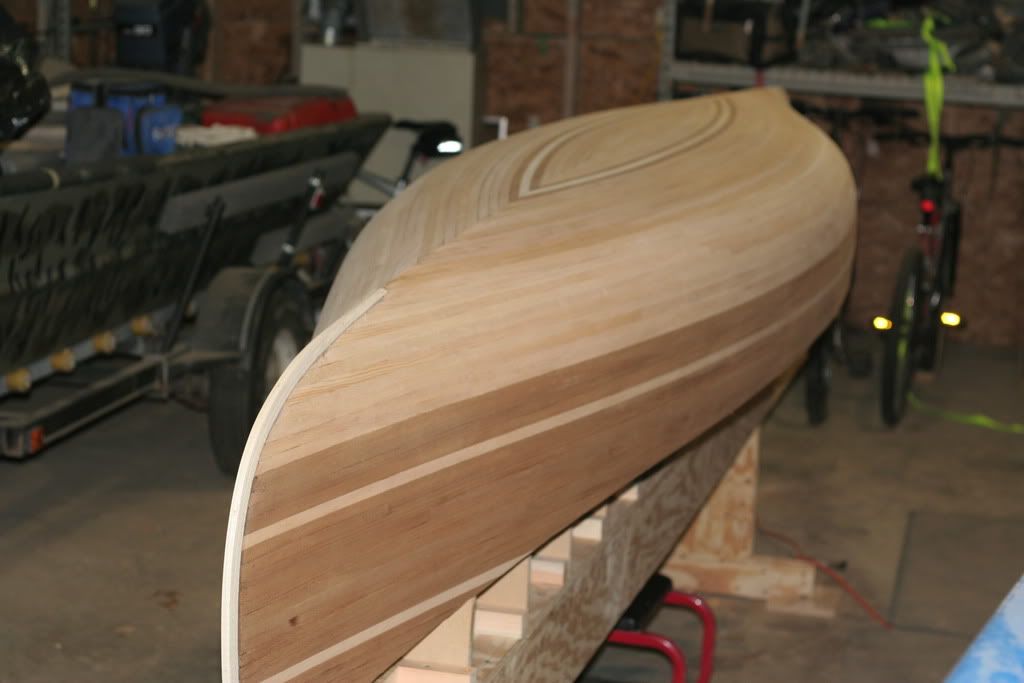
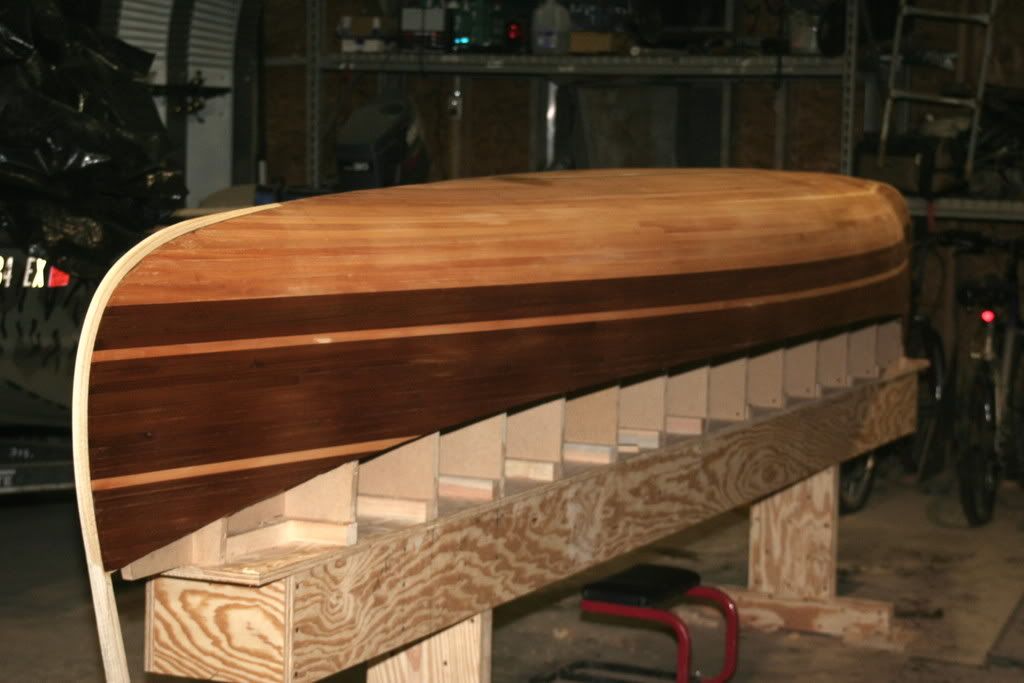
I have removed the canoe from the molds and began the scraping. I will not be able to glass the inside this week. The weather is turning stormy. It is suppose to rain the rest of the week.
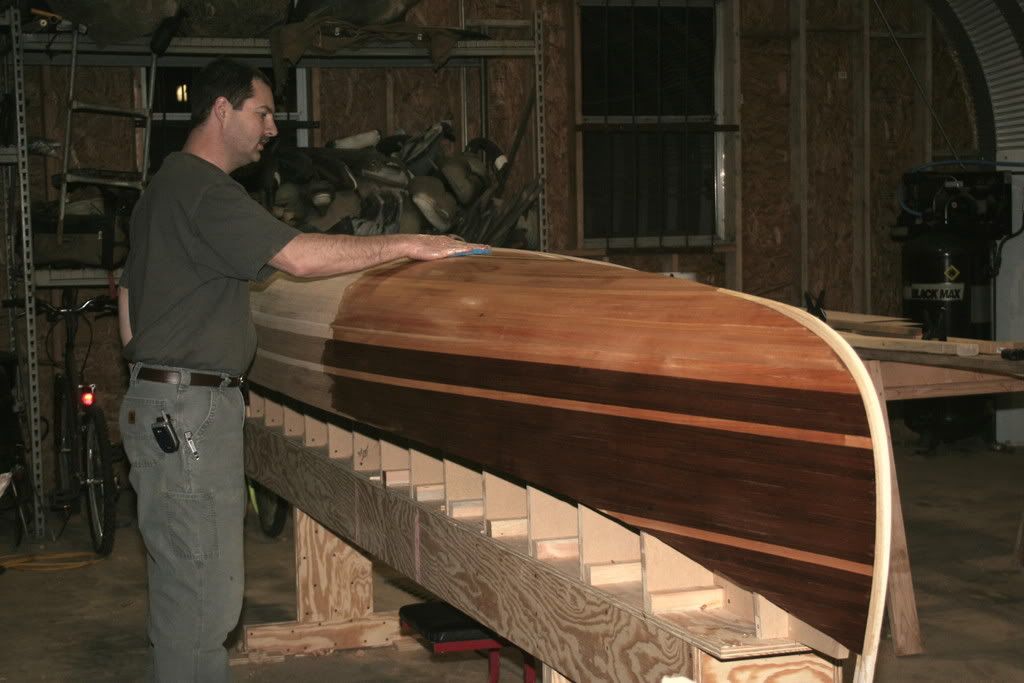
They epoxy was a new experience for me. The only thing that I can compare it to is a two-year-old child. It ran me to death. It would not stay where it was supposed to be. The first coat was not a problem. The rest of the coats were a battle no matter how thin I applied the coat. It would run if I turned my back for a minute. After the scraping and sanding it does look good.
I have removed the canoe from the molds and began the scraping. I will not be able to glass the inside this week. The weather is turning stormy. It is suppose to rain the rest of the week.
-
Glen Smith

- Posts: 3719
- Joined: Sat May 08, 2004 9:08 am
- Location: Baie-St-Paul, Quebec, Canada
