Welcome to the new Bear Mountain Builders Forum - an interactive internet service we provide to encourage communication between canoe and kayak builders
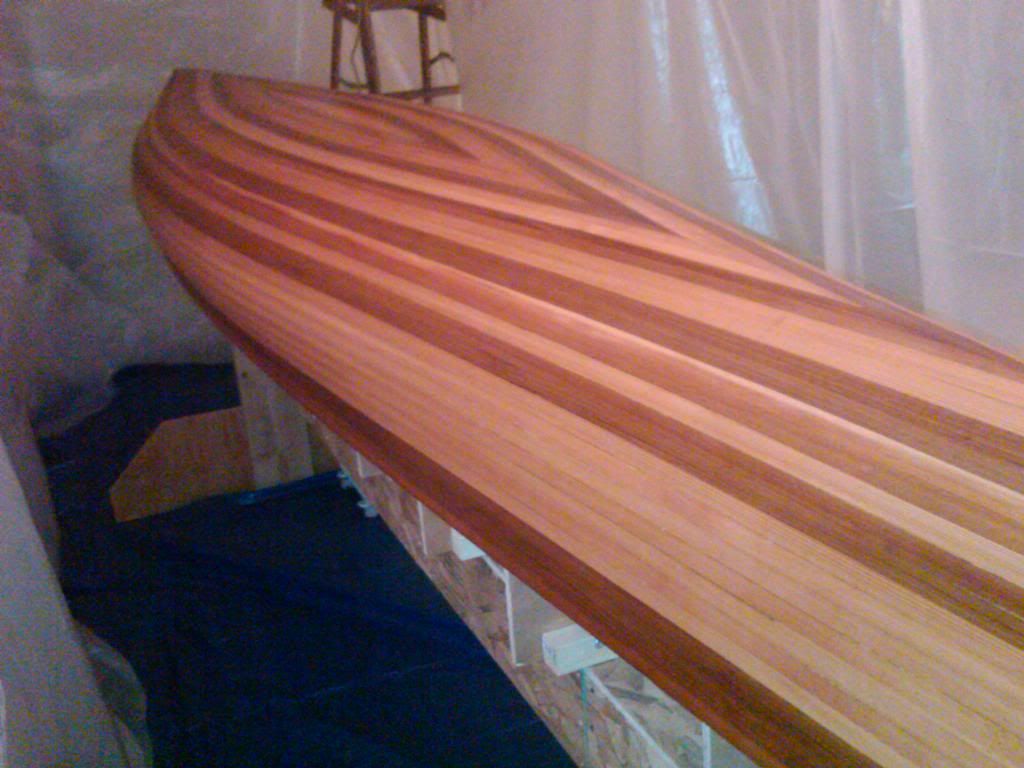
First strip canoe for me. I've been searching and reading the old posts here but have a problem. I pulled staples last night and spent the day planing and then sanding.
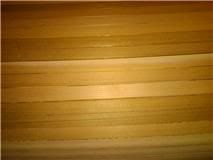
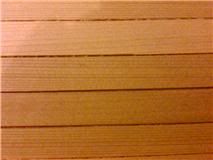
I believe I cut the coves too shallow and did not get good mating between strips. Probably not enough glue also. Anyhow I have gaps, particularly in the bilge curve, that range from hairline to maybe a 1/8" I was hoping the strips were better mated but then put a bright light under the hull and am feeing pretty sick. A lot of light is coming through.
Is it better to fill the cracks with peanut butter epoxy first, then do a epoxy precoat after sanding again or do the precoat first to see what fills in before crack filling? In either case, would it makes sense to cover any visible light openings from the inside with masking tape to hold the epoxy precoat? I'm hoping this can still be salvaged and not be a pile of firewood.
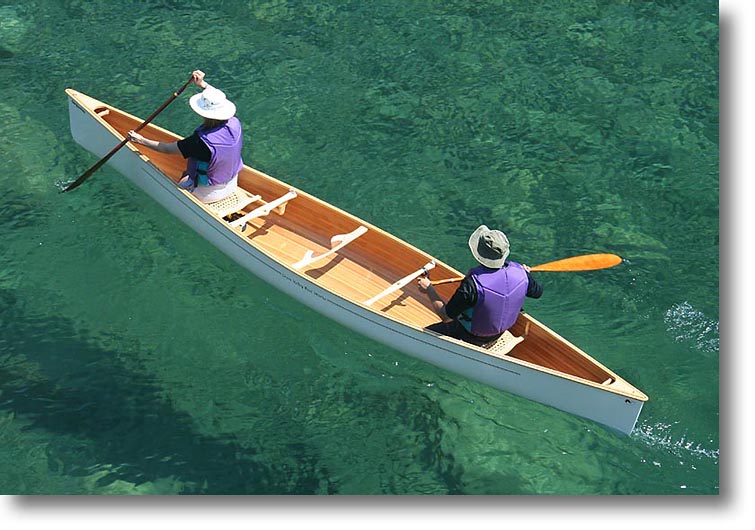
Also see the photos of the Kite posted here earlier.
I'd fill the gaps with a darker-toned thickened epoxy (darker fillers are less visible) and then glass and varnish. If the looks then aren't up to snuff, the outside could be painted to complement the interior wood tones.
Maybe spend some time paddling around before painting - those imperfections have a way of disappearing with time.
On my last canoe, I made a fairly stiff filler out of epoxy thickened with maple wood "flour" and spread it over the hull fairly thickly, then I went back and scraped the excess off as smoothly as i could. It just needed a light sanding afterwards, and I had it sealed and filled in one operation.
The maple makes a chocolate colour filler. you can experiment with different thickeners to get a colour you like.
Thanks for the input. After reading the replies, I went ahead and filled cracks with a plastic syringe of microballoon and cedar dust thickened epoxy. Used a putty knife to cleanup excess. We'll see what it looks like tomorrow and then sand. I still need to make up thin external stems before precoating.
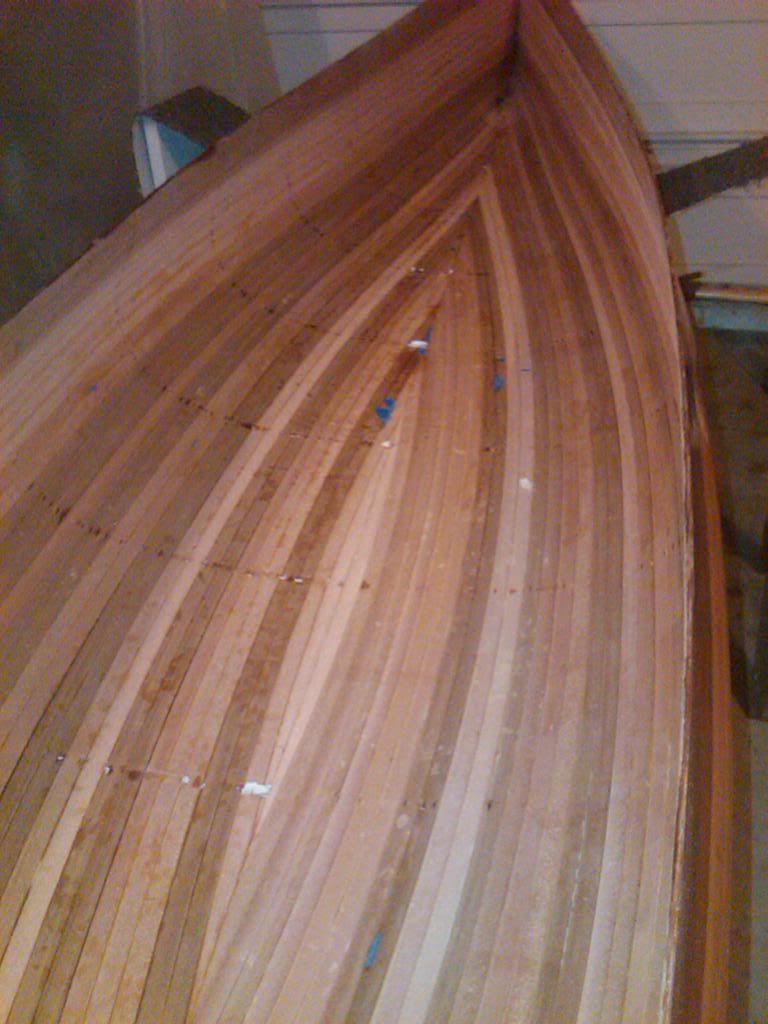
The inside does look better due to the concave curves. Some places will be a problem but not near as many as the outside. I'm hoping the outside look will be OK without painting.
Last edited by woodguy00 on Tue Jan 18, 2011 10:12 pm, edited 1 time in total.
I've built three canoes and no matter how hard I tried, I still had gaps that would
show up from the "light" test.
Building my second canoe I used all Eastern Red Cedar , which is harder to bend and form. I had so many gaps and inperfections that I thought about getting the sledge hammer out and starting over.
But I'm glad I took my time and kept working with it. After filling-in and sanding I was pleased with the results.
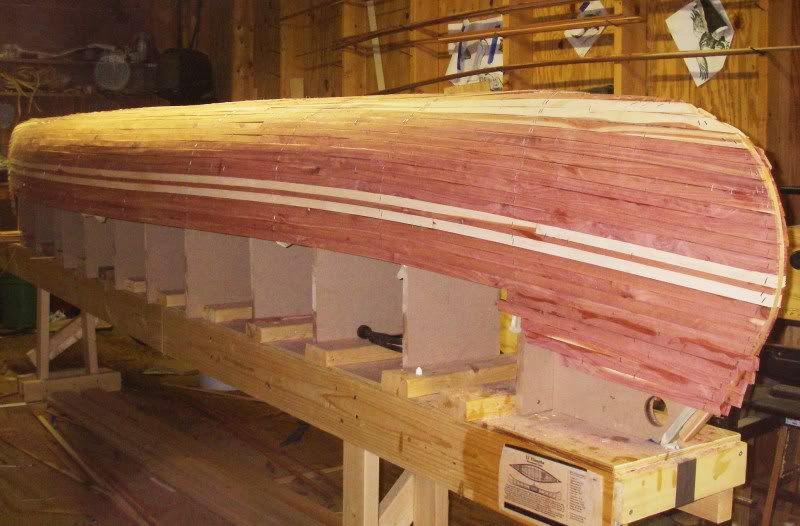
Just judging by your two photo's , looks like you are doing a pretty good job.
I think you will be pleasantly statisfied when finished.
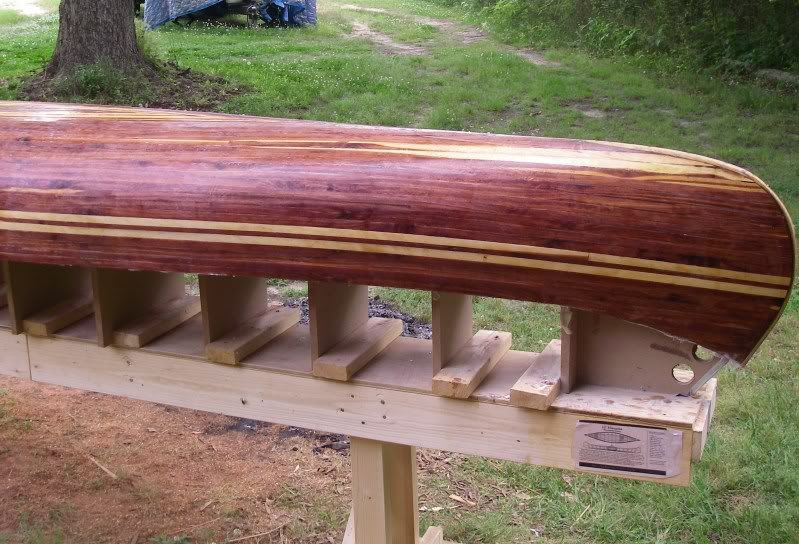
After crack filling and then sanding it looks 90% better. I'm going to do another round of crack filling on a few remaining spots.
On my next canoe I'm going to make sure that every strip has a good deep cove. Spending another hour getting them right would have saved me at least 6 hours so far.
I think that internet forums are sort of a 21st century version of a "moaning chair".
It's neat how things usually tend to work themselves out.
If it takes a few extra hours, it's not really a bad thing. Time in the shop is my relaxation time.
I would suggest masking tape alongside the crack to be filled to minimize epoxy soaking into the planking surrounding the crack. Makes it much easier to clean up afterward.
I used plastic autobody filler applicators to apply the filler and scrape away all the excess before it set up.
I used red cedar on that canoe, so the brown filler blended nicely and filled all the staple holes, gaps, open grain, and a few loose knorts. The idea was to cover the entire hull so it was all sealed and filled at the same time. It just needed a light touch with sandpaper before fiberglassing.
The method is in Gilpatrick's book in the update section (1991? edition). If i remember, he recommends using colloidal silica as a thickener, which would probably blend well with light wood.
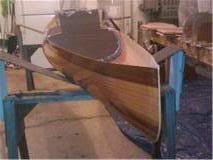
This photo was after the outside was fiberglassed.
Thanks everybody for your encouragement. I precoated last night with good results and today applied two layers of 4 oz glass in two layups - one layer for the entire outside and a second 30" layer on the bottom. It is looking really good. The RAKA epoxy is working great as I've made a plastic tent in the garage that is maintaining 75-80 degrees with a small electric heater.
 [/
[/