
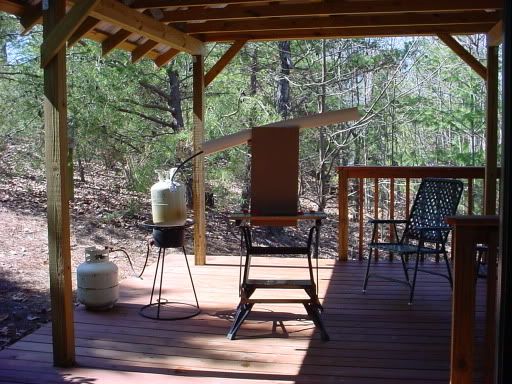
A steamer can be made using an old deep fryer (or a new one!). I made a cover cut from a piece of nylon cutting board. The nozzel is a couple of pieces of 1" PVC with elbow and threaded coupler. I cut the threads in the nylon cover with an iron 1" nipple. See the pictures.
The main steam pipe is a 5 foot piece of 4" vent pipe which houses a piece of 2" PVC both of which are set on a cradle made from scrap MDF. A 3" PVC pipe could be used but takes more steam. The outer metal pipe acts as a support for the PVC which will get really limp when steam is applied. The PVC is used to reduce the amount of steam needed and to protect precious wood parts.
The PVC fittings attached to the fryer cover will also get loose with heat but it's not a problem.
Fill the fryer with water only about 1/2 full and set the thermostat for 250 degrees F. Insert the parts to steam and plug the gaps with a couple of rags. A can under the tail pipe is handy to collect water drippings.
After thought: The steamer vent fittings could be replaced with a short flexable pipe like found on water heater supply lines.
NOTE: Use caution with this apparatus as steam can give nasty burns. Wear gloves and safey glasses!
Ed...
http://s12.photobucket.com/albums/a237/ ... edia=image
Wood Steamer

Nice idea Ed. Thanks for the pics.
Her's a link to one I built using 4" PVC pipe and fittings, a hot plate, and my wife's tea pot (don't tell her, she hasn't noticed yet! )
)
http://pg.photos.yahoo.com/ph/mike_vett ... pg&.src=ph
I inserted bolts across the bottom to keep the wood up off of any condensed water and to allow the steam to flow around the whole pieceof wood. One thing nice about this is that I can pitch the steamer higher at the end opposite of the tea pot. This way condensed water flows back to the pot and back in to be re-used.
Mike in Phila.
Her's a link to one I built using 4" PVC pipe and fittings, a hot plate, and my wife's tea pot (don't tell her, she hasn't noticed yet!
http://pg.photos.yahoo.com/ph/mike_vett ... pg&.src=ph
I inserted bolts across the bottom to keep the wood up off of any condensed water and to allow the steam to flow around the whole pieceof wood. One thing nice about this is that I can pitch the steamer higher at the end opposite of the tea pot. This way condensed water flows back to the pot and back in to be re-used.
Mike in Phila.
-
Pete in the Deep South

- Posts: 46
- Joined: Wed Jun 22, 2005 5:07 am
- Location: Jasper, Ga.
- Contact:

-
Pete in the Deep South
- Posts: 46
- Joined: Wed Jun 22, 2005 5:07 am
- Location: Jasper, Ga.
- Contact:
My steamer is very simple. It consists of a STEAM vaporizer (not cool mist) with a plastic funnel inverted over the steam outlet and put into 4 feet of 2" PVC. Rags are used to plug the gaps in the system. Steam vaporizers can be bought very inexpensively, particuparly at the end of cold season on closeout. Prob have 10 bucks in mine and it works fine.
Dick Petersen
Dick Petersen

coffee can steamer
I used a regular tin coffee can for the water and inside the can i placed in the center a 4 inch x 5 foot piece of hard pipe duct. I cut 2 small v notches on the bottom of the pipe to allow water on the inside of pipe. I used 1/1/2 inch sheet metal screws and screwed the hard pipe in place.The bottom of the pipe rests on the can bottom and the screws are on the top perimeter of the can . Four screws one on each side.I filled with water, clamped my stems both Inside and outside stems seperately with spring clamps and placed them inside of duct. I inserted a metal rod through the holes on the top of the clamps and rested the clamps on the top of the hard pipe. I plugged the top with a rag then put the steamer on top of a backpacking stove. I steamed 2 inners and 2 outer stems ( total of 4 clamps ) for 1 hr. Very simple and cheap(everything i used was on hand).The total assembly of the steamer was ten minutes. 
-
nicktheww2fanatic
- Posts: 16
- Joined: Thu Jan 15, 2009 10:24 am
Re: Wood Steamer
i use an electric steamer to take down the wallpaper, works pritty good :)
- Attachments
-
"what's the point in talking about freedom, if you don't have the guts to build your own boat and sail the seven seas"