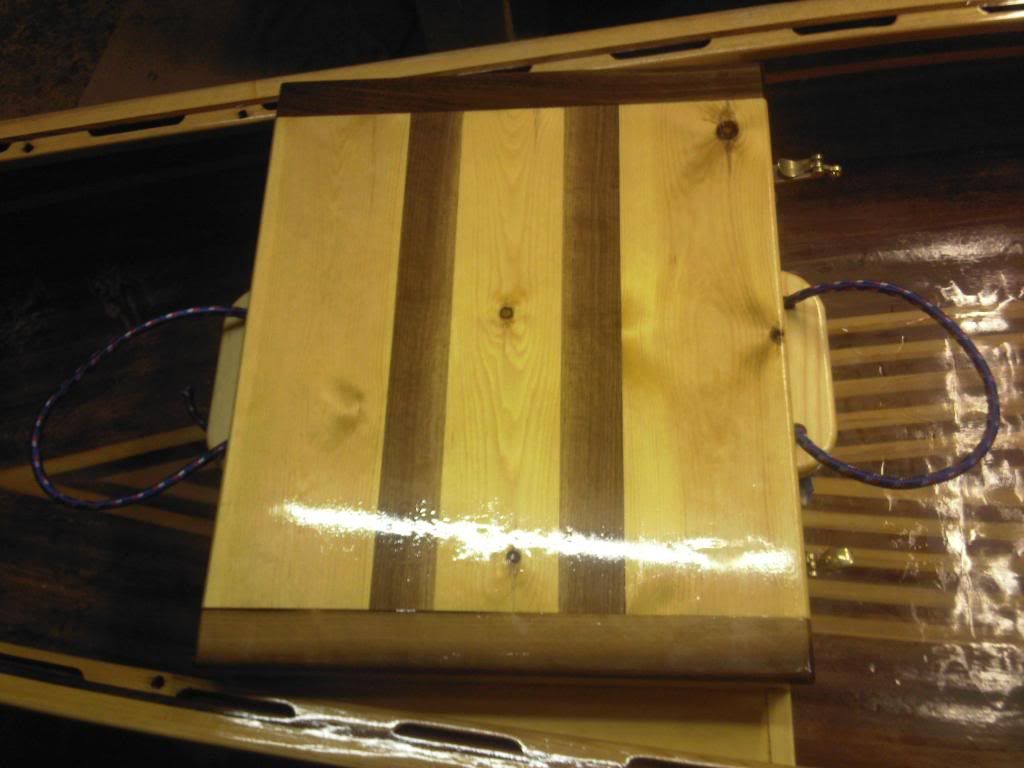
glassing my wood strip wannigan

Welcome to the new Bear Mountain Builders Forum - an interactive internet service we provide to encourage communication between canoe and kayak builders
alick burt
Posts: 255
Joined: Wed Sep 07, 2005 2:41 am
Location: united kingdom
Contact:

Re: glassing my wood strip wannigan

Post by alick burt »

Hi Glen
The reason I didn't answer the lifting it up question is that I am still thinking about it. :thinking
As it is it will fit snuggly but I run the risk of getting grit etc between the surfaces and scratching them.
If I put battens on it to lift it up then it will be resting on the hull in a way that puts pressure on just the battened areas and I'm not sure I would like that but the water would flow under it ok.
On the other hand I have glassed it so it should be all right sitting in the water so maybe some felt or other padding would be good on the bottom surface.
Perhaps I should put it to a vote ?or maybe I will try it sitting in the bottom to begin with and see how it goes.
What would you do?
Cheers :thinking
Alick
User avatar
Glen Smith
Posts: 3719
Joined: Sat May 08, 2004 9:08 am
Location: Baie-St-Paul, Quebec, Canada

Re: glassing my wood strip wannigan

Post by Glen Smith »

Hmmm, maybe just a piece of indoor/outdoor carpet that you put in the canoe when using the wannigan.
alick burt
Posts: 255
Joined: Wed Sep 07, 2005 2:41 am
Location: united kingdom
Contact:

Re: glassing my wood strip wannigan

Post by alick burt »

Hi Glen
That's a great idea then I will also have a bit of carpet to sit on whilst eating lunch! :applause

I got a bit more time on the wannigan today cleaning up the edges and fitting the lip of the lid.
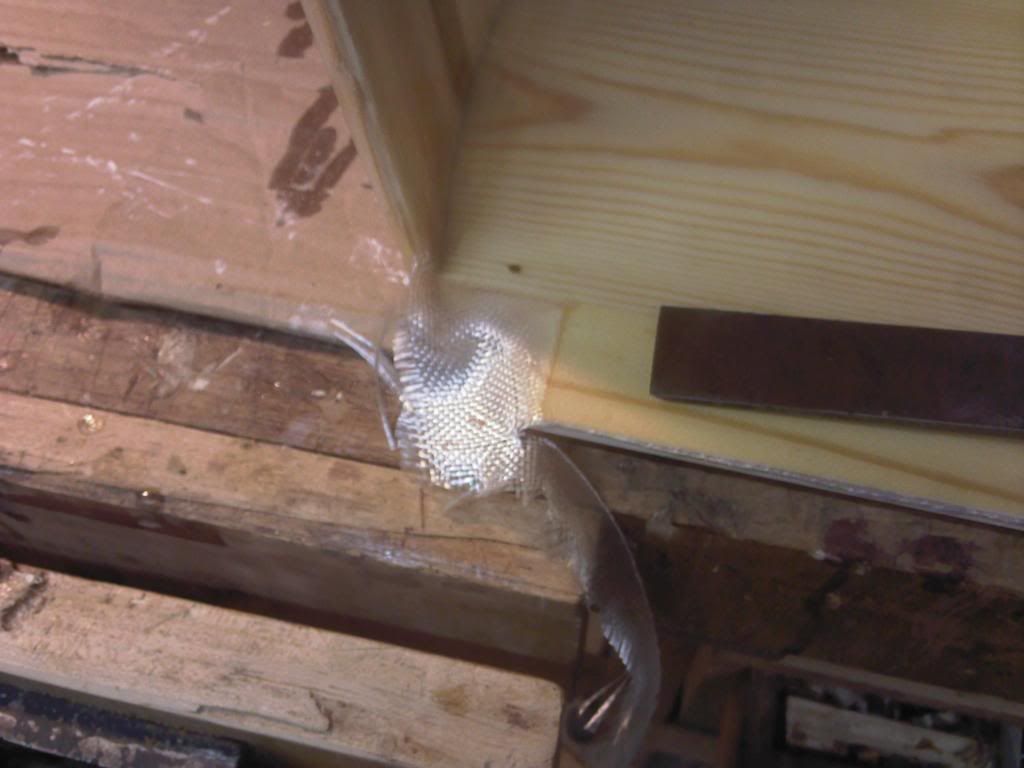
First I trimmed the glass around the corners and lip with a chisel and stanley knife (other makes of craft knife are available!)
Image


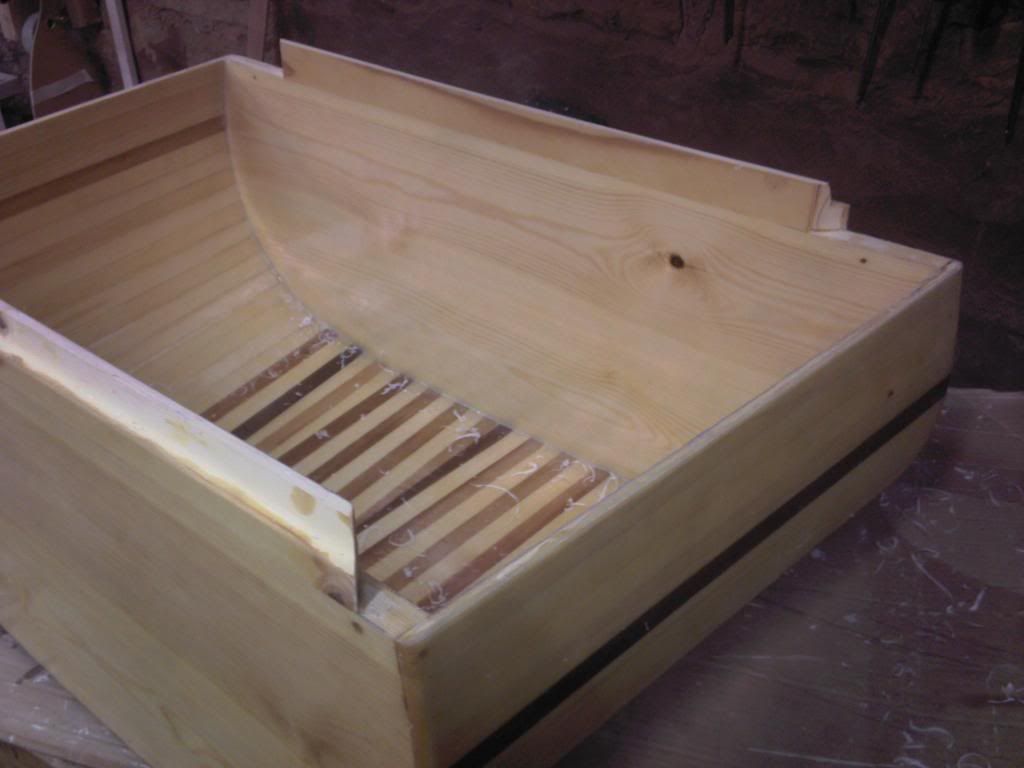
Here it is with the basic trimming done.
Image

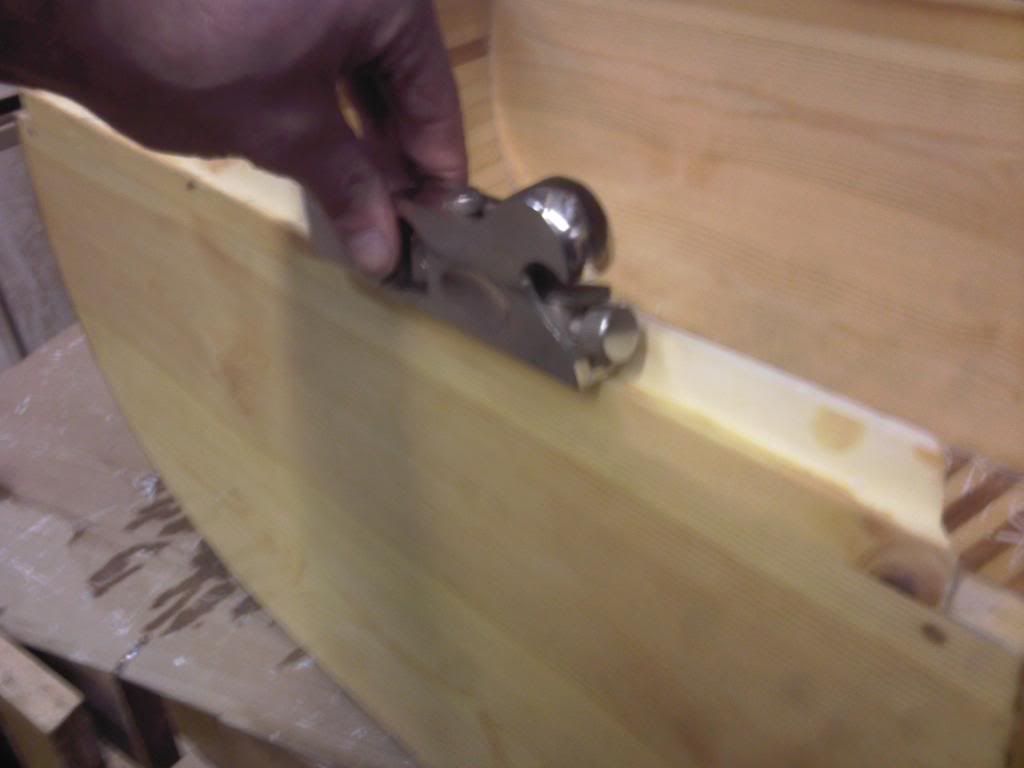
and I cleaned out the odd lumps of resin from the rebates with my shoulder plane.
Image

The side pieces I had fitted before glassing needed a little adjustment mostly trimming a mm off the length and a little off the corners to allow for the glass.
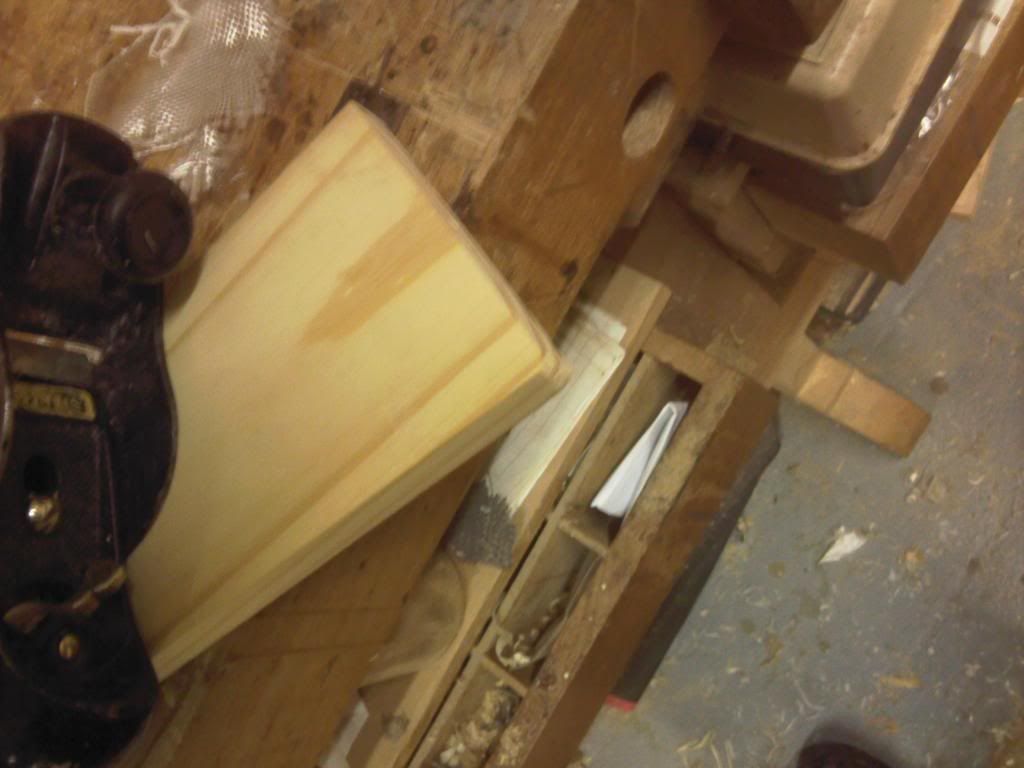
here I am trimming a little off the corners with the block plane.
Image

A quick phone call to the PU glue manufacturer revealed that a good bond will be achieved between the PU and epoxy resin so I can use this to glue them instead of using expensive epoxy(and waiting longer for it to dry.)
Next I glued them up.
Image

and they were swiftly followed by the lip pieces.

Image
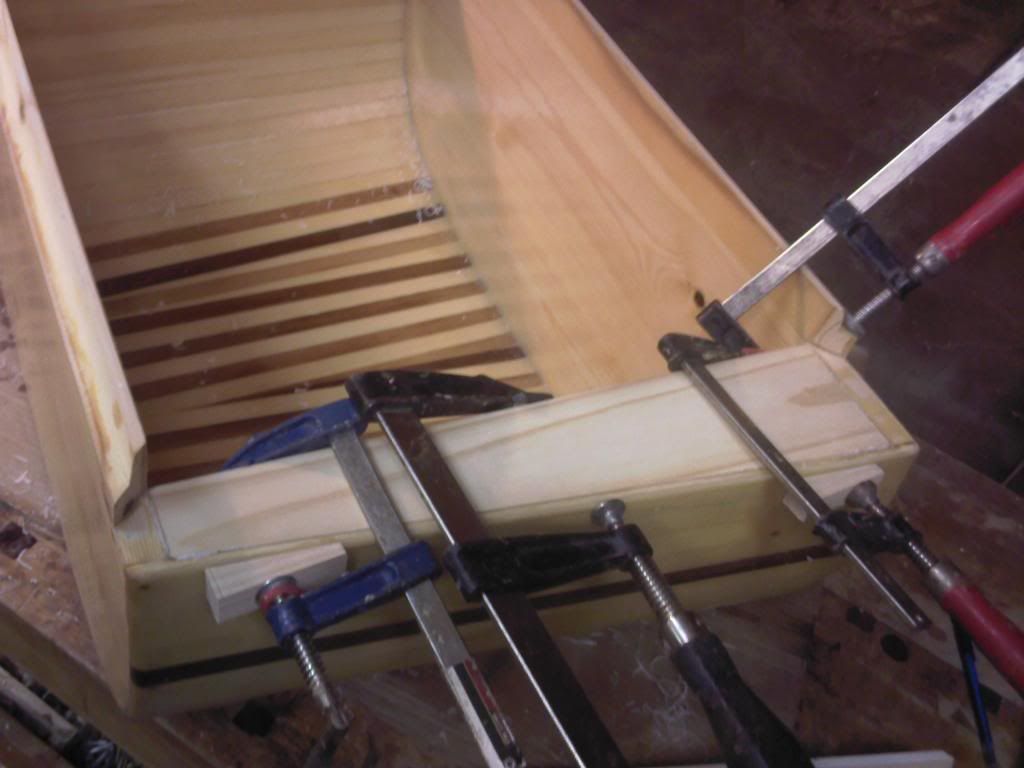
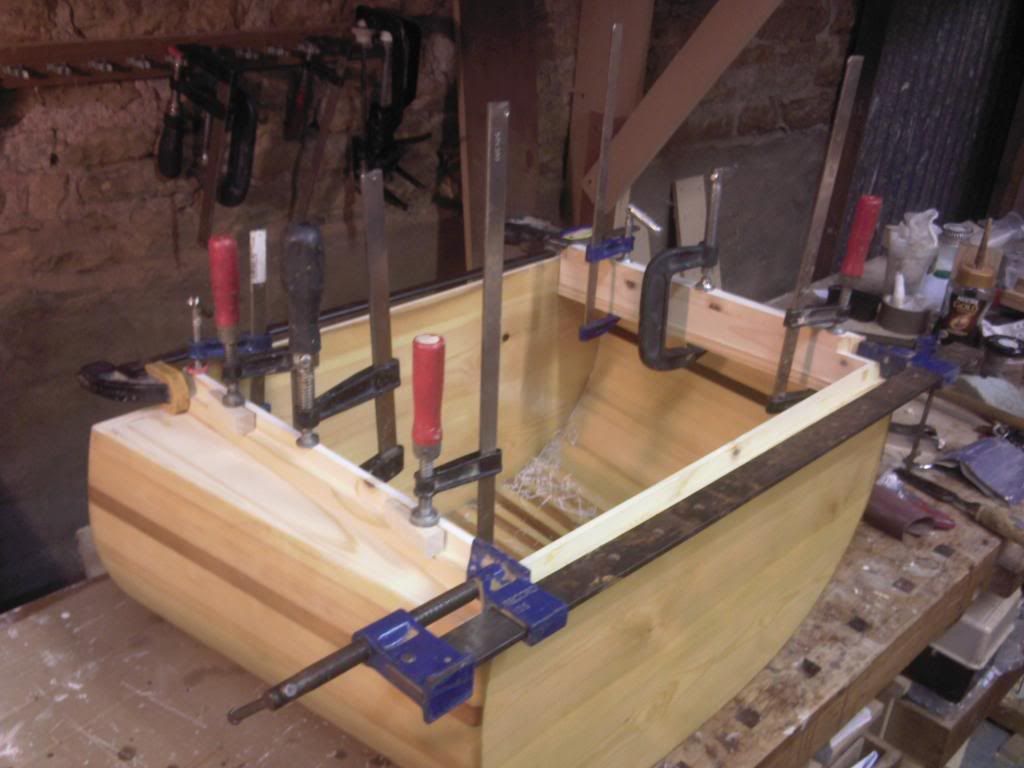
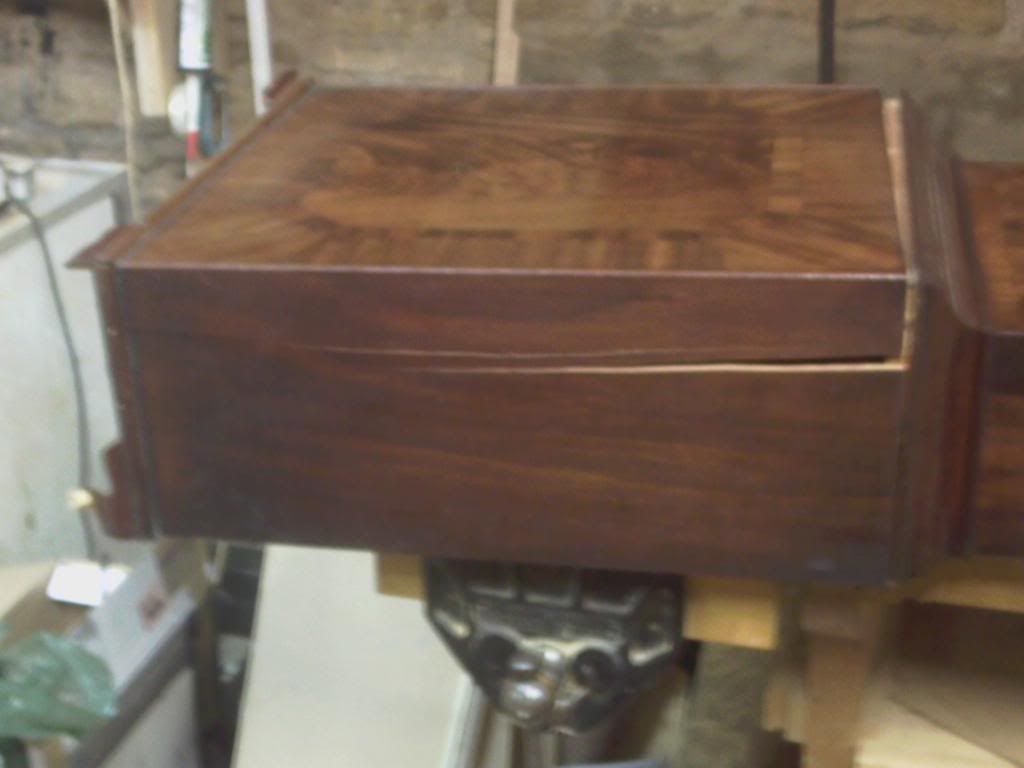
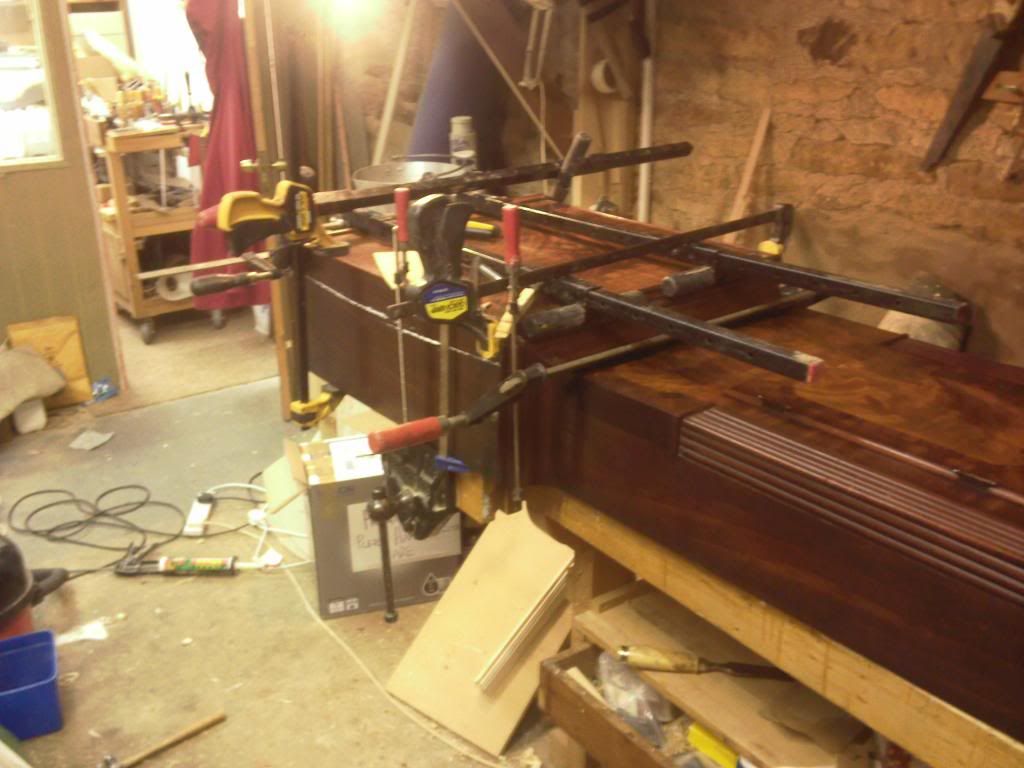
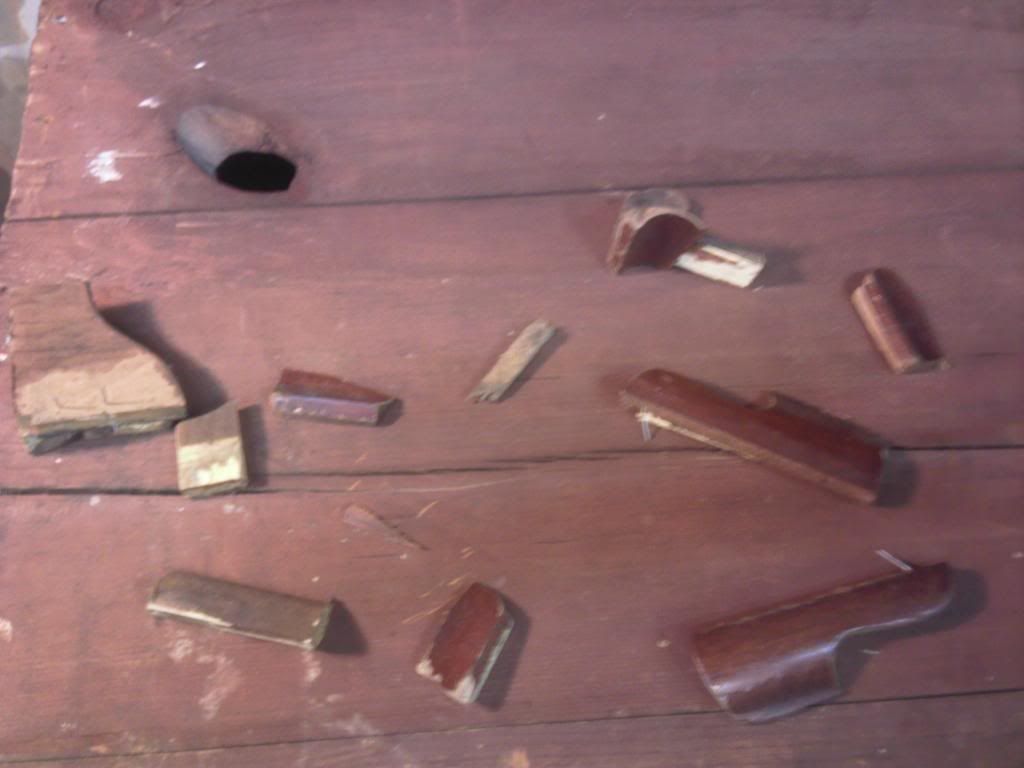
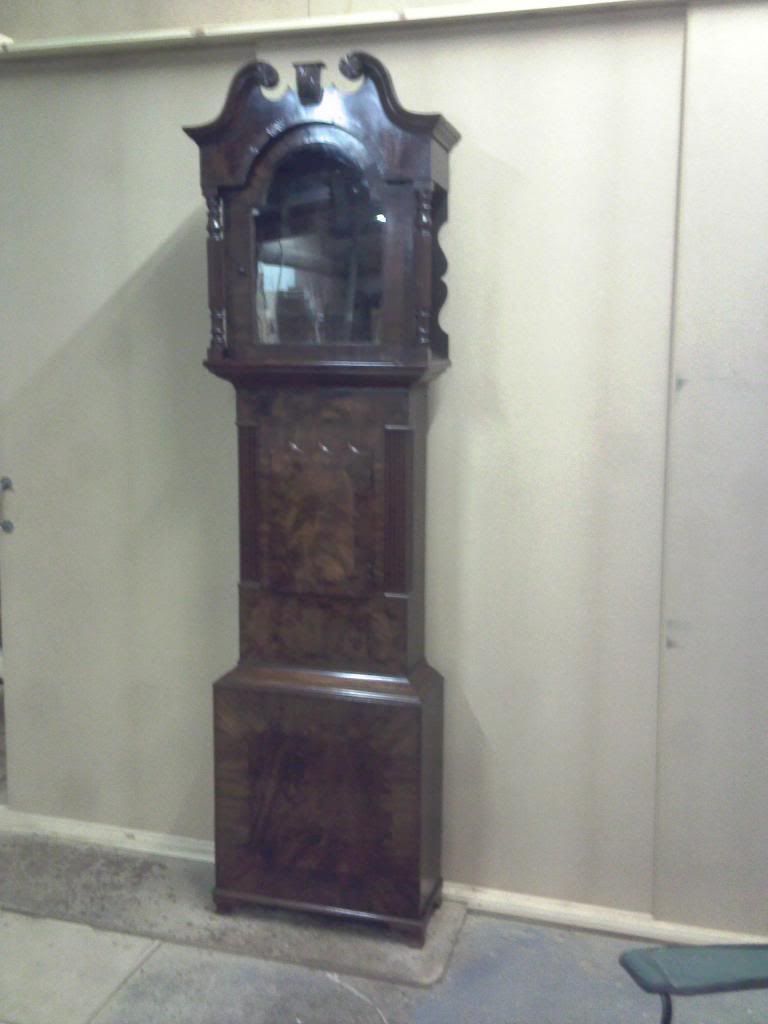
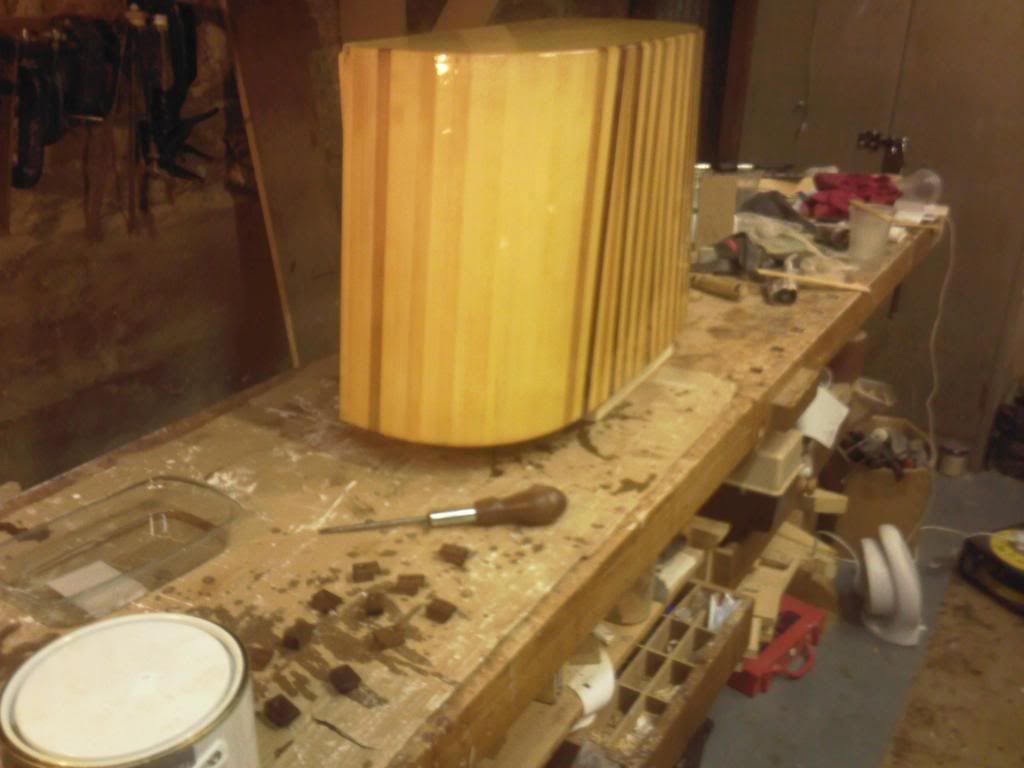
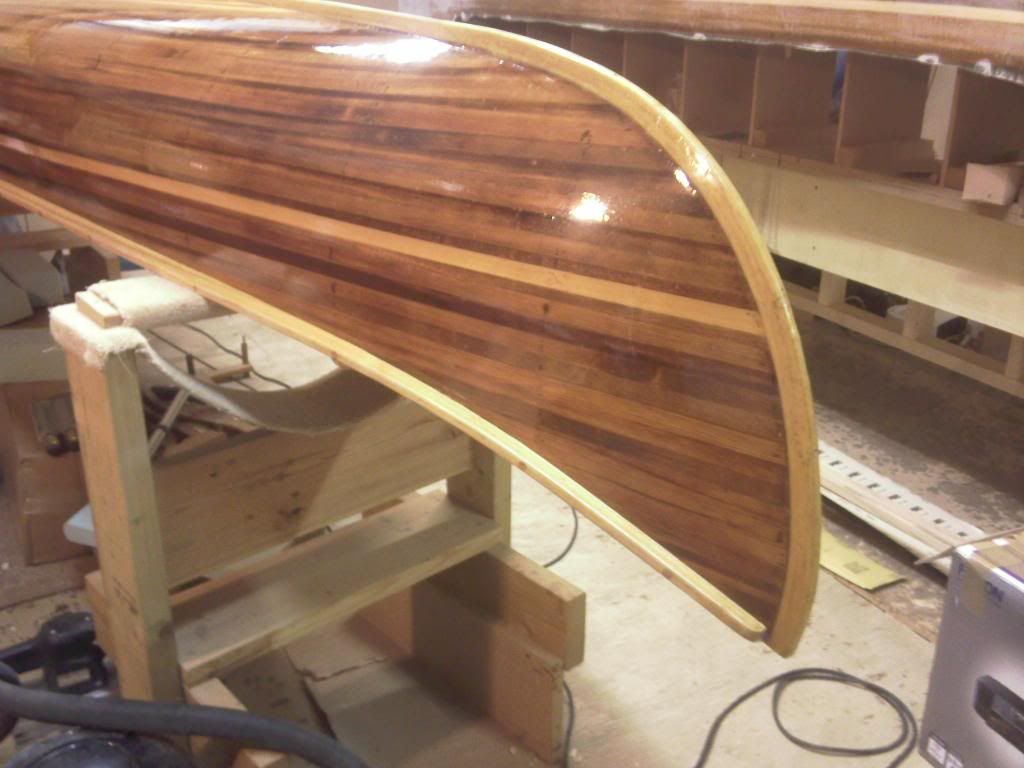
I left them to set and that was it for today but I did manage to also finish off the clock case I've been restoring after it had a nasty accident.
Image
Image
Image
Image

CheersSmile
Alick.
User avatar
Jim Dodd
Posts: 1359
Joined: Wed Feb 08, 2006 11:08 pm
Location: Iowa

Re: glassing my wood strip wannigan

Post by Jim Dodd »

I was curious what determined the length of your wannigan? I guess I'm wondering if you sized it to meet any special requirement ?
Oh and how long did you make it ?
Sorry for all the questions !

Jim
Keep your paddle wet and your seat dry!
alick burt
Posts: 255
Joined: Wed Sep 07, 2005 2:41 am
Location: united kingdom
Contact:

Re: glassing my wood strip wannigan

Post by alick burt »

Hi Jim
I based the size on a bit of guesswork and the length of the planking offcuts I had left over.I just though about how heavy it might become and decided the size I have is about right.I will think about what I am going to put in afterwards and as I tend to be a weekend or day paddler most of the time I don't think I need it to be too big.
Time taken so far has been about thirty hours and today I did a bit more on the lid and box edge.
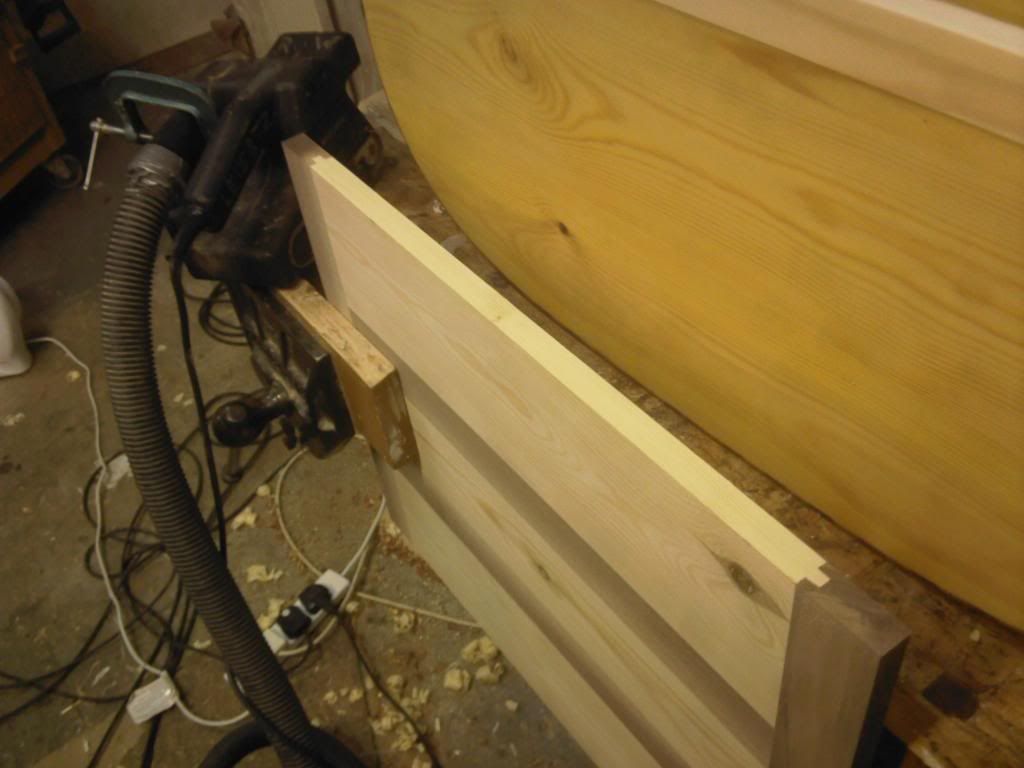
I began by cleaning up its edges with the belt sander.
Image

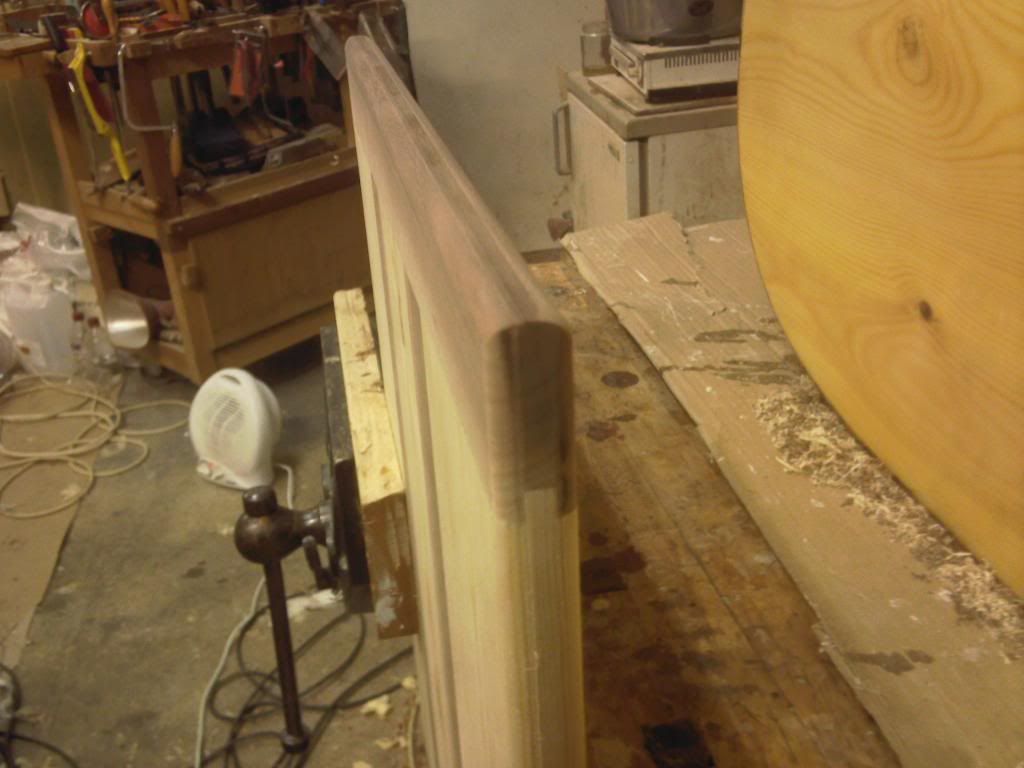
Then I rounded them off with a router.(not to be confused with a router some kind of internet computer box thingy.Us woodworkers had the word first so hands off!)
Image

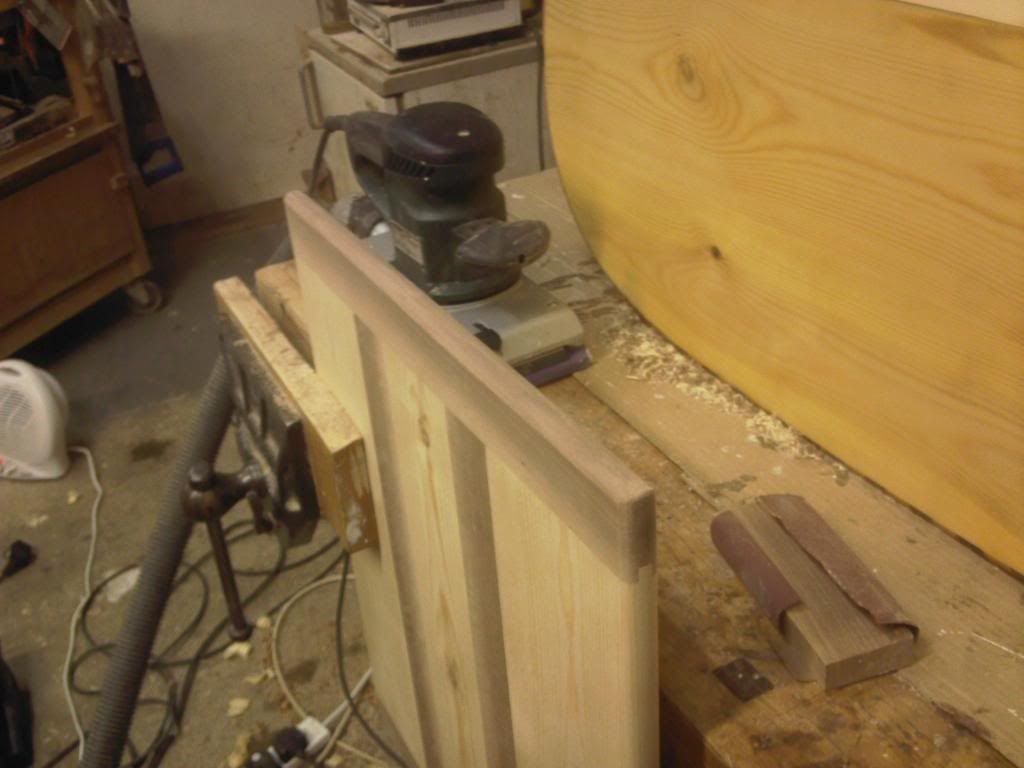
Then I gave them an orbital sand followed by a bit of hand sanding to take the point off each corner.
Image

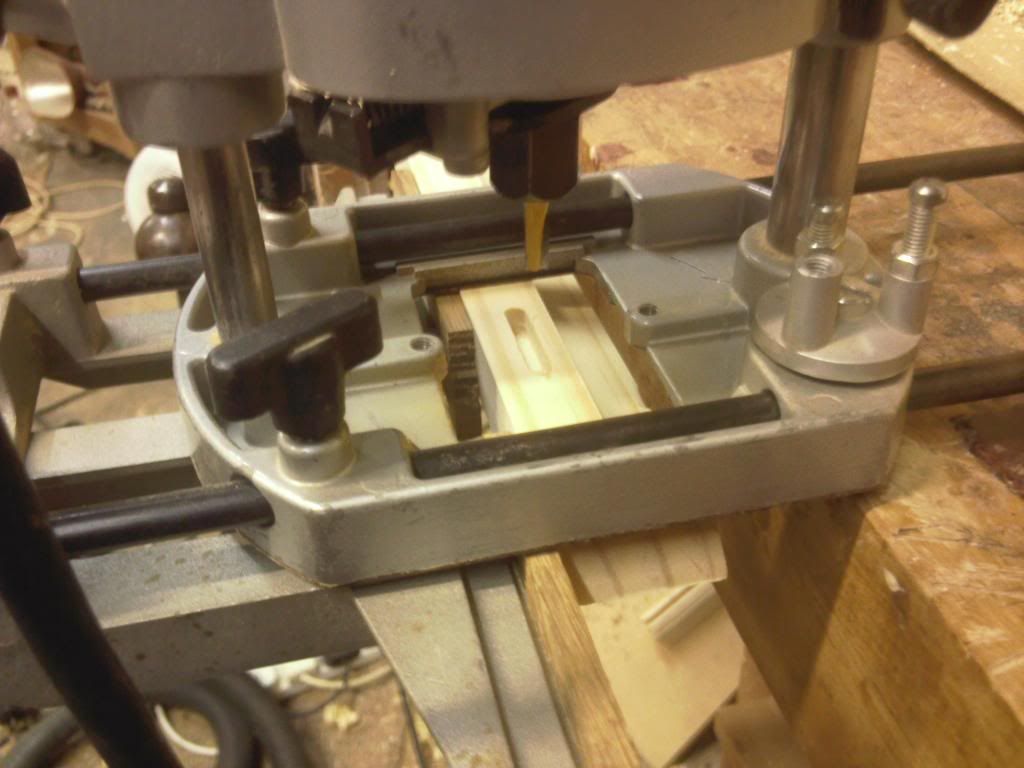
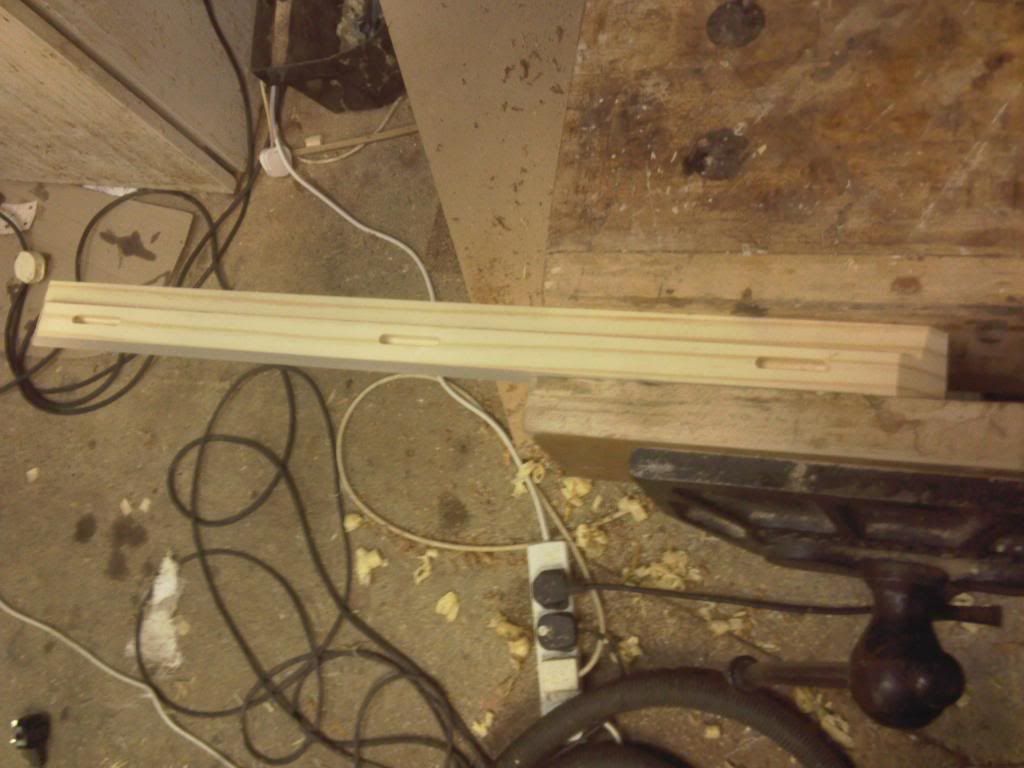
Then I routed some small slots in the lid lip pieces that will be used with buttons to fix the top.
Image

The spacing of them is not critical and they are about an inch long.
Image

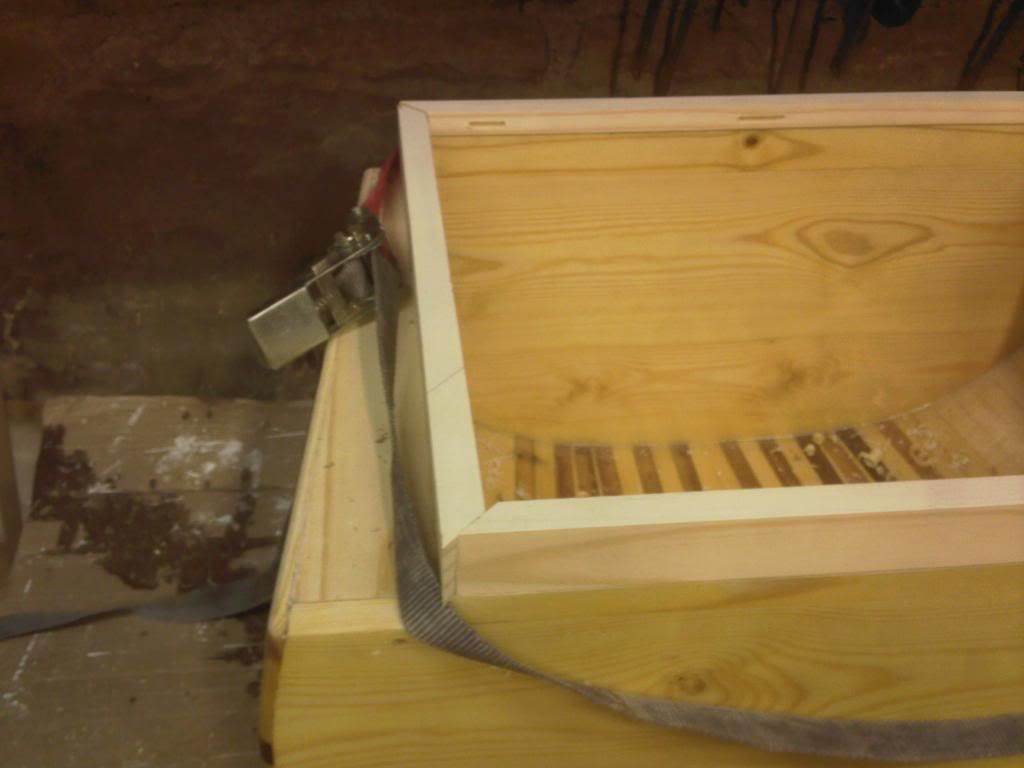
The inside surfaces of the lid edges were cleaned up and then I glued them up with PU glue.First I put them in place on the lip of the box with the strap around them ready but loose so I can get it on quickly once the glue is applied to the mitred ends of the lid pieces.
Image

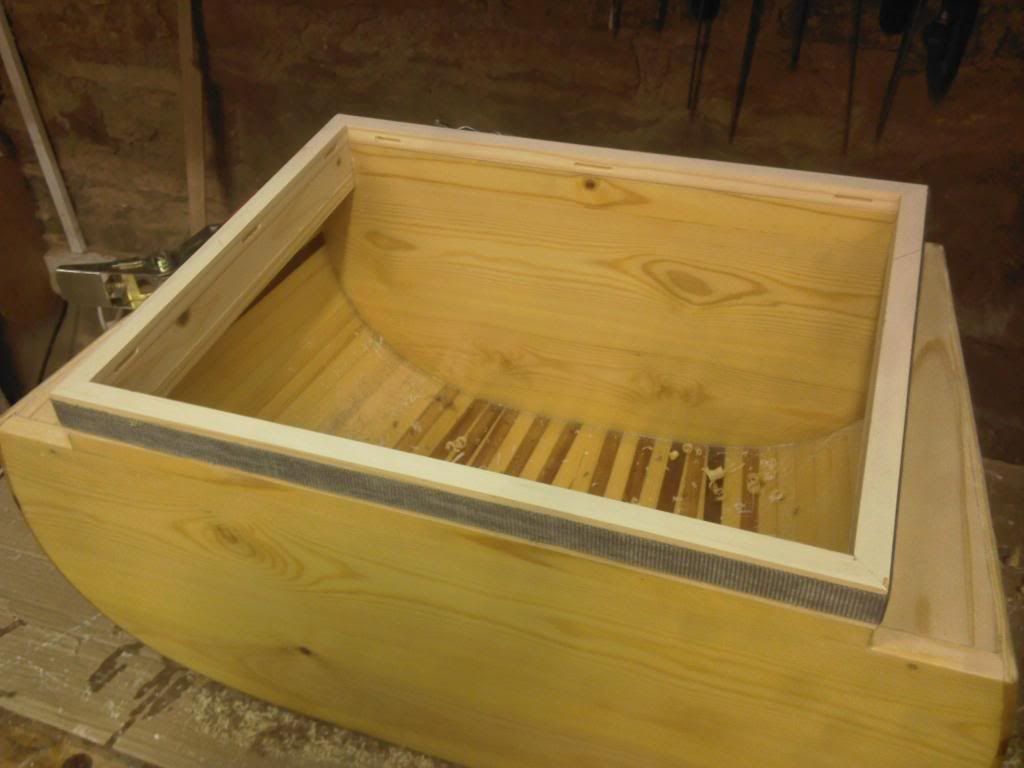
Then I applied the glue and strapped it up in place.
Image

So that the glue doesn't stick it to the box edge I carefully removed it with the strap in place and left it to set on a flat surface.
Whilst it set I cleaned up the inside of the box edges here I am using a spokeshave to make the inner edge flush before sanding.
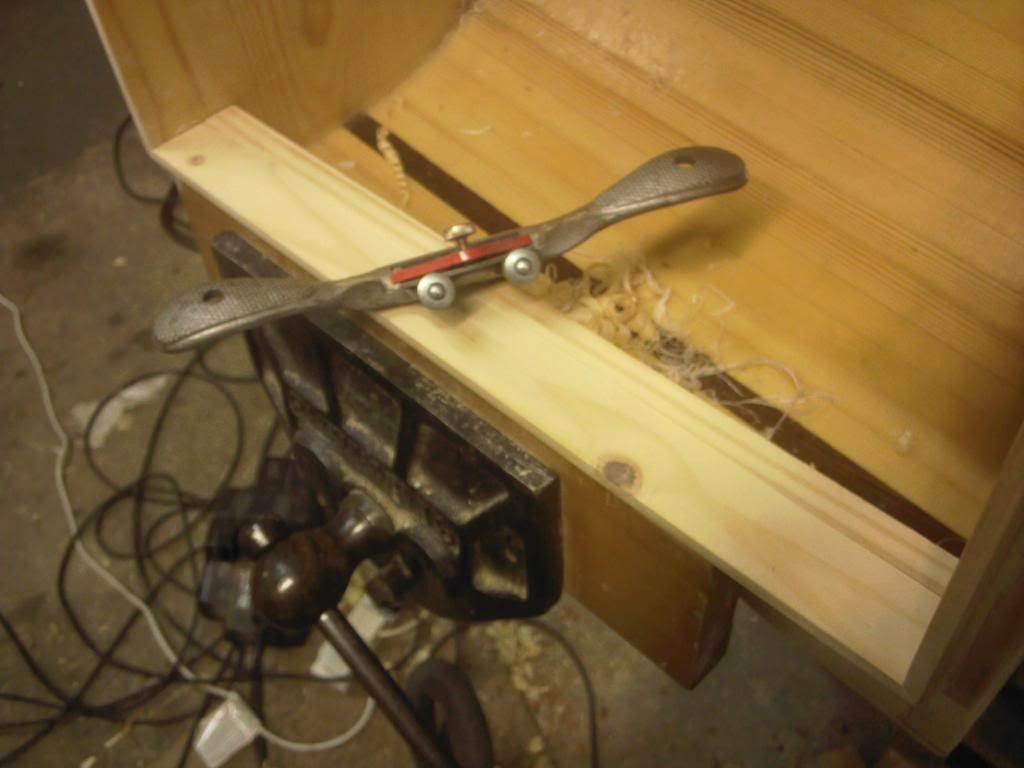
Image

The corners are taken down with a chisel.
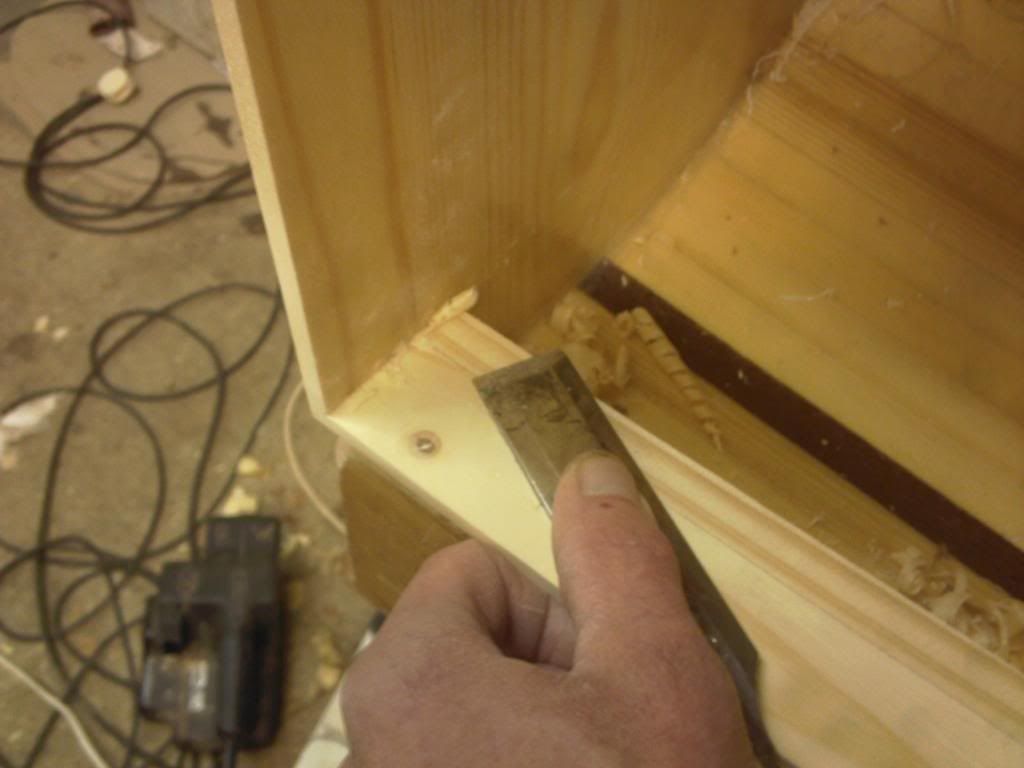
Image

By the time I had done that the lid rim was set and ready to clean up.
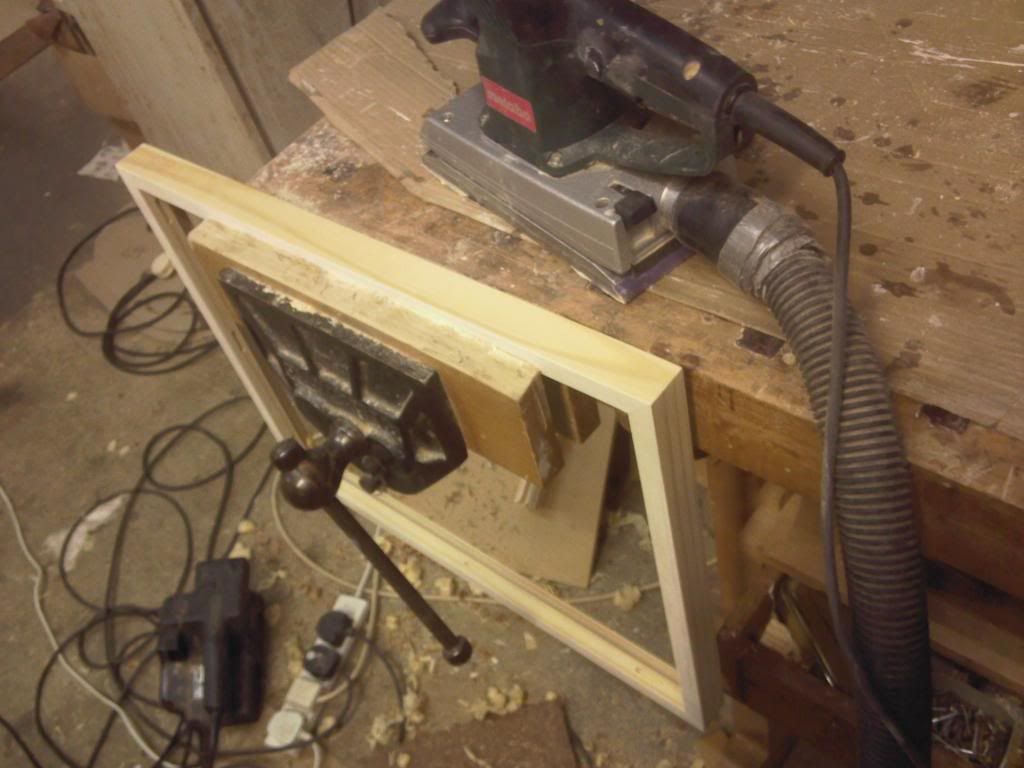
Image

and I made up some buttons with a scrap of walnut.Here I am cutting out slots that will form the tongue of each button.
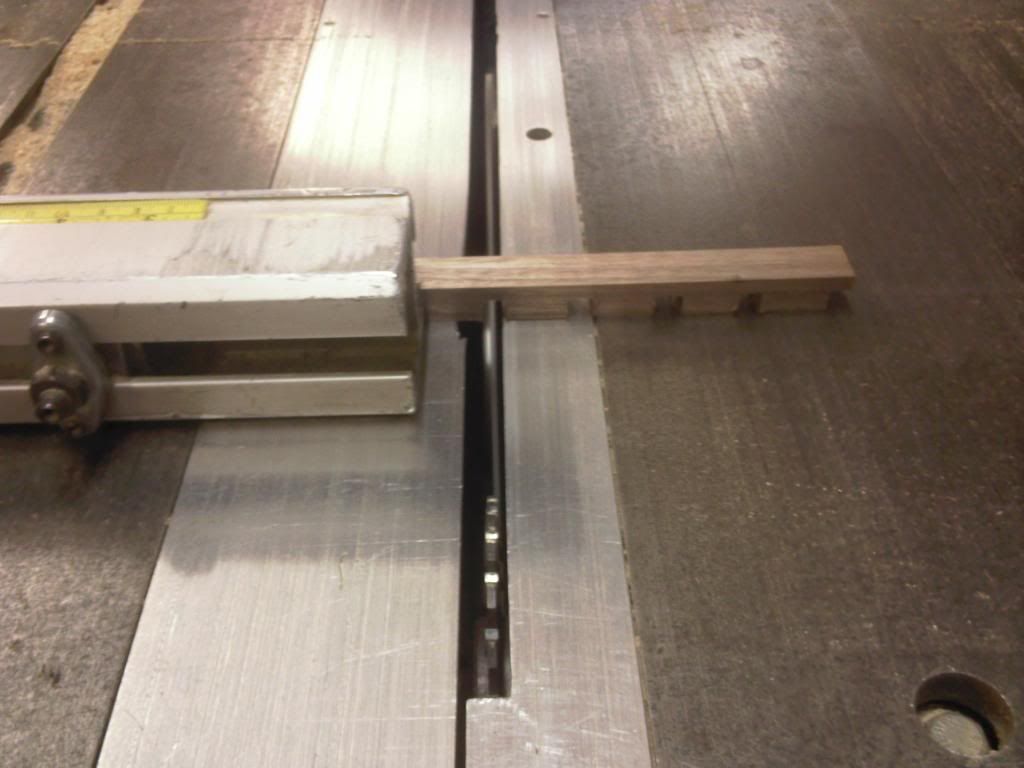
Image

Next I drill them as it is easier than when they have been cut to length.
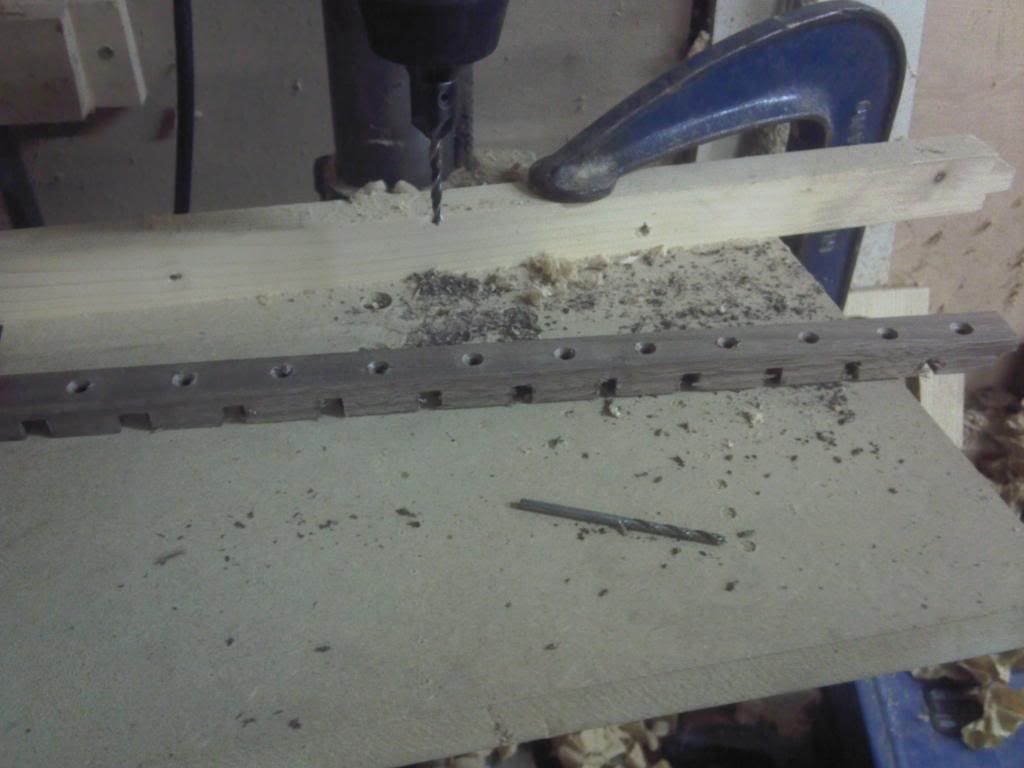
Image

They are then sanded, cut to length and sanded on the cut ends.
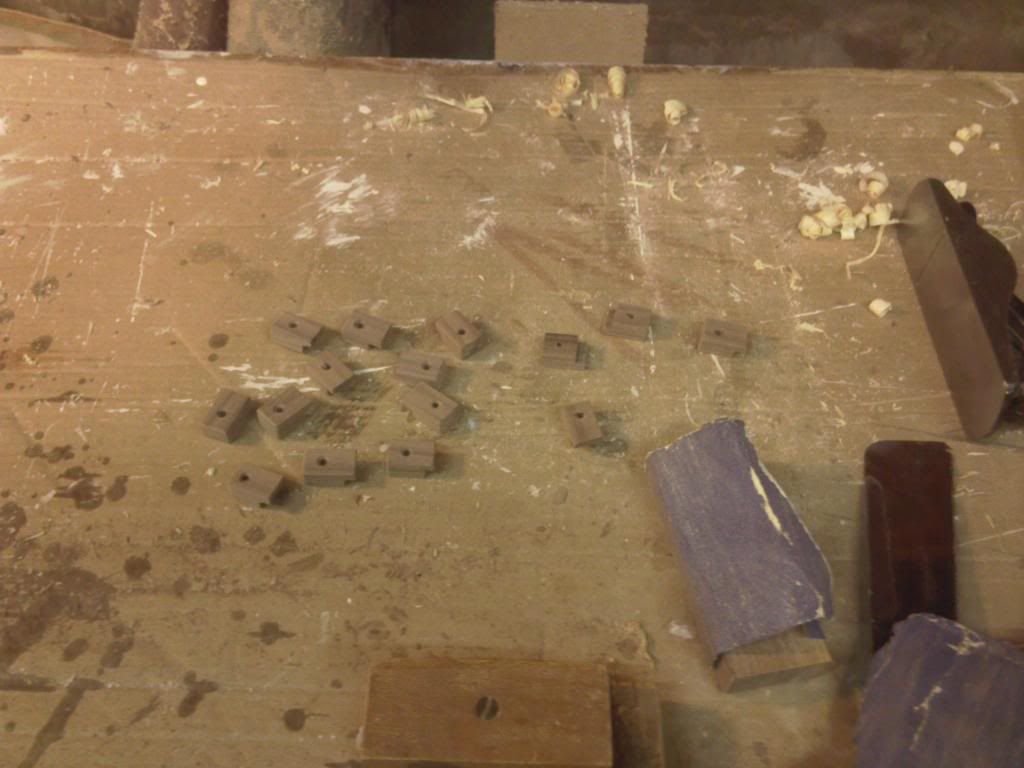
Image

This is how they will fit with screws through them into the lid.
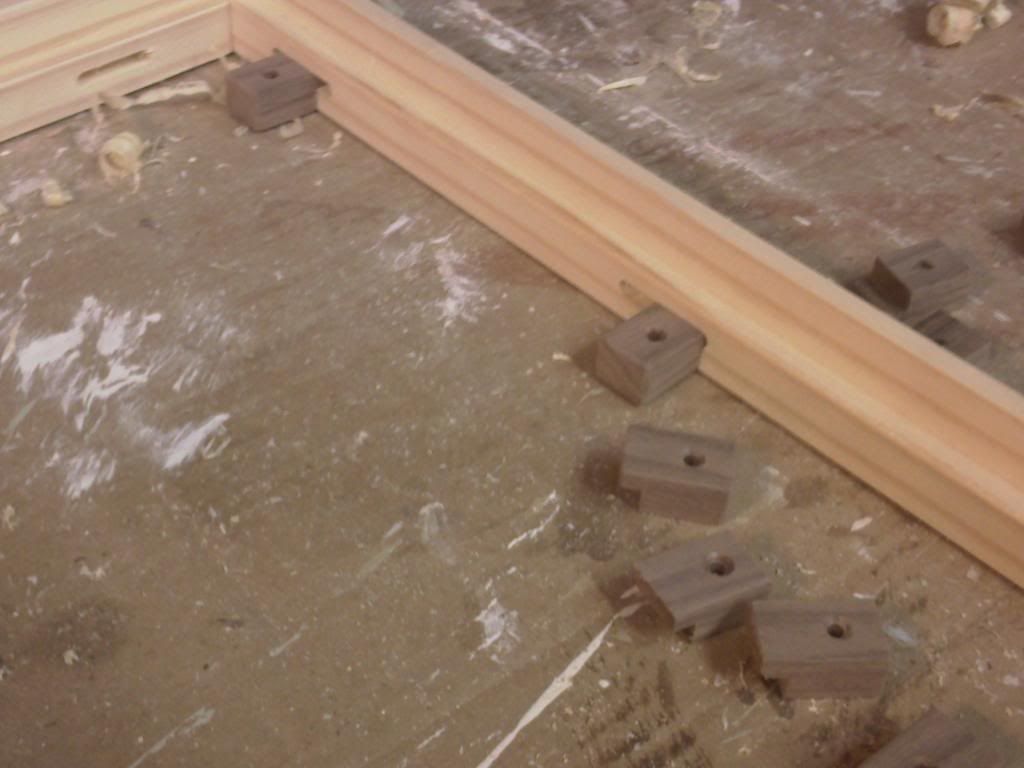
Image

The point of all this is an important one and the reason why many table tops are fitted this way.These fixings will allow the wood of the top to shrink and move independently of the edges below it so it WON'T split but WILL stay flat against the frame below it.
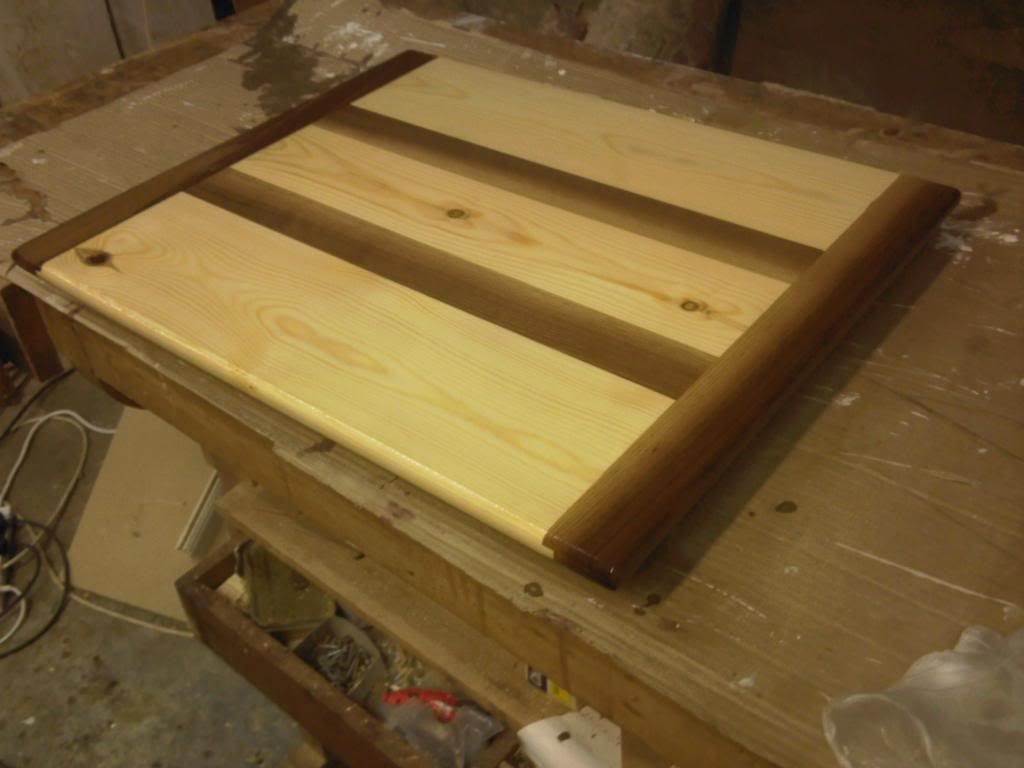
Next I cleaned all the parts up and coated the top, lip and lid edges with resin.There is no need for cloth here and the resin is just to increase the durability and waterproofing of the lid.
Image

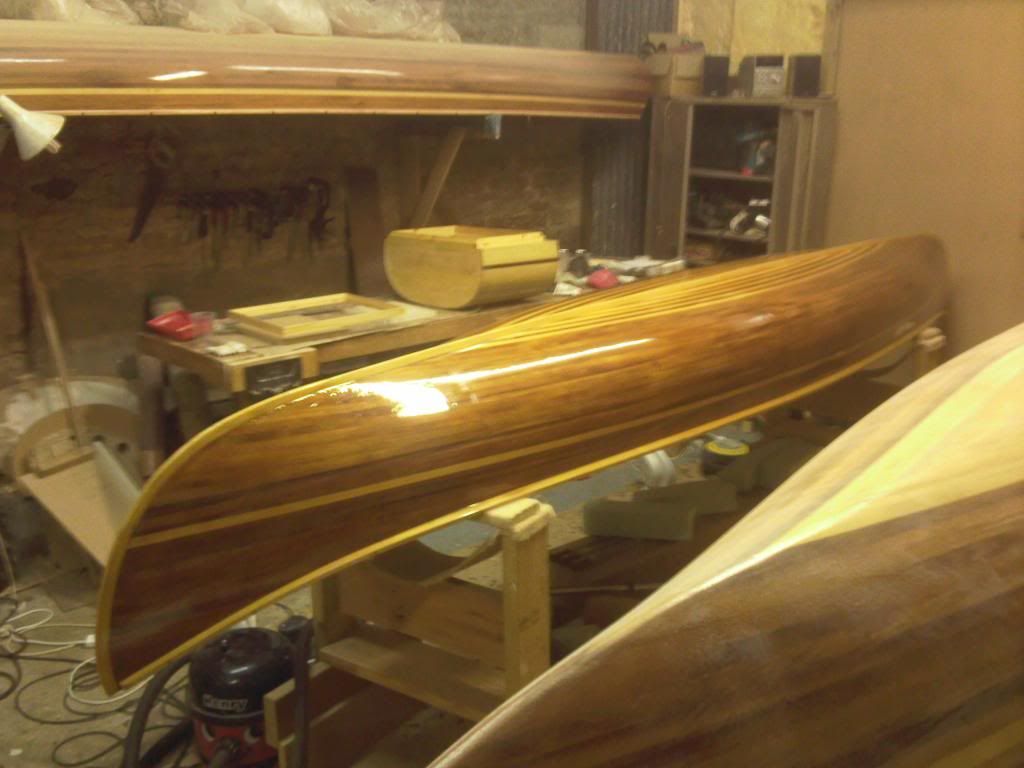
With that done I had time to give my boat a coat of varnish on its underside and then I left it all to dry.
Image

Cheers :wink
Alick
User avatar
Jim Dodd
Posts: 1359
Joined: Wed Feb 08, 2006 11:08 pm
Location: Iowa

Re: glassing my wood strip wannigan

Post by Jim Dodd »

Alick
You're a very busy man !
Great job ! And Nice canoes !

Jim
Keep your paddle wet and your seat dry!
alick burt
Posts: 255
Joined: Wed Sep 07, 2005 2:41 am
Location: united kingdom
Contact:

Re: glassing my wood strip wannigan

Post by alick burt »

Hi Folks
Since my last post I've given all parts a coat of varnish.
Here is the main box drying on pins.Image
At the same time I also gave my own boat a coat on the bottom.
Image
After a couple of days the varnish on my boat is dry as a bone but once again the varnish on the wannigan is stubbornly sticky :mad
The only conclusion I can think of is that it is because the resin is still not hard enough underneath but I did leave it a few days and rubbed it down with wet and dry and then dried it off with the heater before applying the varnish.The resin on my boat is years old hence well cured!
would it be best for me to strip the varnish off or is it worth leaving it longer to see if it cures? :thinking
I am going to leave it over the weekend in any case.
Cheers
Alick
User avatar
Patricks Dad
Posts: 1476
Joined: Wed Oct 13, 2004 1:11 pm
Location: Warrenville, Illinois

Re: glassing my wood strip wannigan

Post by Patricks Dad »

I've never varnished in less than 2 weeks after epoxy. That may be excessive but I would worry about anything less than a week. If you varnished the boat and the wannigan with the same varnish under the same environmental conditions, it doesn't leave too many explanations.

You may have to strip it but I'd give it a lot more time to cure on it's own before resorting to that.

Best of luck. It looks great!
Randy Pfeifer
(847) 341-0618
Randy.Pfeifer1@gmail.com
alick burt
Posts: 255
Joined: Wed Sep 07, 2005 2:41 am
Location: united kingdom
Contact:

Re: glassing my wood strip wannigan

Post by alick burt »

Hi Randy
Thanks for that I guess I am just going to have to discipline myself to wait longer before varnishing as this has happened to me on more than one occasion.
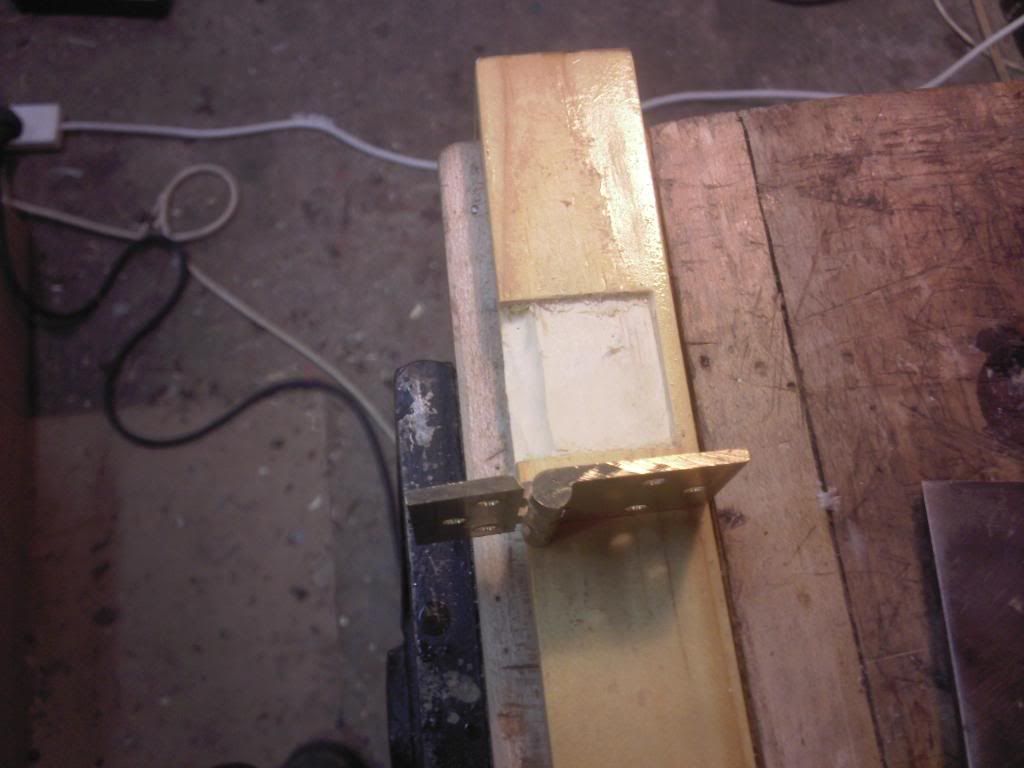
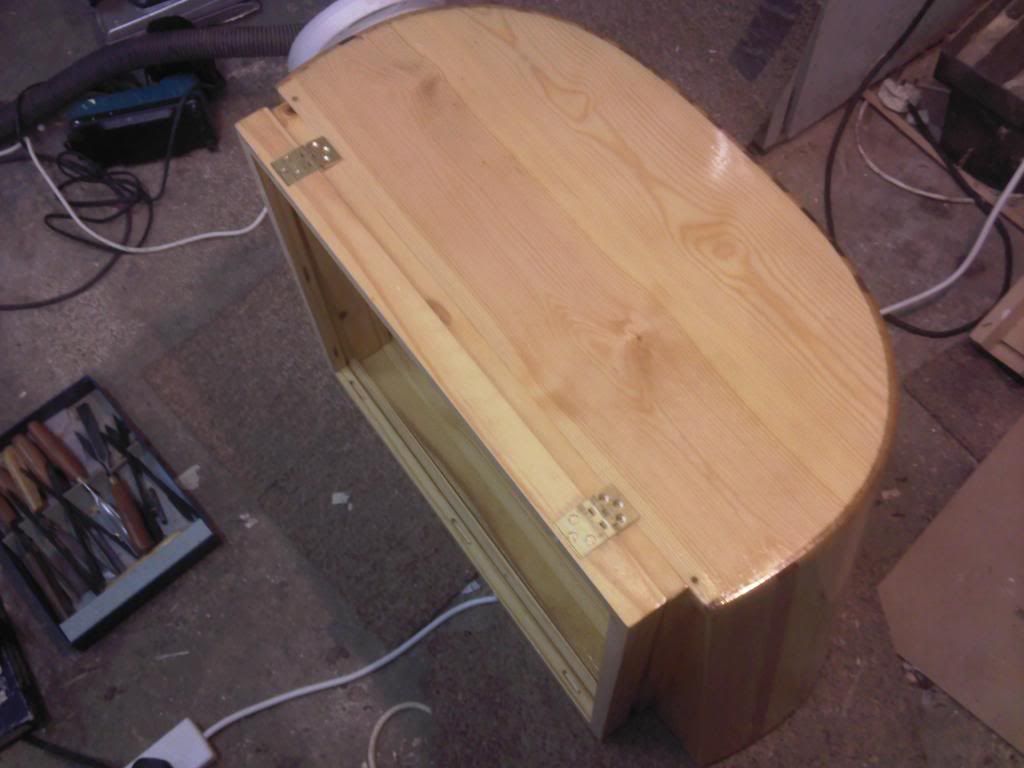
Despite the stickiness I did continue with fitting my hinges so I can varnish the cut recesses.
Image
Image
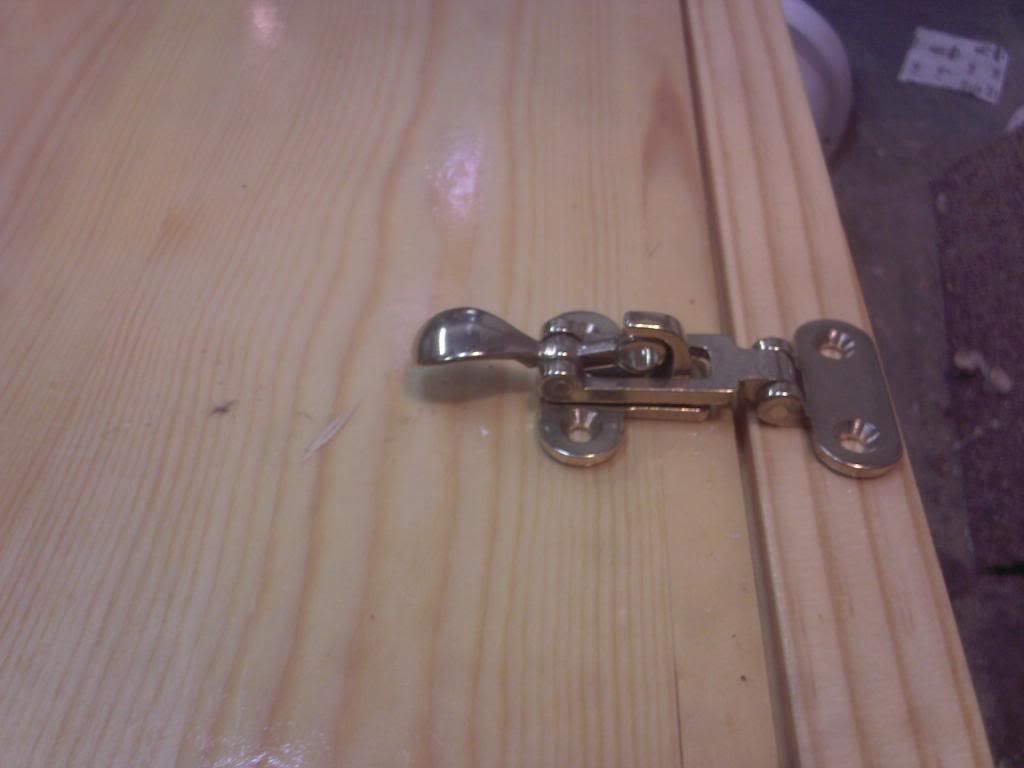
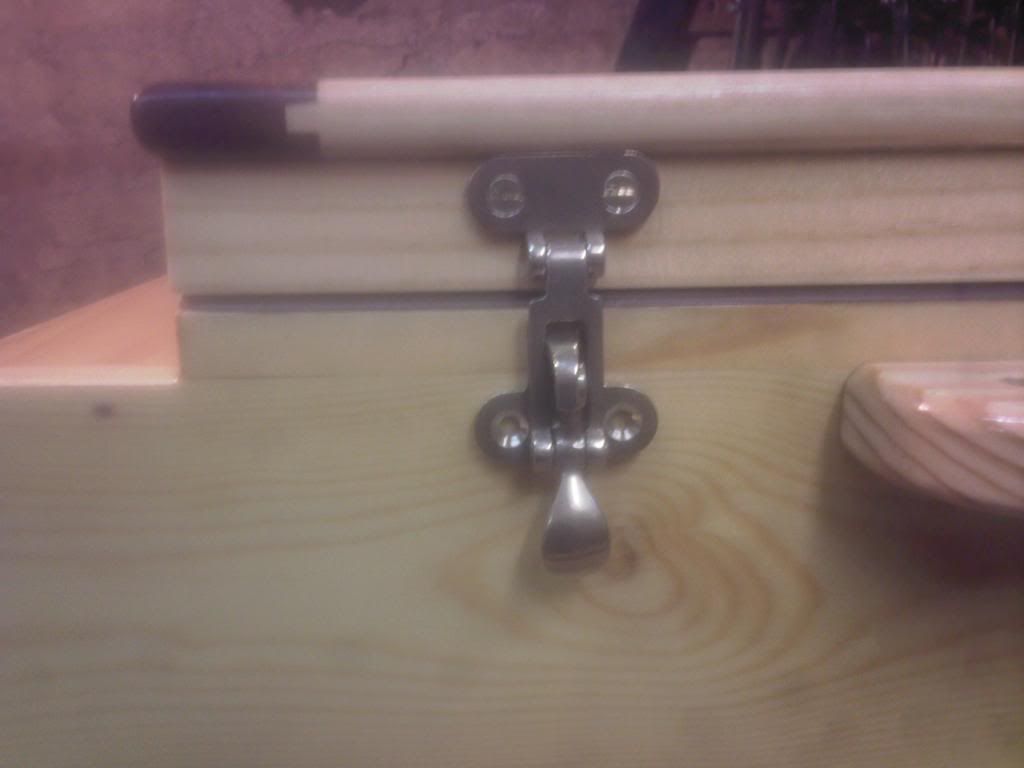
and took delivery of a pair of rather nice toggle catches that will eventually hold it closed.
Image
Cheers :wink
Alick
joejoe
Posts: 7
Joined: Sat Jul 27, 2013 4:00 pm
Location: Portage, Indiana U.S.A.

Re: glassing my wood strip wannigan

Post by joejoe »

Looks GREAT, nice work. Those latches are trick to say the least.
alick burt
Posts: 255
Joined: Wed Sep 07, 2005 2:41 am
Location: united kingdom
Contact:

Re: glassing my wood strip wannigan

Post by alick burt »

Hi joejoe
Thank you they weren't cheap and I did think about just using four hooks and some bungee cord and even going without hinges but in the end if a job's worth doing...and I went for the fittings.
Today my varnish definately appears to be drying so I will leave it a few more days and I think it will be fine.
Cheers :wink
Alick
alick burt
Posts: 255
Joined: Wed Sep 07, 2005 2:41 am
Location: united kingdom
Contact:

Re: glassing my wood strip wannigan

Post by alick burt »

Hi Folks
Today I began the final assembly of the wannigan.
I started by fitting the buttons into their slots.

Image

Then I put a bead of silicone sealant around the lid edge and screwed it in place.Then once it was screwed down I ran another bead of sealant around the corner of the edge for good measure.I took a picture of this but it seems to have come out all blurred.I think I need to clean my lense as the rest aren't much better!

Image

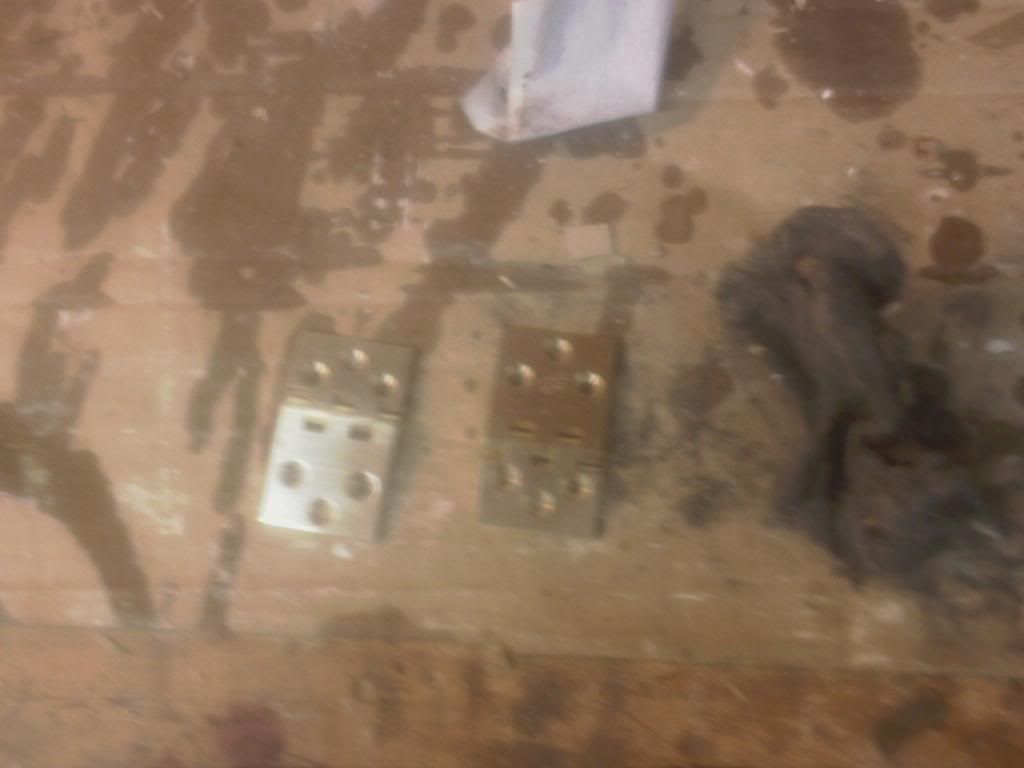
Then I gave the hinges a clean up with a bit of fine 0000 steel wool.

Image

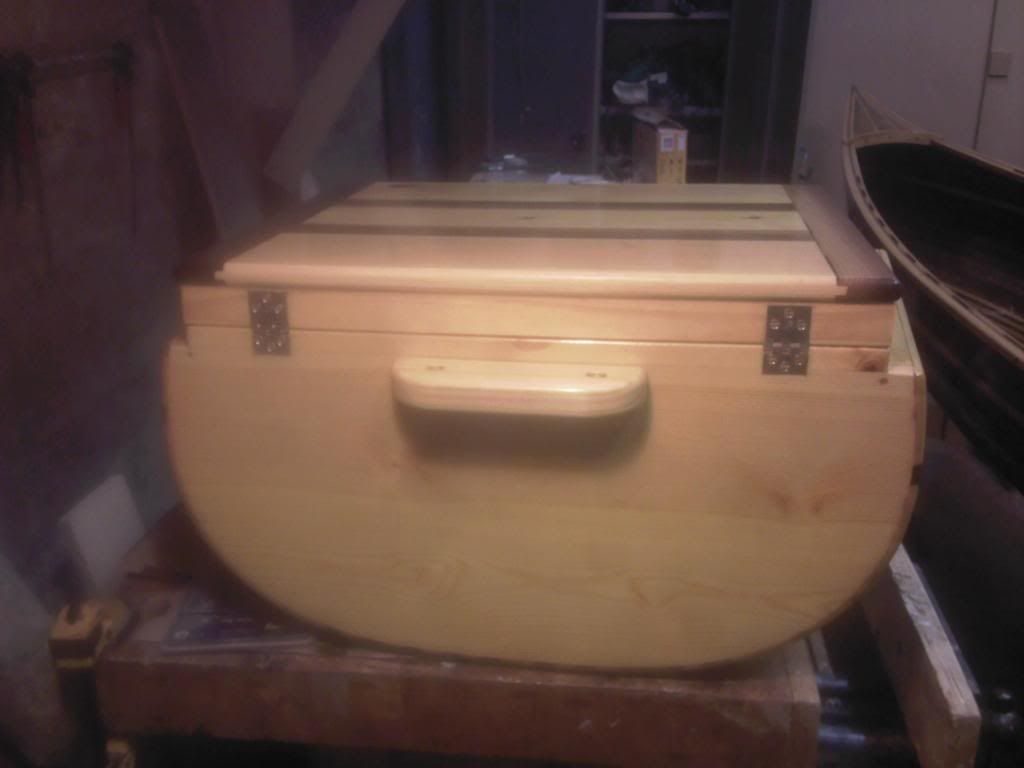
and fitted the lid to the box.

Image

Next I fitted the seal around the box edge.This is a simple stick on variety making it cheap and easy to replace.

Image

Then came my lovely brass catches.I fitted the top bit first then made holes with a bradawl for the second piece whilst pressing down on the lid to make sure it will pull the seal closed.

Image

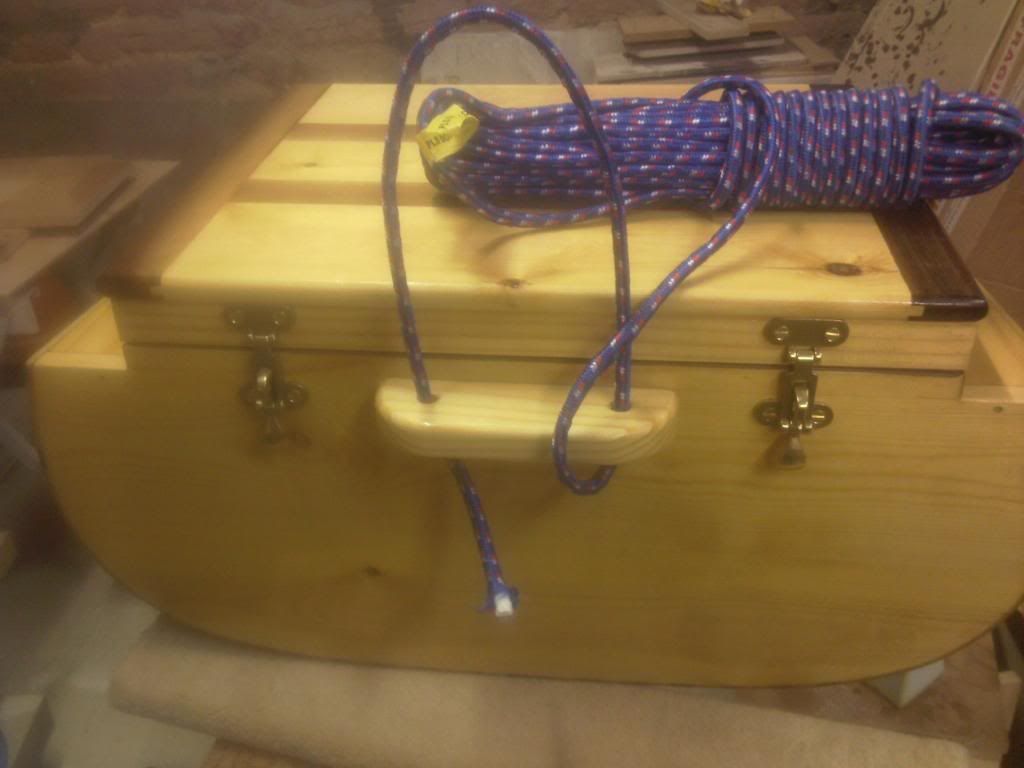
Finally I began to think about the rope to go through the handles.
I am thinking these may double as shoulder straps for long carries though the contents will need careful packing so it can all be tipped up without mishap!On testing I discovered it will also need some sort of tump line arrangement but as I said at the beginning this is an evolving design.

Image

I shall take another batch of final pictures when I have sorted my camera out but it is pretty much there and all I have to do now is figure out what I'm going to put in it!
Cheers :wink
Alick
User avatar
Jim Dodd
Posts: 1359
Joined: Wed Feb 08, 2006 11:08 pm
Location: Iowa

Re: glassing my wood strip wannigan

Post by Jim Dodd »

You're about there !
I'd start off with a good bottle of wine to celebrate, some great cheese, a loaf of good bread, a blanket, maybe a pillow, and a good friend to share it with !

Looking forward to seeing it in the canoe !

Jim
Keep your paddle wet and your seat dry!
User avatar
Jim Dodd
Posts: 1359
Joined: Wed Feb 08, 2006 11:08 pm
Location: Iowa

Re: glassing my wood strip wannigan

Post by Jim Dodd »

I didn't mean to put your friend in the box, just the canoe ! HA !

Jim
Keep your paddle wet and your seat dry!
alick burt
Posts: 255
Joined: Wed Sep 07, 2005 2:41 am
Location: united kingdom
Contact:

Re: glassing my wood strip wannigan

Post by alick burt »

Ha! ha! Jim :laughing :laughing :laughing
You made me laugh with that one and I have been suffering with a headachey sore throat making feverish flu for the past couple of days so it was good to laugh.
Your contents list sounds good I think I will definately have to add some chocolate in there too.
I did manage to get to the workshop for a short while today and took a few more pics though despite cleaning the lense they aren't brilliant.I will take some in better light outside when the weather improves.
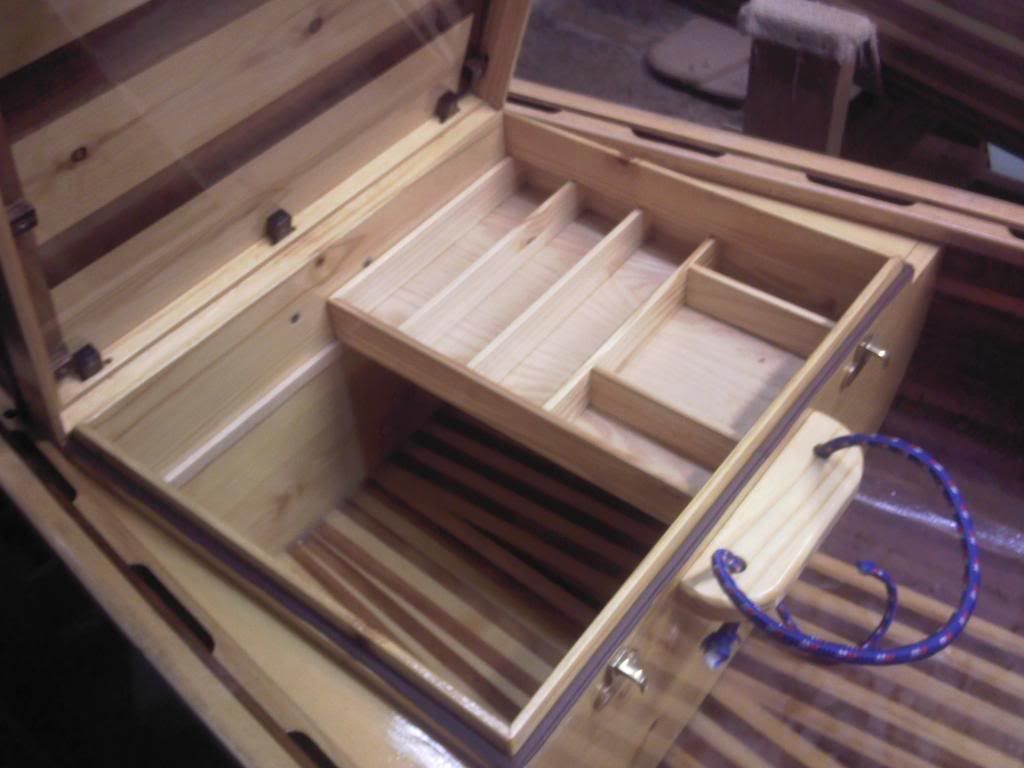
slots in place fine but it might be a bit of a struggle getting it in when loaded.
Image
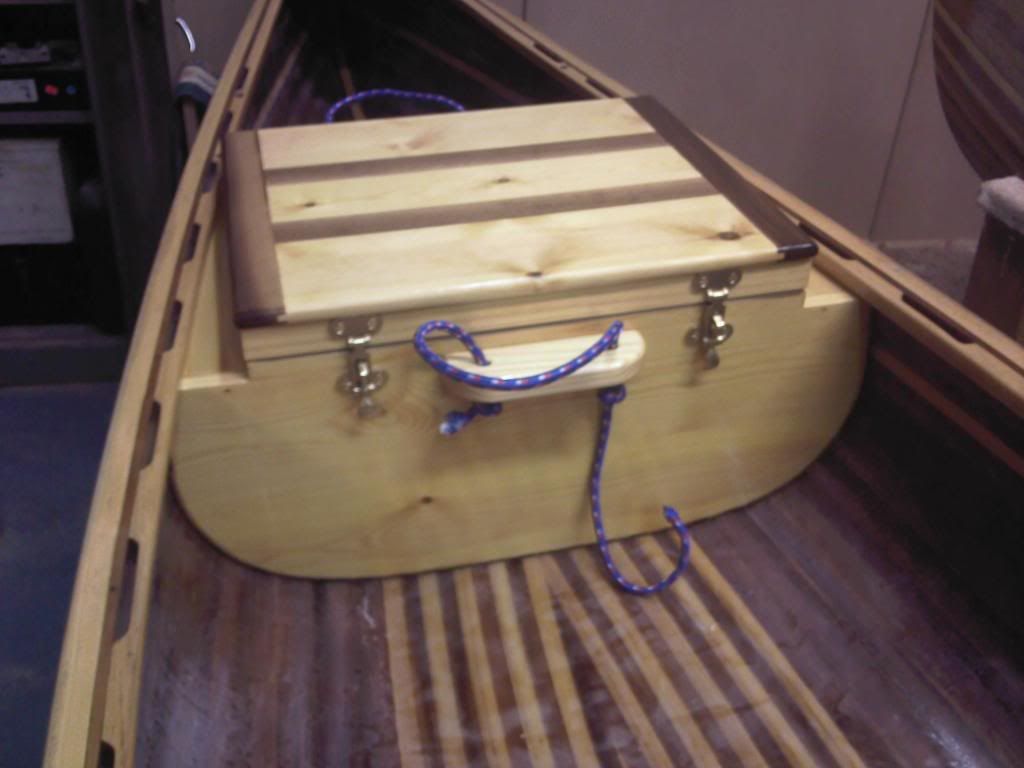
Doesn't quite open to 90degrees when in because the lid corners touch the gunwales( next time I'll have to make it a bit higher!) but at least it is still accessible.
Image
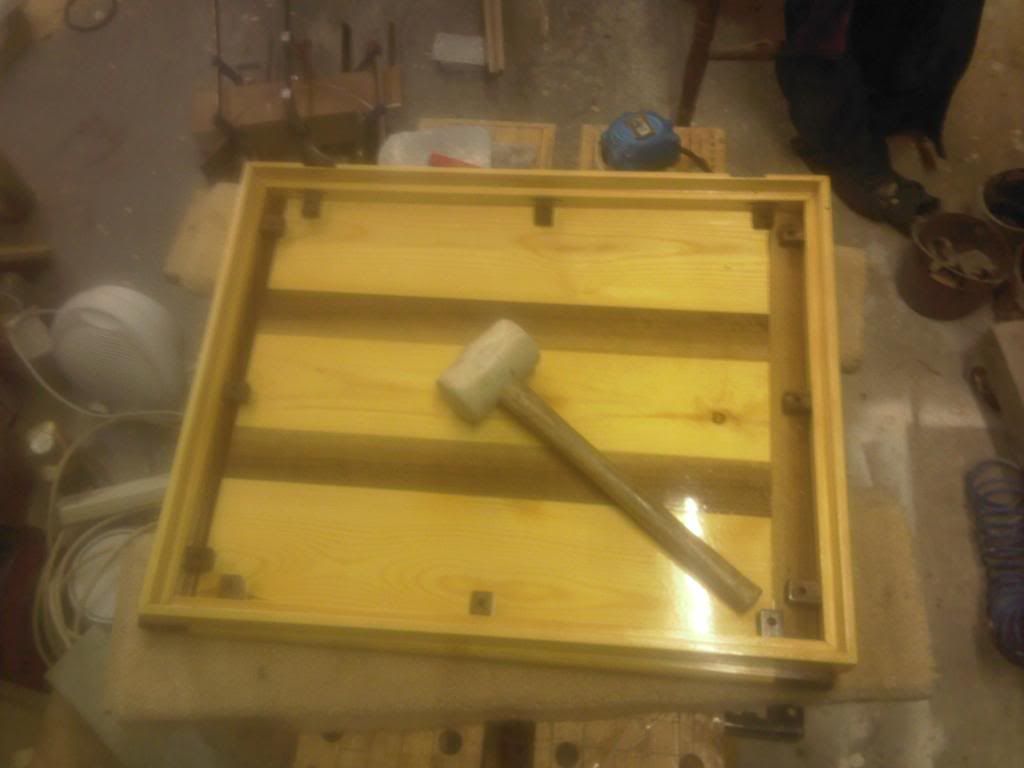
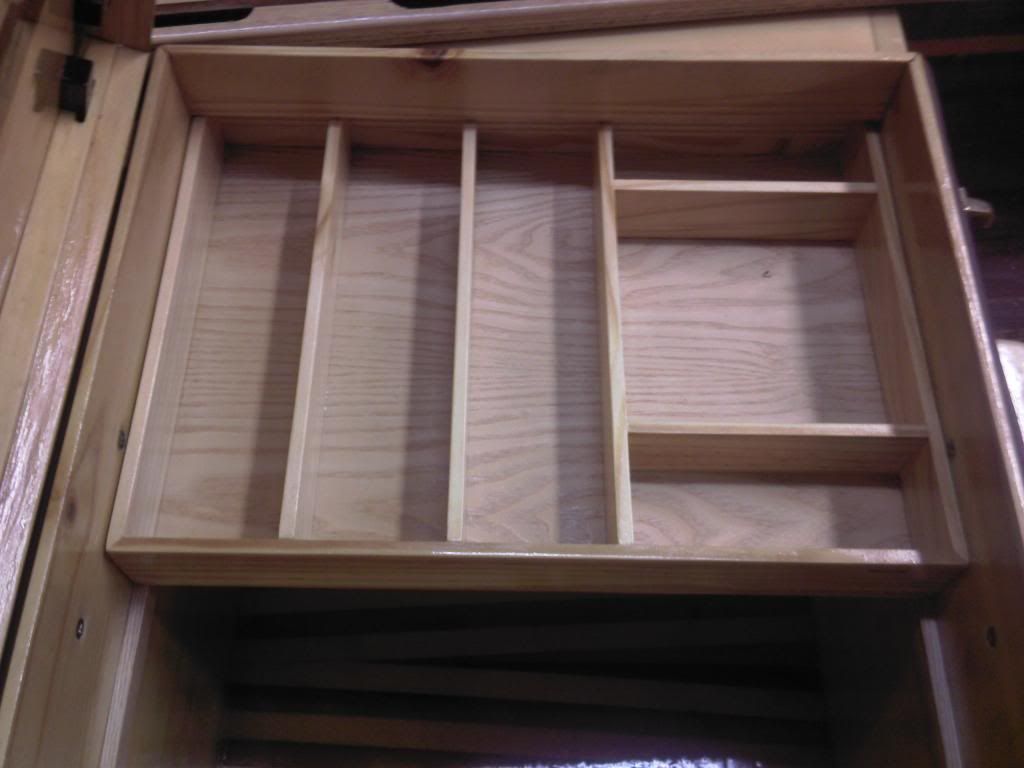
Tray in place seems to work on its sliders.
Image
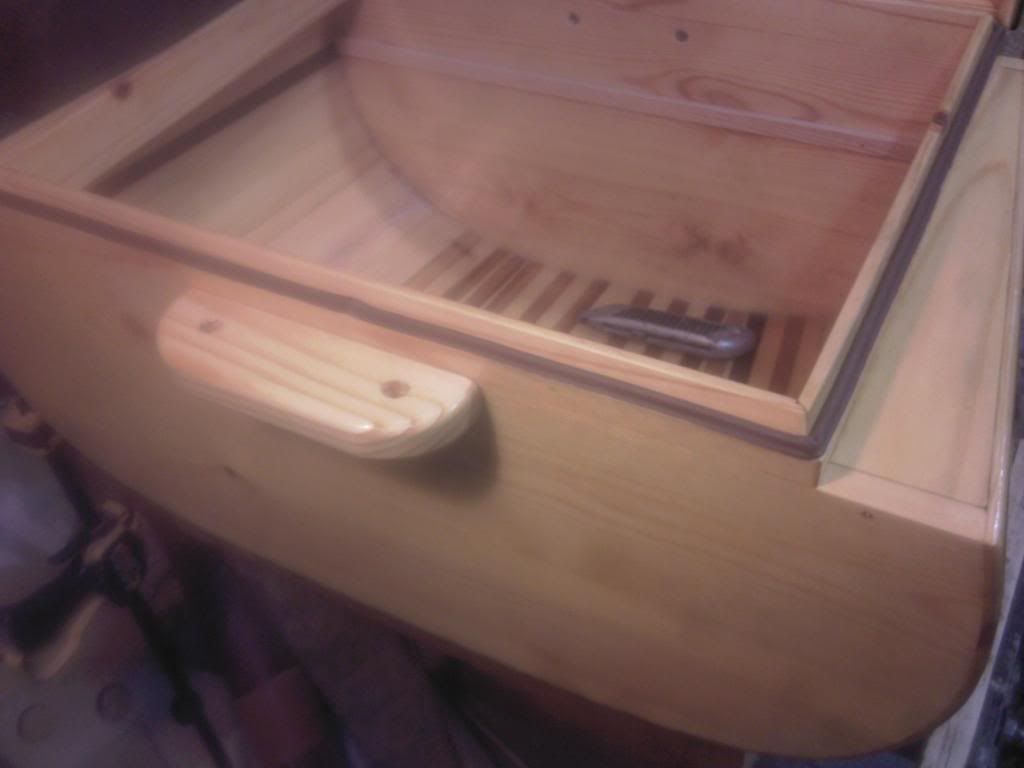
I made these loops long enough to put a paddle through to help with lifting and carrying it and I have also left them long so I can have a play and see how I get on with them as arm straps for longer carries.I have tried this once and think it will probably need an additional tump strap to my head.
Image
Next pictures will be of it in use and I might even do this next weekend (if I have recovered from my illness) as I have signed up to go on the frostbite tour with my c.w.a.v friends. http://www.canoewithaview.co.uk/forum/s ... 9#pid52869
Cheers
Alick :wink
Post Reply