Well, I did finish the build in time, but unfortunately, due to an illness in one guys family, we had to domino paddlers and since I also have the solo boat, I get to go solo ... and my shiny new tandem Kipawa has to stay at home.
I will hit the water with my better half when I get back from Algonquin Park.
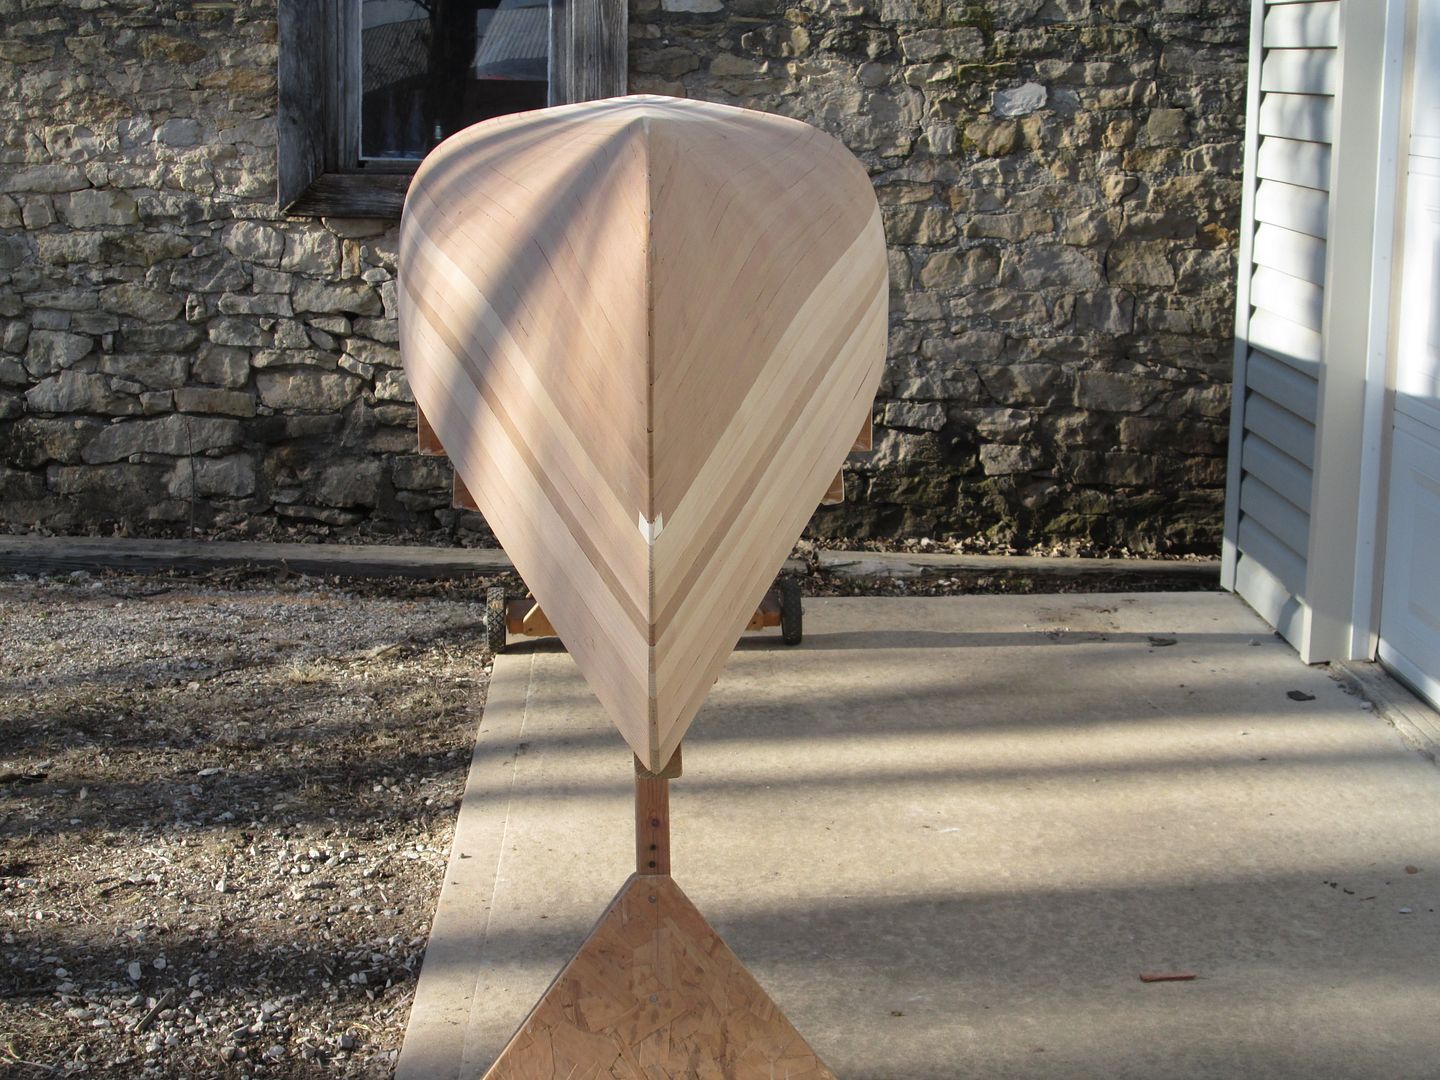
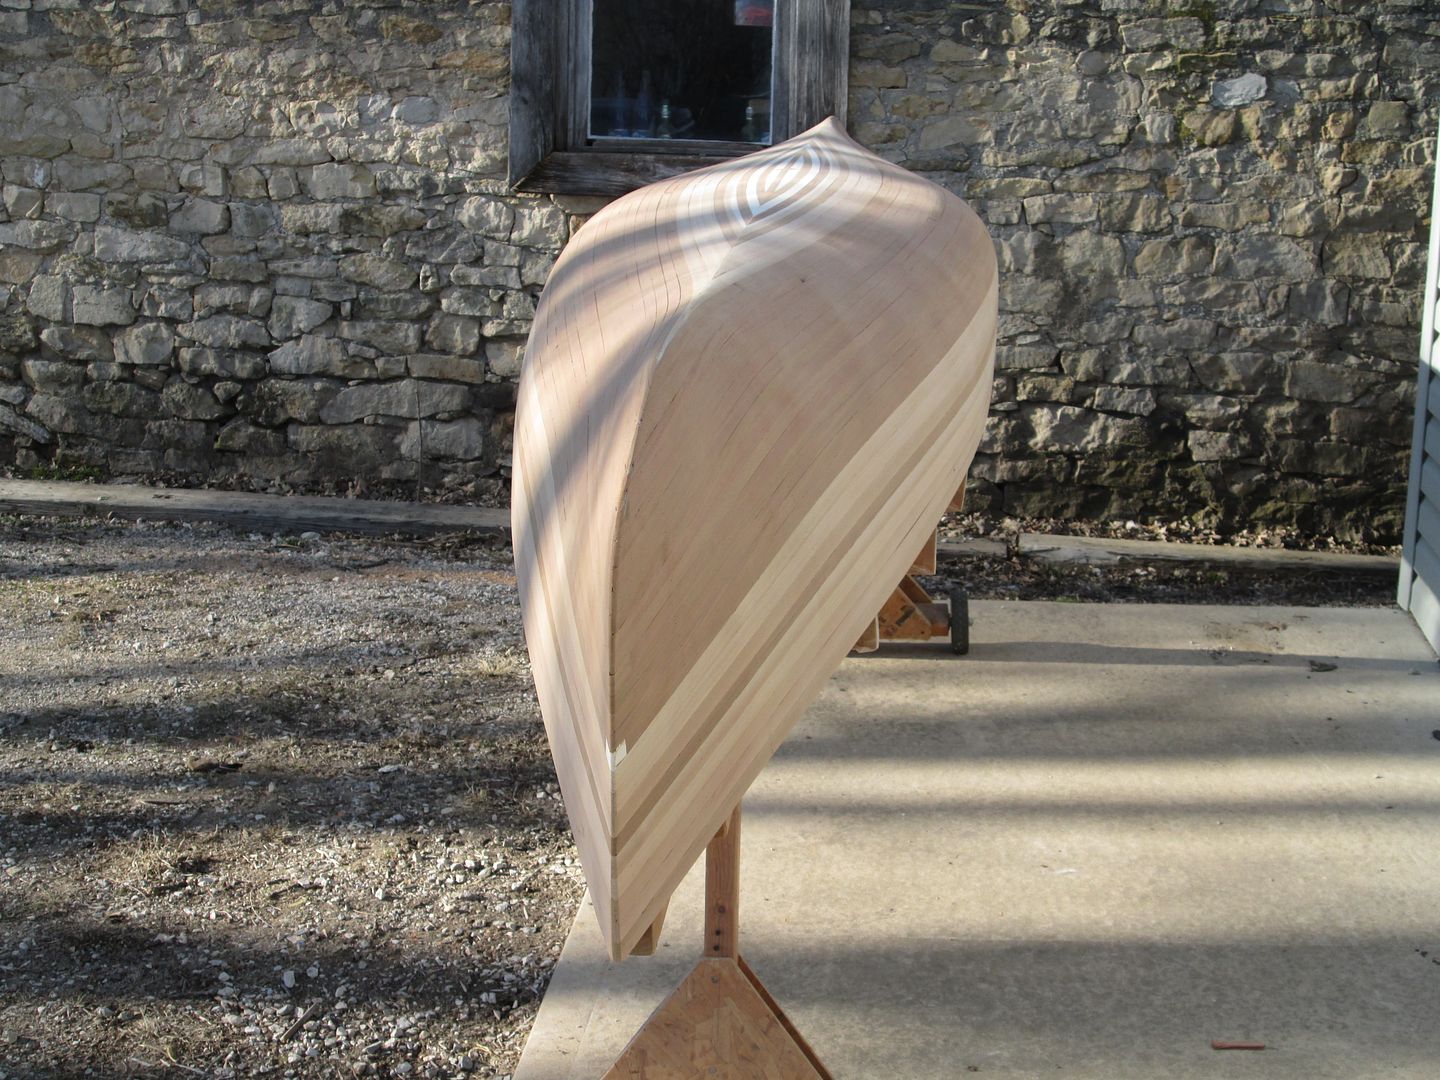
So I offer a few pics .... first on the neighbours wet lawn (close as it has been to water)

Inside shot:

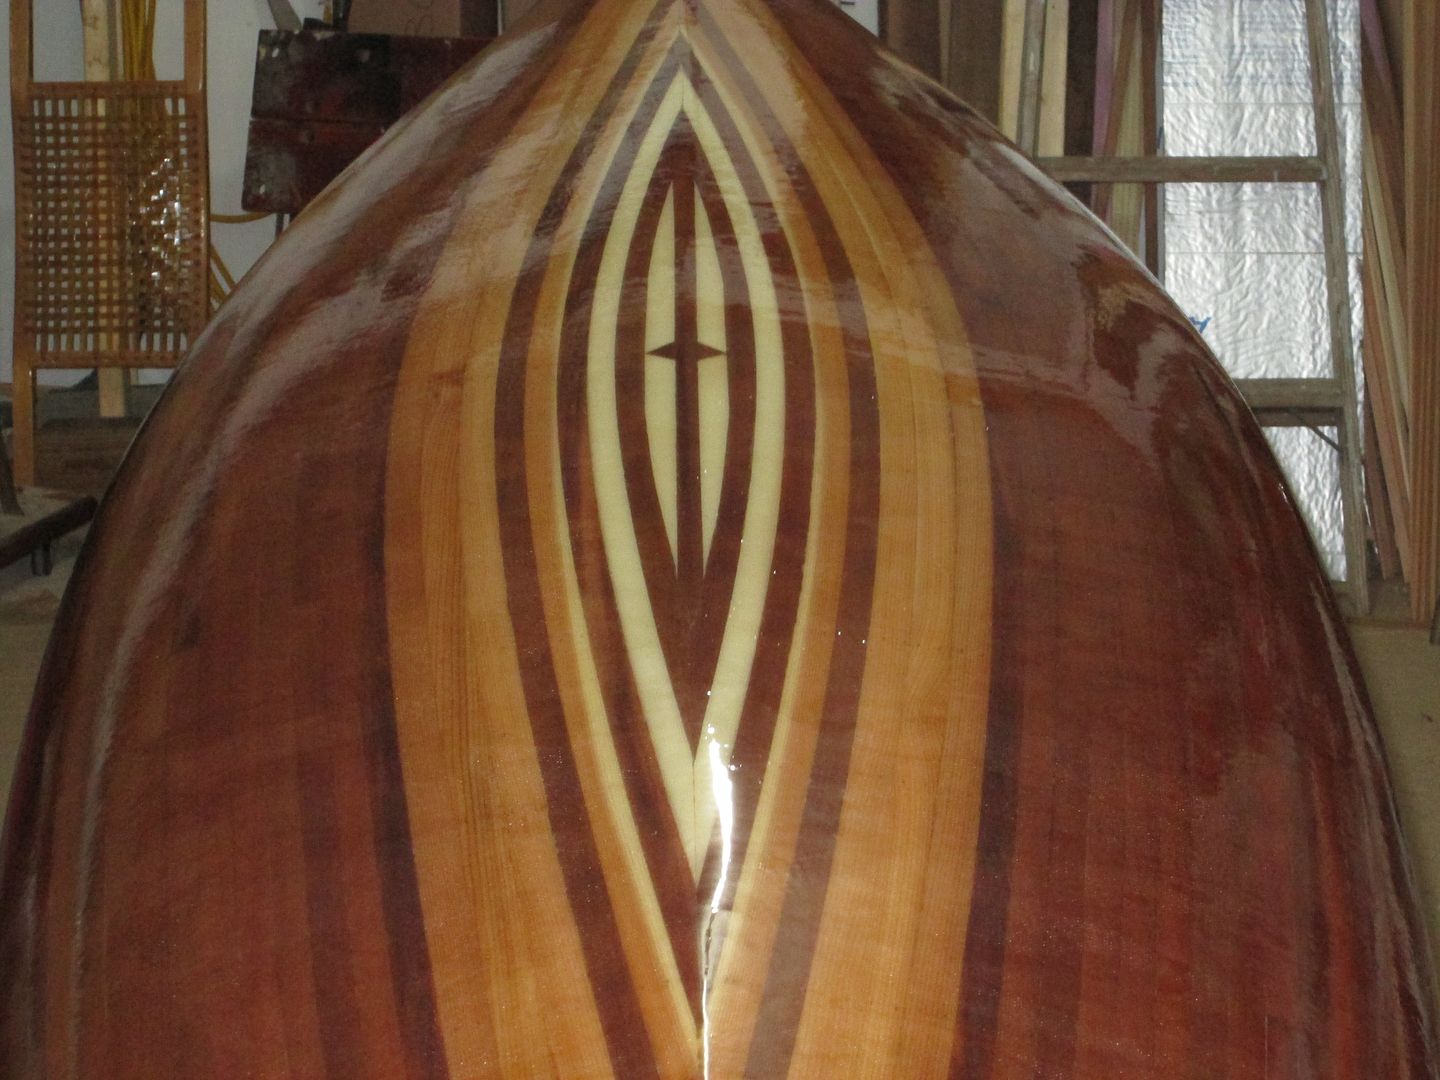
Bottom:

Stern and Bow stems:


A repeat of the seats I designed last build:

Bow and Stern Decks, I am pretty happy with how they turned out:

[

I have a few touch ups and minor mods to make, but the project is essentially done.
Brian
Minor Update 3 August 2016
I took the boat out in May this year for it's maiden voyage and in a word, wood is soooo much better than composite (IMO). It is very stable, quick and a joy to paddle.
Didn't get very much bad weather, but had some waves which the canoe basically ignored and just kept tracking straight.
From the stern position the boat is very easy to control and turns fairly well with minimal effort, and tracks very well.
Brian