Welcome to the new Bear Mountain Builders Forum - an interactive internet service we provide to encourage communication between canoe and kayak builders
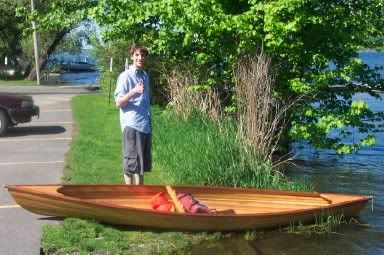
I figured out how to post pictures thanks to glen. Heres my rob roy that i am always talking about hope you guys like it. Ill have more pictures up of the actual building process as soon as i can get the disks from my teacher http://photobucket.com/albums/v237/Hamstien2000/
I posted a photo for you: Glen.
Nice looking Rob Roy Hammer! I just pulled my Rob off the mold yesterday and scraped and sanded the interior today. I'd be interested in knowing how you finished your interior. I can't seem to find much info on things like seat placement, how high up from the bottom, deck ideas, ect. Thanks for any information you could share.
Well reinbelt there was alot of my design ideas that went into the seat and placement. First off on the rob roy it has to seit almost flush eith the bottom i made 2 skids that raised the seat a half an inch off the bottom on the skids --!--!--------!--!----- I 2 sets of notches
---!--!--------!--!----and connected the center thwart to the top of the back of the seat and made 2 sets of holes in the gunnels and uses brass bolts to connect the thwart to the gunnals. each set of those exclamation points are the notches in the skidt the bottom of the seat has two 1/2 inch By 1/2 inch planks set at the distance of the notches so i can take the seat out and move it back and forth and bolt it in where the twarts attach. Its great if you want to bring a dog along or gear or something you just put it all in the front then move the seat back to compensate for the weight. Ill try and get pics today so you can see for yourself it works greatt!!!