glassing my wood strip wannigan

Welcome to the new Bear Mountain Builders Forum - an interactive internet service we provide to encourage communication between canoe and kayak builders
alick burt
Posts: 255
Joined: Wed Sep 07, 2005 2:41 am
Location: united kingdom
Contact:

glassing my wood strip wannigan

Post by alick burt »

Hi folks
I am in the process of making a wood strip wannigan that will fit in my Peterborough like this.
Image
It is my intention to glass it inside and out to increase it's durability and waterproofing.I am getting to the stage where I am fitting edges onto which I am going to fix a frame which in turn will have the lid ontop of it.Both will be rebated and fitted with seals to keep out water in the event of a capsize.
My question's concern how I should go about glassing the inside.
Q1. will I be able to glass up to these pieces(covering their undersides) or should I do my glassing before fitting them.They are just temporary fitted with screws at the moment.
Image
Q2.What should I do on the internal corners?Do they need to be filletted or can I just cut the cloth to each corner and then put on a tape or reinforce the corners with a strip of bias cloth.
Q3.Am I overkilling it? would it be fine with just resin on the inside without cloth?
Image
Q4.On the outside corners I have rounded them off but again what is the best way to cut and work the cloth over them?
Image
Many Thanks
Alick
User avatar
Patricks Dad
Posts: 1476
Joined: Wed Oct 13, 2004 1:11 pm
Location: Warrenville, Illinois

Re: glassing my wood strip wannigan

Post by Patricks Dad »

Neat project.

In reverse order, I think I would glass the outside with a fairly lightweight cloth. Say 4 oz. It would then be flexible enough to wrap around your rounded-over corners. I'd use the same cloth on the inside. I'd put a fillet of thickened epoxy between the strips and the end planks to create a radius large enough for the glass to curve over it onto the end planks. You could also cover the joint with a strip of bias cut cloth but that's an extra step if you can get the main cloth to curve over the joint. Whether you need any cloth or not would depend on how much weight you intend to put in it and how rough you expect to be on it.... If you build it roughly as strong as the hull itself, you'll probably feel pretty confident. I think I'd run the glass up the sides all the way to the top without the top rails in place. I'd treat those side rails like gunwales and coat them with a few coats of epoxy...

Be sure to post some pics as you go along!
Randy Pfeifer
(847) 341-0618
Randy.Pfeifer1@gmail.com
BearLeeAlive
Posts: 196
Joined: Tue Aug 18, 2009 7:00 pm

Re: glassing my wood strip wannigan

Post by BearLeeAlive »

Great idea Alick, I have been planning on doing the same thing.

I have had lots of ideas floating around in my head about how I will do it, but have not set on anything yet, so really looking forward to how this works out for you.

I sure hope my old wannigan is not put off by being replaced. I have used this thing for many years now, and it has serviced me well. It carries all our cooking gear, and most of the camp gear too. It is just a Rubbermaid bin with a piece of 1/4" ply attached to the top. This flat top has been indispensable. It gets used as a cutting board and table a lot. I would definitely plan this use into any one I build.

Here it is in all its beauty. :cool

Image
-JIM-
BearLeeAlive
Posts: 196
Joined: Tue Aug 18, 2009 7:00 pm

Re: glassing my wood strip wannigan

Post by BearLeeAlive »

Alick, are you planning anything to keep it up out of the bilge water? I had thought of adding four(ish) lengthwise strips that I would like add some kind of padding to, to protect the inside of the hull from abrasion.
-JIM-
User avatar
Jim Dodd
Posts: 1359
Joined: Wed Feb 08, 2006 11:08 pm
Location: Iowa

Re: glassing my wood strip wannigan

Post by Jim Dodd »

I agree with Randy !
For the outside, I'd glass the ends first. I'd cut slits, so it overlapped the bottom by an inch or two, after it cures, feather the edges, and glass the bottom and sides. That way the seam would be invisible while in the canoe. It would probably be invisible anyway !
You have my heart pumpin!

Jim
Keep your paddle wet and your seat dry!
alick burt
Posts: 255
Joined: Wed Sep 07, 2005 2:41 am
Location: united kingdom
Contact:

Re: glassing my wood strip wannigan

Post by alick burt »

Hi Randy
Your advice sounds like a good plan of attack.I may have to go with six ounce cloth as part of the reason for making it is to use up my offcuts of which I have plenty of 6 oz but not much 4.I shall remove the top pieces and treat them as gunwales too.
Thanks again :tu
Alick
alick burt
Posts: 255
Joined: Wed Sep 07, 2005 2:41 am
Location: united kingdom
Contact:

Re: glassing my wood strip wannigan

Post by alick burt »

Hi BearLeeAlive
Great minds think alike. :applause
I was initially thinking of having a space beneath it for bilge water.Then I fitted it and I have to admit I like the way it fits so well that I might leave it as it is for now and maybe add some runners to the bottom of it later.I admit I will probably have to be careful to keep it clean when I am sliding it in and out to avoid deep scratches in the hull.Perhaps I could add some foam,carpet or felt to the outsides..You can see I am still thinking about it and this is definately a design that will evolve as it goes along. :thinking
As it will be glassed I don't think the water will harm it and yes I am planning on having a flat lid as you say so useful as a table cutting surface and or seat.
Many Thanks
Alick :tu
alick burt
Posts: 255
Joined: Wed Sep 07, 2005 2:41 am
Location: united kingdom
Contact:

Re: glassing my wood strip wannigan

Post by alick burt »

Hi Jim
Thanks for your reply.I will start with the ends cut some slits to help on the corners and feather it as you suggest. :applause
I shall proceed on Monday and take some pictures as I go for all to see.
Cheers :wink
Alick
alick burt
Posts: 255
Joined: Wed Sep 07, 2005 2:41 am
Location: united kingdom
Contact:

Re: glassing my wood strip wannigan

Post by alick burt »

Hi folks
I started the glassing yesterday and did the ends first and left them overnight.Then this morning I feathered the cloth edges sanded and proceeded with the bottom to first fill coat stage.I am leaving it till after christmas now and will tidy up the corners and sand lightly before a final fill coat.The corners only needed a couple of pleat cuts to get them round and possibly it might have worked without cutting but I wasn't going to risk a struggle!
Enjoy the pictures.Happy Christmas!
Alick
Image
Image
Image
Image
Image
Image
next day
Image
Image
Image

and one question,is this caused by 1.sanding too early .2.using the orbital sander instead of sanding by hand 3.too fine a grit(100).or is this amine blush?

Image
I finished off with wet and dry by hand which seemed to work better.
Image
dried it off.
Image
Image
I would have preferred a bigger bit of cloth but this is an offcut and it works just.
Image
I started work on making the lid whilst waiting for the resin.
Image
And here it is after one fill coat.I shall rub it down and tidy the corners when set and then do another.
Image
Happy Christmas
Alick
User avatar
Jim Dodd
Posts: 1359
Joined: Wed Feb 08, 2006 11:08 pm
Location: Iowa

Re: glassing my wood strip wannigan

Post by Jim Dodd »

Nice !
Gotta get a heated shop ! Santa are you listening?
May you enjoy the holidays also !

Jim
Keep your paddle wet and your seat dry!
BearLeeAlive
Posts: 196
Joined: Tue Aug 18, 2009 7:00 pm

Re: glassing my wood strip wannigan

Post by BearLeeAlive »

That is looking really sharp, Alick.
-JIM-
alick burt
Posts: 255
Joined: Wed Sep 07, 2005 2:41 am
Location: united kingdom
Contact:

Re: glassing my wood strip wannigan

Post by alick burt »

Hi Jim Dodd & Bear Lee alive,Thanks for your Kind comments and a Happy New Year to all.
Yesterday I got over to the workshop and gave the wannigan its fill coat on the outside.I began by scraping the corners to tidy them up and then giving it a sand to provide a key for the next coat.
Image
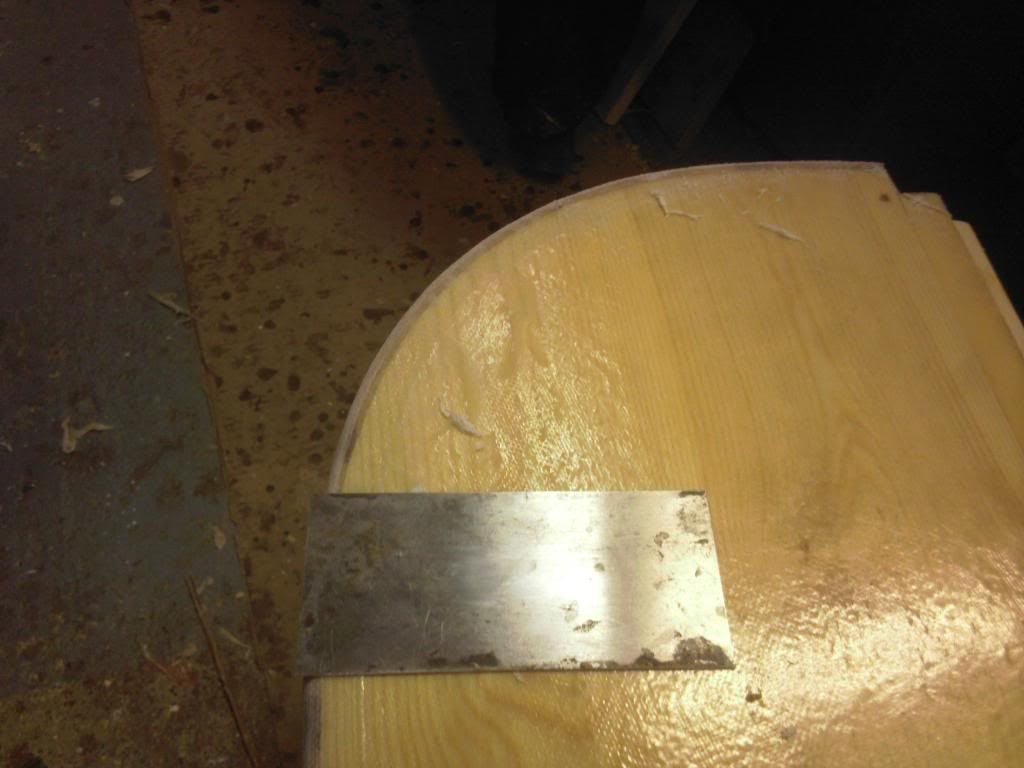
After scraping the runs and uneven bits around the corners I got the sander out and sanded the sides first.
Image

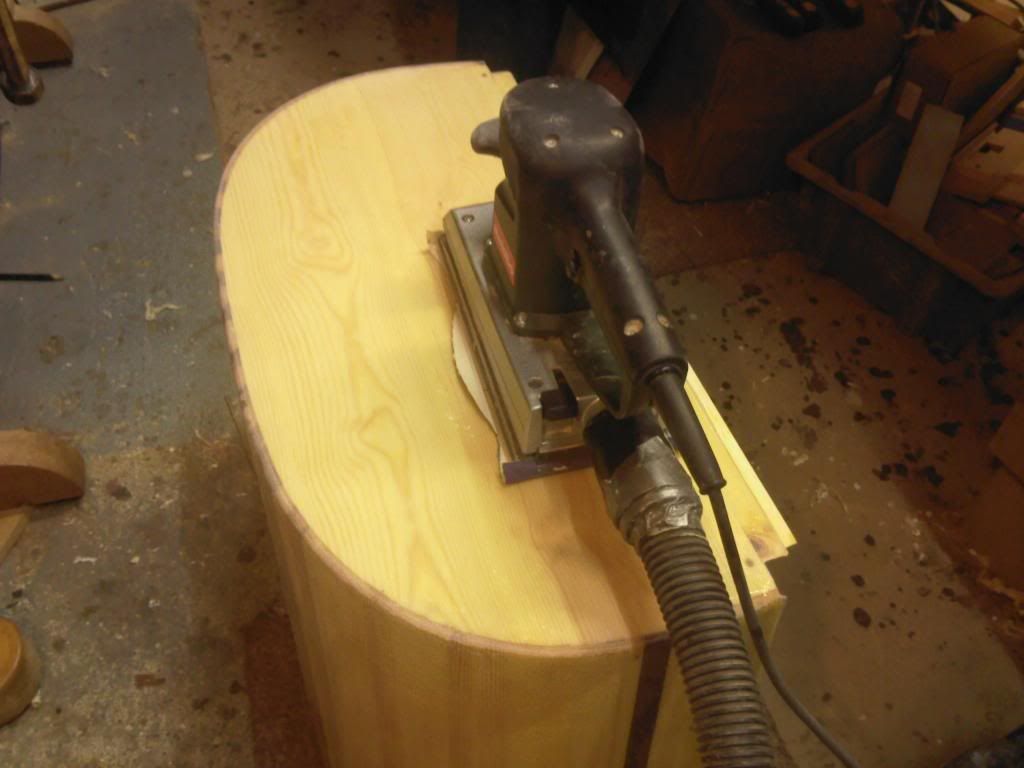
The excess cloth was cut off the edges.
Image

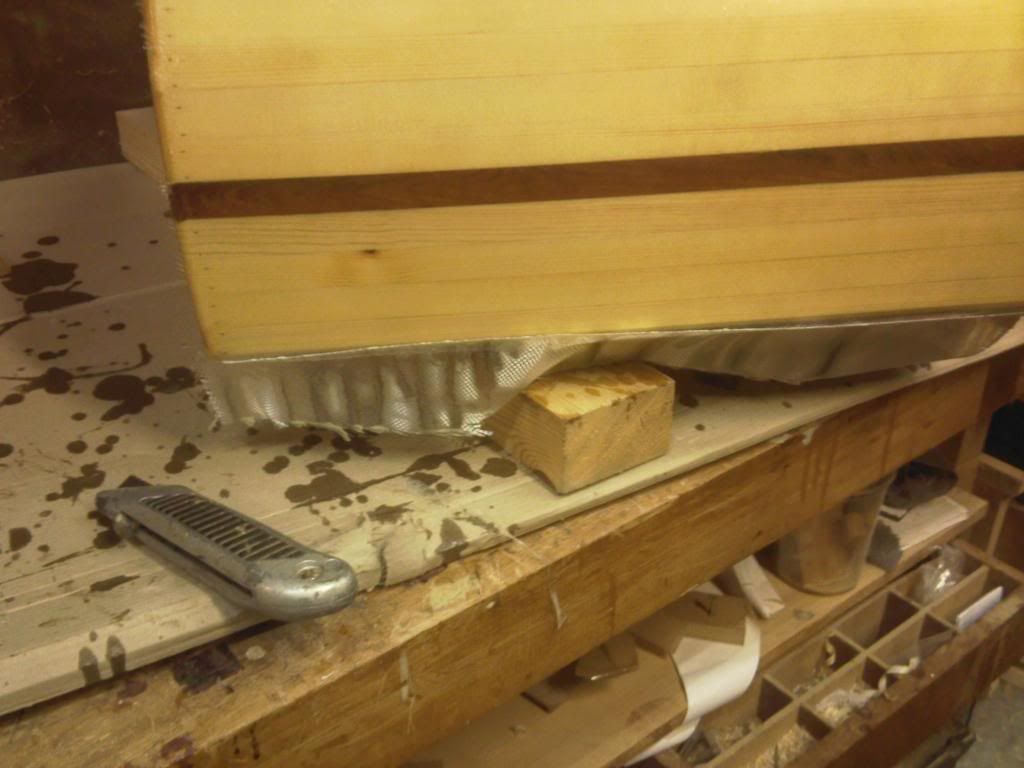
Then I washed it off all over with a wet and dry sanding block and left it on the bench to dry with the fan heater drying it out whilst I warmed up the resin and the surrounding workshop.
After a coffee break things were warm enough to proceed with a brushed on fill coat.
Image

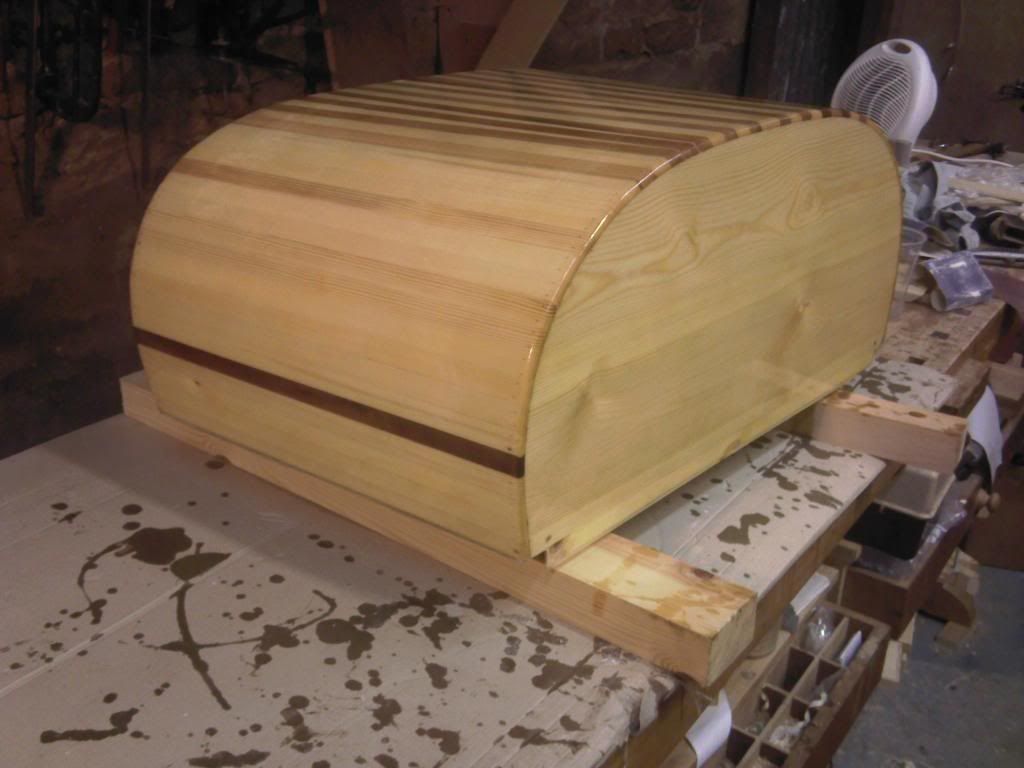
After cleaning brushes I left it all alone to set undisturbed and then returned this morning.
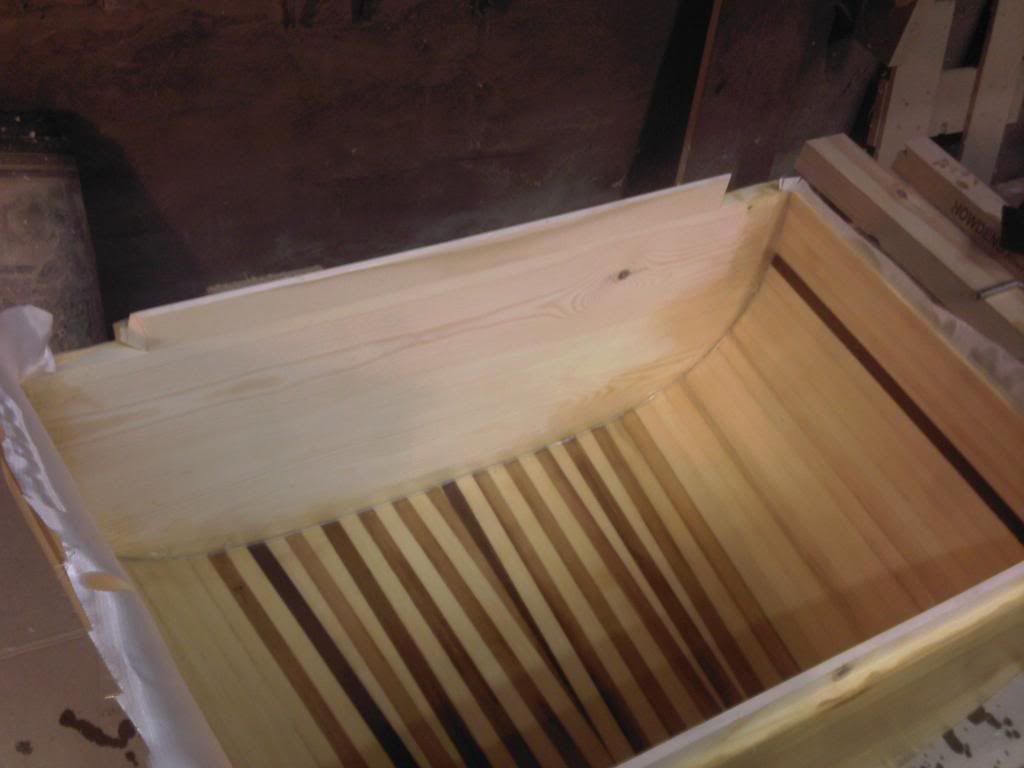
I began by planing off the inside edge where I had glued on the lip pieces.
Image

This plane is one of my favourite tools which I bought new in 1981 when I was on a pattern making course.In those days they made planes properly and it has a good weight to it and is far better finished (with wooden handles) than my jack plane that I bought just a few years later in 1987 which I find lighter although it is a bigger tool and it just isn't finished as nicely with plastic handles!
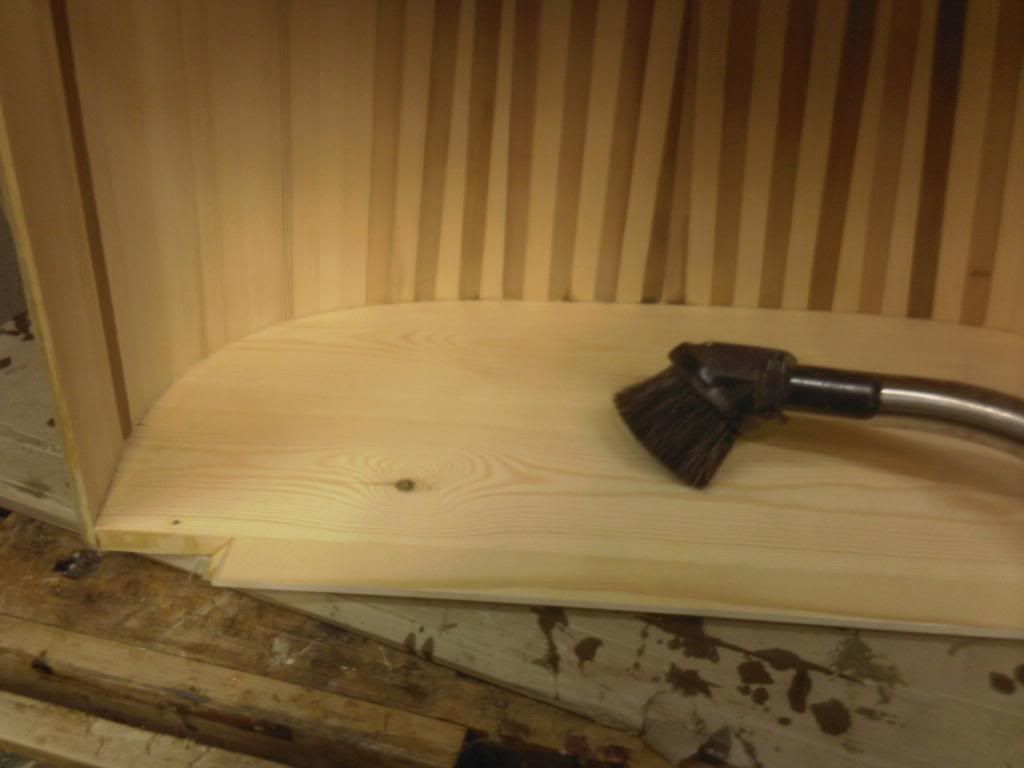
Anyway I digress and next came a little sanding of the inside and no matter how much of this you do there aways seems to be some uneven-ness but at the end of the day I say to myself it is a box for storing goodies and I'm sure they won't mind if it is a little uneven in places.
I hoovered off the dust.
Image

Then I decided the internal corners would need some special treatment to allow the cloth to sit in them nicely.I mixed up a squirt of resin with some micro fibres and then put it into the corners using a specially made stick.
Image

This seems quite tricky to begin with but once I dribbled some into the corner it was soon struck off with the stick leaving a bit of excess either side of the corner.

Image
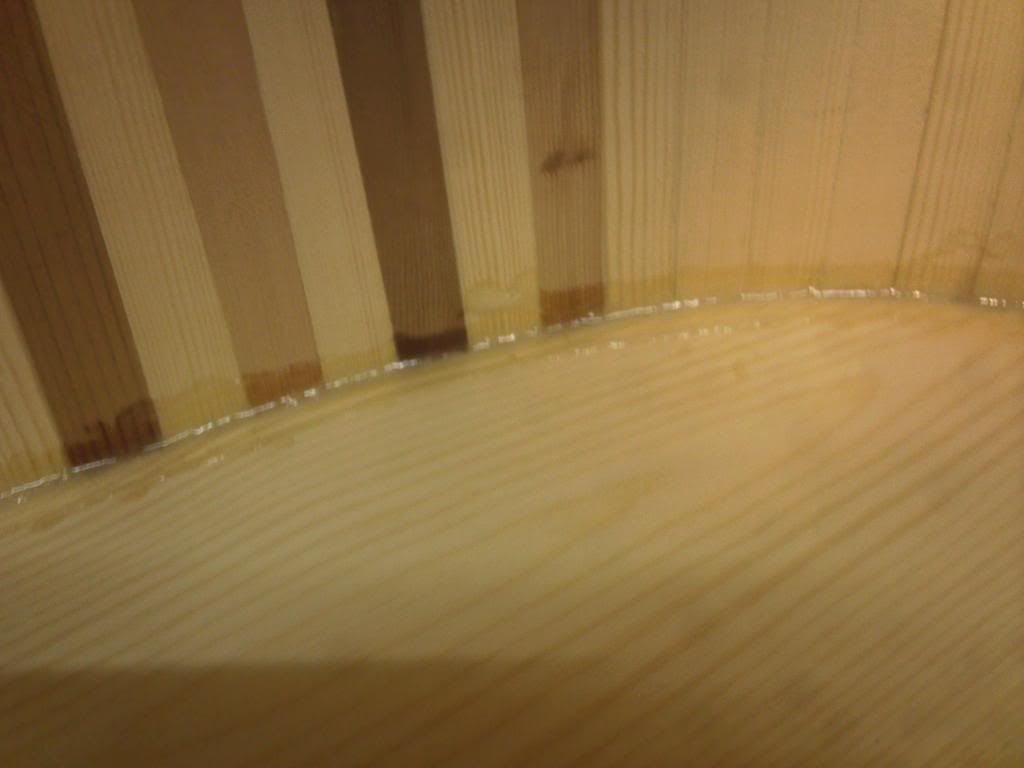
I then went round carefully scooping up the excess with the corner of my squeegy leaving the fillet in place undisturbed.

Image
I left the heater warming the inside of the box and curing the fillets whilst
I had a coffee and then I turned the box over and cut out a piece of cloth using the outside as a guide.
Image

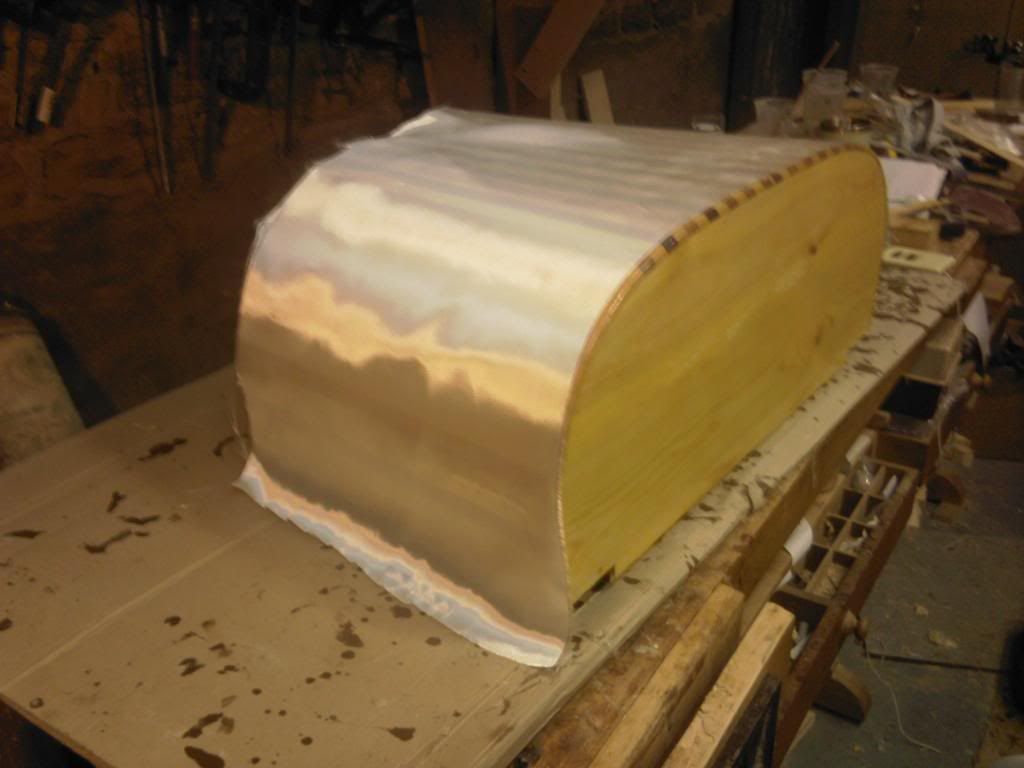
The cloth was carefully lowered into place.
Image
and then brushed out flat.
Image

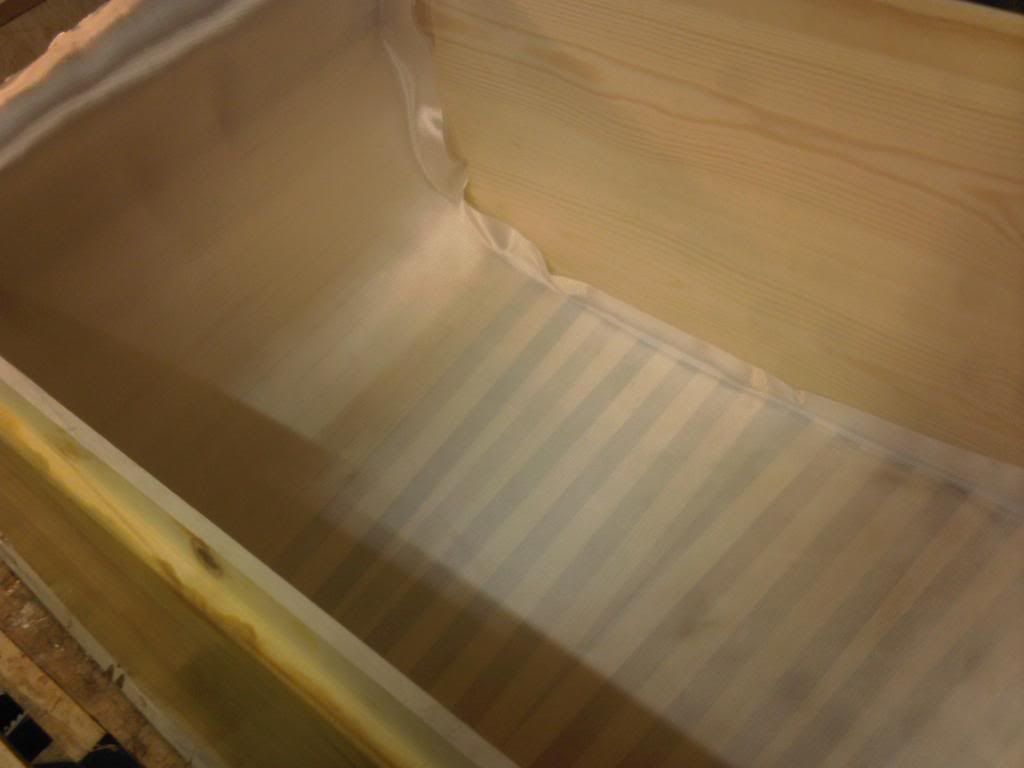
You can see from the edges that a few cuts will need to be made to get the cloth so lay flat.I made them once it was stuck during the wet out.
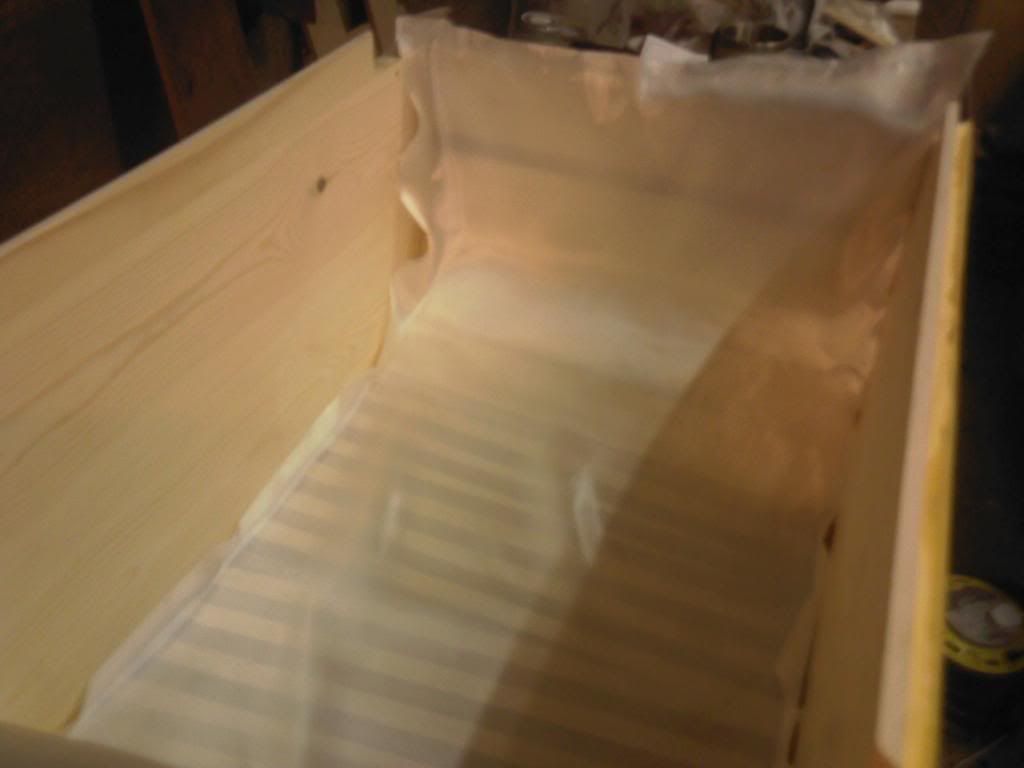
About an hour later I had completed the wet out.I found the brush useful in a stippling motion to get it into the corners whilst the flat areas were done with the squeegy and any bubbles were rolled over with my grooved metal roller.
Image

I tidied up and cleaned my brush before checking it over once again and then leaving it to set.The corners will be cleaned up and cloth added to the ends once it has set and at that stage I should also be able to give it a fill coat.
Cheers :wink
Alick
User avatar
Patricks Dad
Posts: 1476
Joined: Wed Oct 13, 2004 1:11 pm
Location: Warrenville, Illinois

Re: glassing my wood strip wannigan

Post by Patricks Dad »

Looking great! It's good to see a nice project going so well on such a cold day!
:applause
Randy Pfeifer
(847) 341-0618
Randy.Pfeifer1@gmail.com
alick burt
Posts: 255
Joined: Wed Sep 07, 2005 2:41 am
Location: united kingdom
Contact:

Re: glassing my wood strip wannigan

Post by alick burt »

Thanks Patricks Dad
I hear your weather is a lot worse than ours and I hope you are all managing to keep warm.
I did a bit more glassing on the inside today so should be able to continue with the top parts next time.
I started by sanding and scraping the rough corners.
Image
Then I gave the ends a sand to blend the cloth in.
Image
I gave the bottom a sand with a wet and dry block to key it for fill coats.
Image
I cut the cloth out using the outside as a template.
Image
I wet out both ends and left them alone for a while before squeegying off the excess and putting a fill coat on the bottom.
Image
Here it is with the bottom fill coat done.
Image
and finally with the ends fill coated.
Image
Cheers :wink
Alick
User avatar
Glen Smith
Posts: 3719
Joined: Sat May 08, 2004 9:08 am
Location: Baie-St-Paul, Quebec, Canada

Re: glassing my wood strip wannigan

Post by Glen Smith »

BearLeeAlive wrote:Alick, are you planning anything to keep it up out of the bilge water? I had thought of adding four(ish) lengthwise strips that I would like add some kind of padding to, to protect the inside of the hull from abrasion.
Alick, I don't think you answered this question.
Post Reply