Okay, second attempt at this post, finished up the last one and got a site error and lost it all .... I didn't save a draft ... lesson learned.
When I decided I was going to build my own canoe(s), the plan was to purpose build at least 2, a solo, which I completed last year (Freedom Solo) and a tandem. I find when I build I always plan ahead, in fact the tandem model was selected before I even finished my first build.
What I decided on for my tandem was the Kipawa, a John Winter's design that is a favourite of the group I camp with, we have rented the Swift version for many years. ... as luck would have it, one of friends also decided to build a Kipawa as well. He has a friend with a C&C wood machine and some spare time, they programmed up the molds from the plans and made an extra copy for me, for the cost of the wood.
I am posting this build summary for 2 reasons, I didn't see a Kipawa posted anywhere here and to share some changes I made in how I put the puzzle pieces together ... seems there is very little that is truly new, but maybe some one will find the ideas useful.
Having the molds all predone was a bonus, having the waterline, centre line and mold numbers all engraved on the wood was like being spoiled.

The front molds were cut to all interlock, which made it a lot easier to align, the bow inner stem here has a small wood fracture, but it is on the part that gets carved away, so no big deal. At least the lines to guide wood removal are pretty straight.

Here the stripping is well under way, I am using the palletising tape (6" from Staples) as I did with my solo, changes here are 1) using the cam buckle straps to hold the strips to the molds (also standoff/guides to manage the straps) instead of the nylon cable ties and 2) to protect the cove, instead of using small pieces of 1/4" dowel, I am just using full size pieces, which is a lot easier and I think provides more even pressure.

]
I wanted to keep most of the stripping pretty clean for this build, just this very simple accent ... the stems, gunnels and decks is where it will get fancied a bit ....

]
Another change I made was how I used my clamps at the stems. I stole some of the wifes kitchen antislip material, used inside drawers and cupboards, as shown. It works really well and is a lot easier than wedges, bungee cords and the like.

I had used the plastic shrink wrap tape before, and it works really well, but I was looking for something a little less time consuming. After much daydreaming I bought some 3/16" bungee/shockcord to try and ended liking that better. This is six 12' pieces, each one fastened to one of the clamps holding the strip starter blocks at the bottom. To use, I just glue up the strip, place the dowel on top and then stretch and wrap the shock cord, finishing up with a simple clamp near the end of the cord.

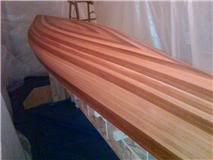
Centre line is established, stripping is going really well, I am getting that "almost there" excitement building up ....

Other side is moving along very well, on the next boat, I will swap the bungee cord out for 3/16" latex tubing I think ... and yes, true to form, I have picked the next boat ...

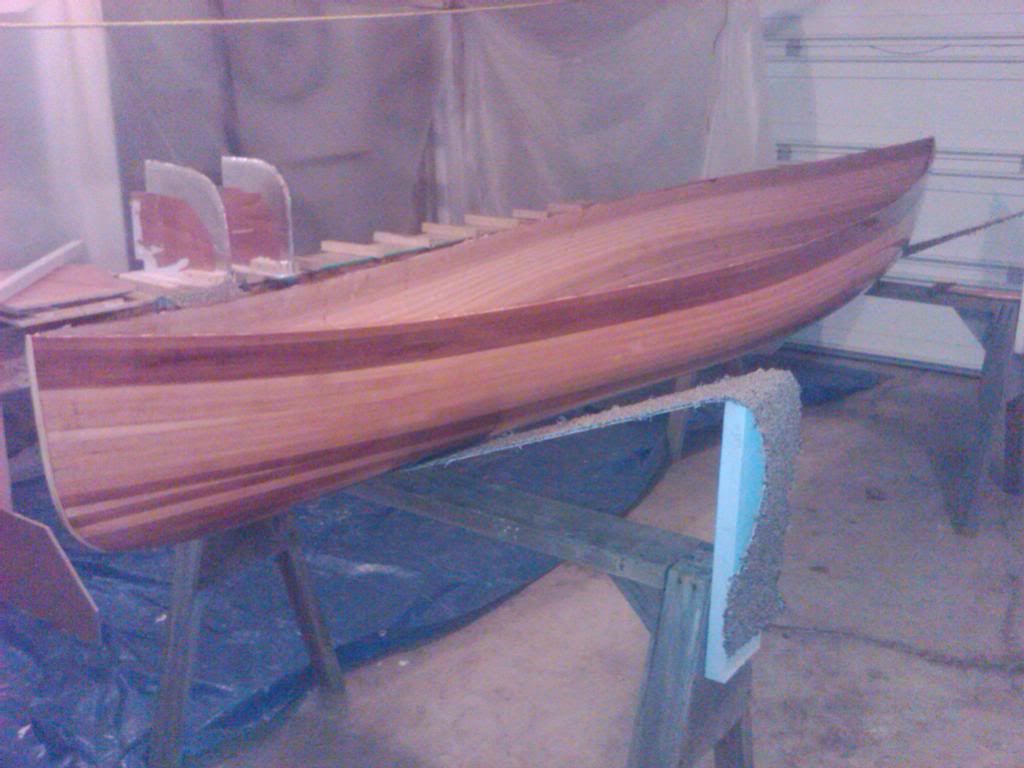
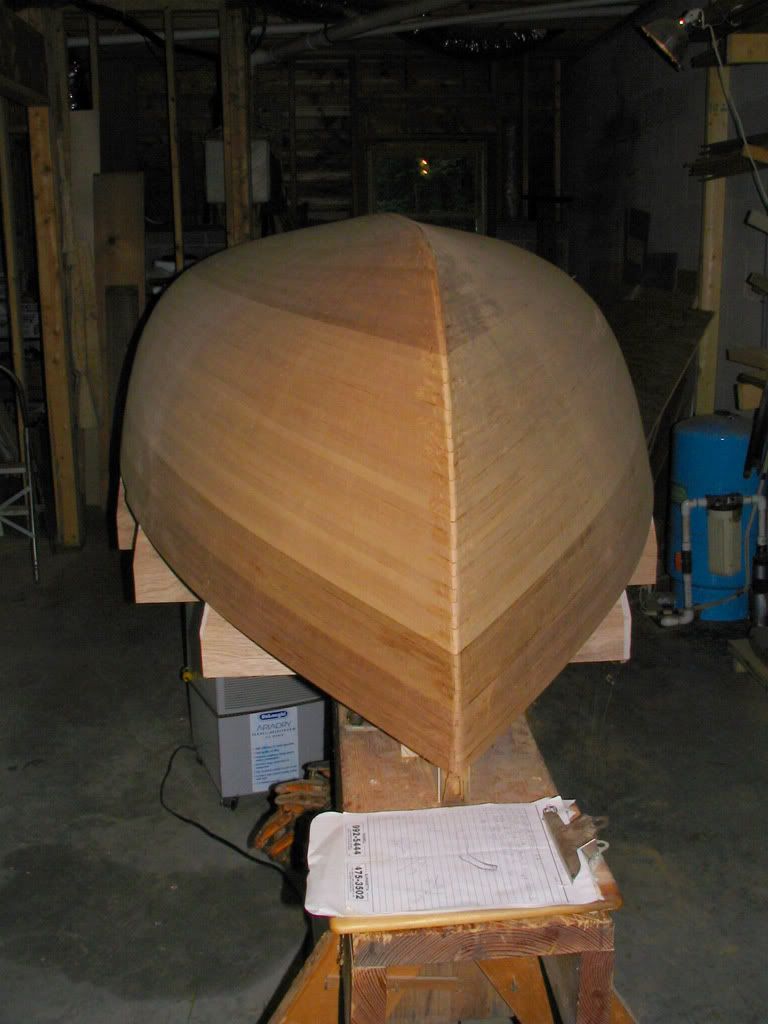
These 2 shots really show one of the challenges with building staple-less ... the transition curves at the bow and stern require some thinking, but it worked really well IMO ....


Two strips away from closing .....

The gluing jig I used to set the curve etc for the last 2 strips to close the bottom ....

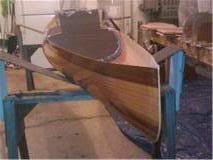
Tada .... it is closed ....maybe not a completely perfect fit ... does it ever fit perfect? Also, I am sure a couple folks were wondering in the earlier section "Did he just take the molds and not buy plans?" I did buy the plans, you can see them on the right hand side wall. I feel pretty strongly about supporting the designers.

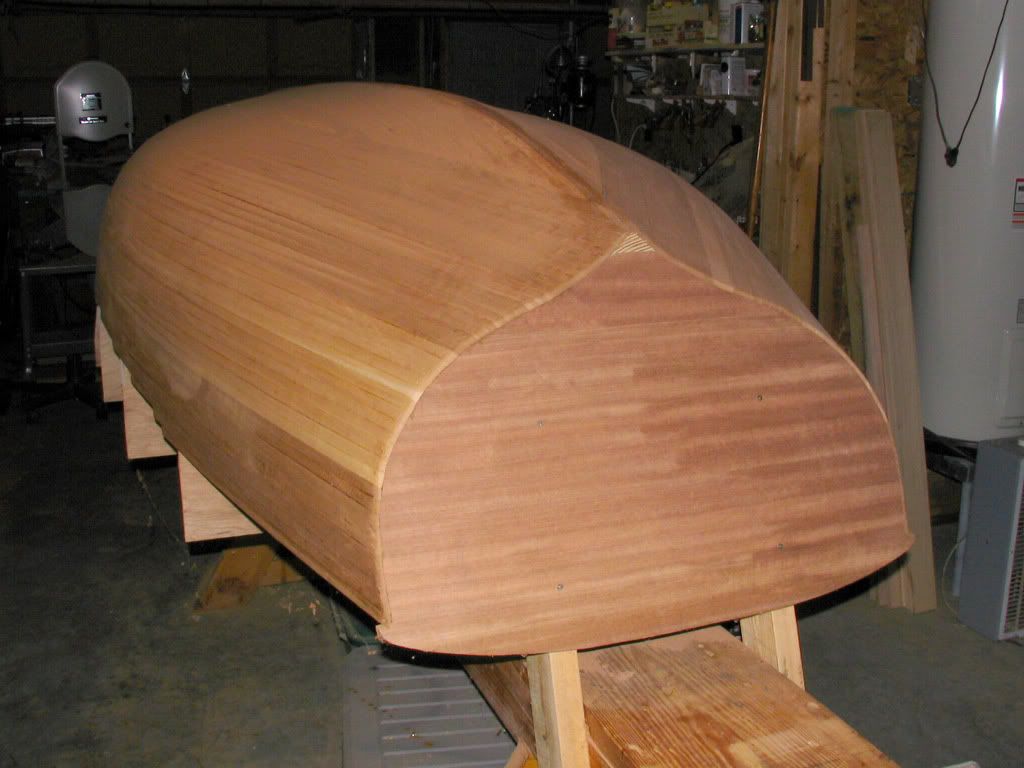
After initial shaping , there were a few gaps that I just felt needed to be addressed. I masked off the areas, both to minimize the amount the epoxy spread and as a reminder to me to stay on the areas I had chosen and not fill everything in sight.

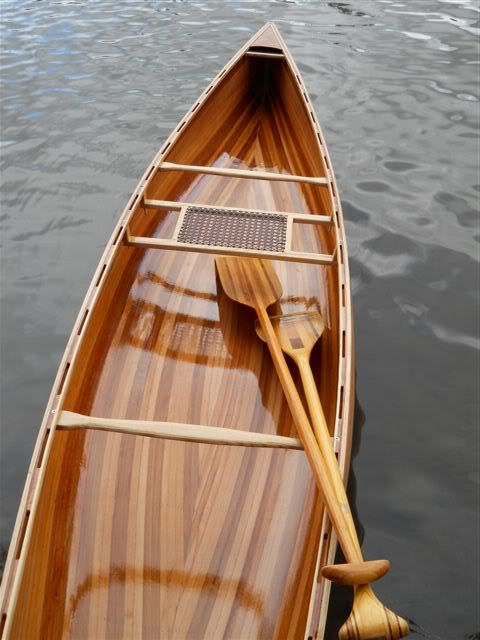
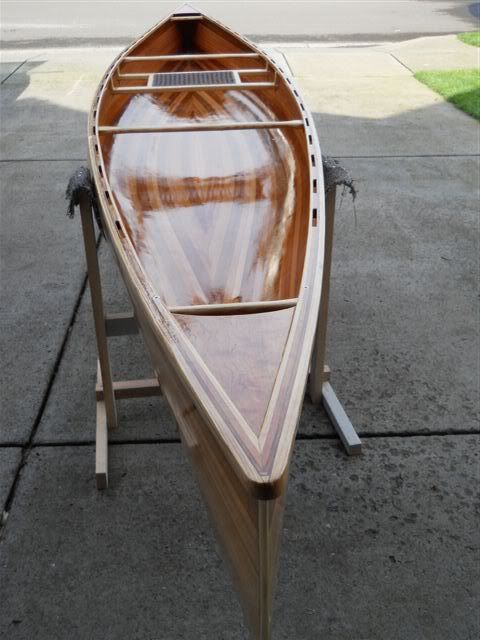
After a quick sand, it was time for the magic moment, the wet out and a glimpse of what the boat will actually look like ...


As is obvious in the last pics, it is cold here and winter is here in earnest now ... my goal was to get the boat ready for final sanding before I stopped, I did that and am pretty happy with the result. I will be picking this up again in the spring, hopefully with a functional boat sometime in the June/July time frame.