Hi Folks
Now where were we.
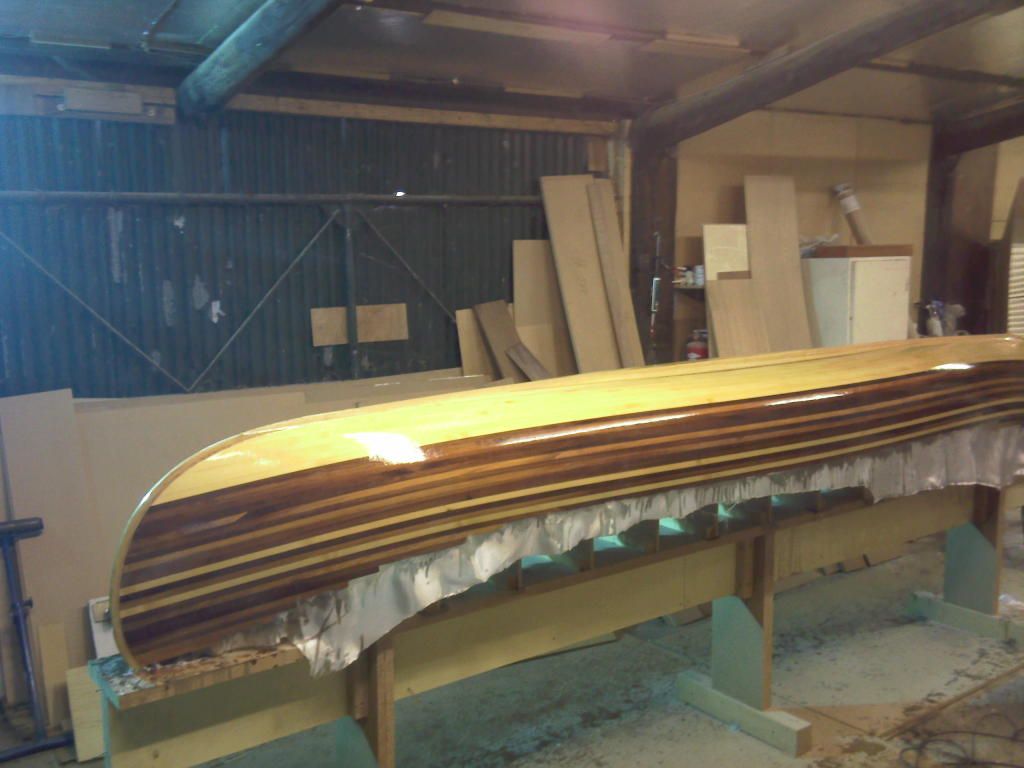
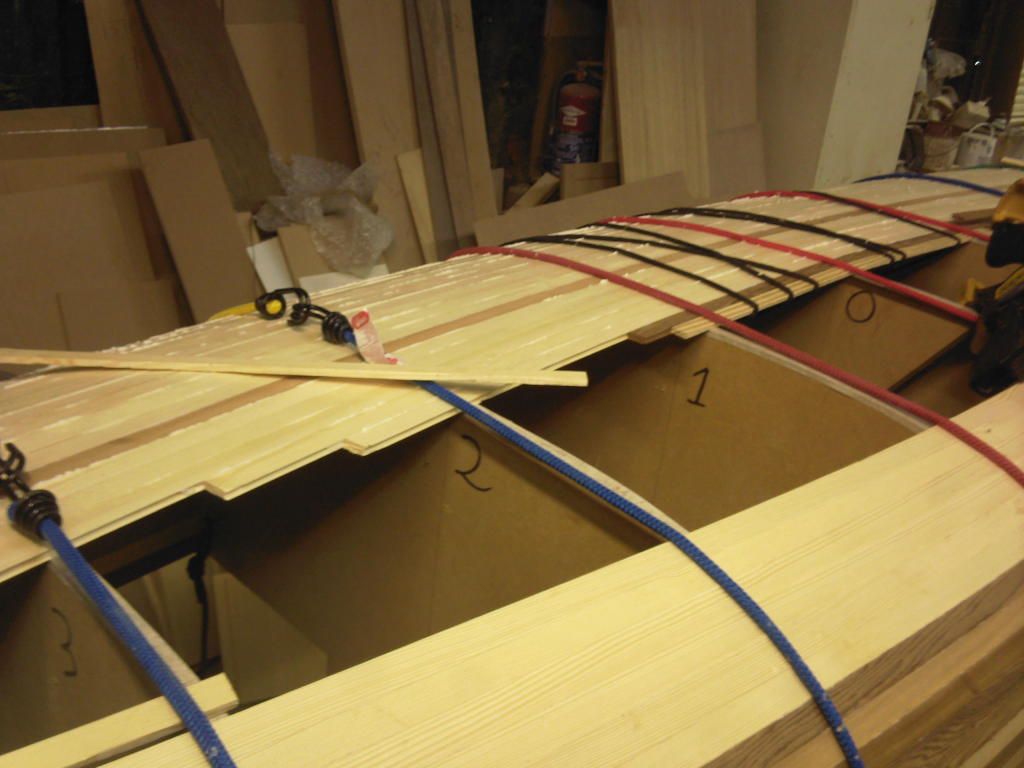
I did my outside glassing operation last Saturday whilst there was a gale blowing and rain pouring outside my unheated workshop.
The cool temperature made working the resin hard work so I didn't stop to take pictures until it was done.The process took me around 11 hours from start to finish and I am no expert but am,learning each time and I think the result is quite run free.I have since talked to my resin supplier and he recommends using drawing pins to hold the cloth along the keel line,folding the cloth back and pre coating a side at a time waiting 30 to 40 mins and re wetting dry spots before folding the cloth back and proceeding with the wet coat so I may try this next time.He also said he has used it as cold as 10C and had no problems it just takes longer.
Next stage was a thorough sand but on close inspection my resin (due to the cold weather)wasn't quite as hard as I would like so i left it longer and decided to make the seats and yoke.
I found a couple of offcuts of elm and made up my seat frames with mortice and tenon joints.I am lucky in that I have a morticer and tenoner for this but if you don't have this luxury you can always cut your mortices by hand using a drill to remove the bulk of the waste and saw your tenons with a tenon saw.
The groove for the cane was routed out before I assembled the frames with the exception of the corners which were cut after assembly.
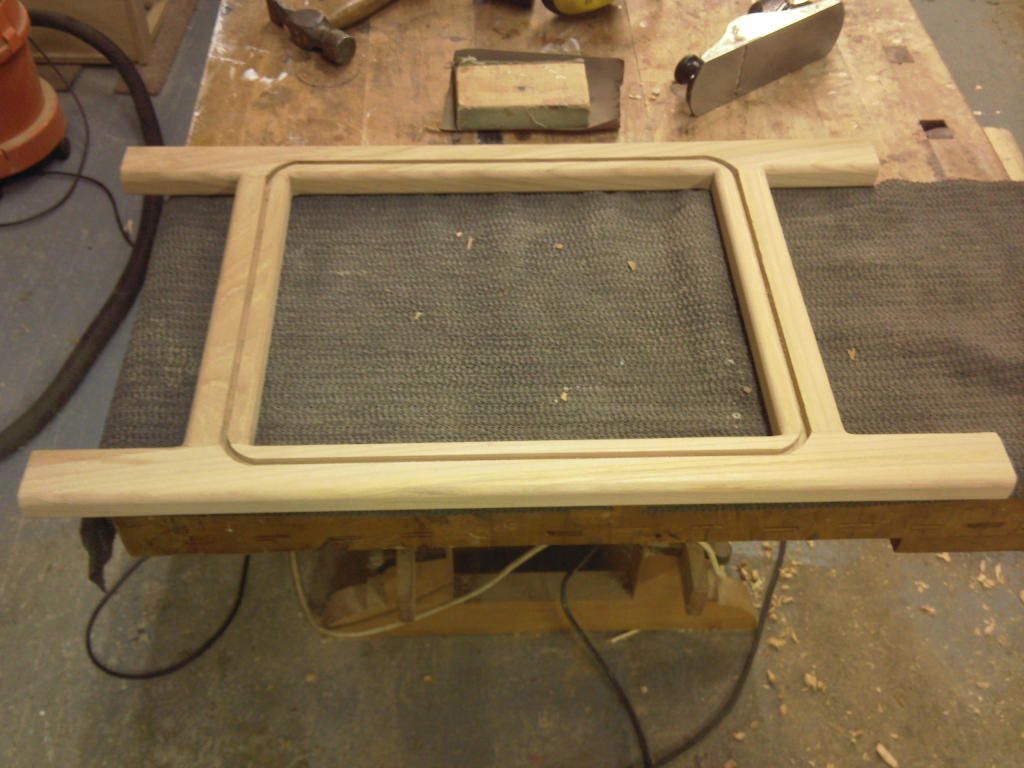
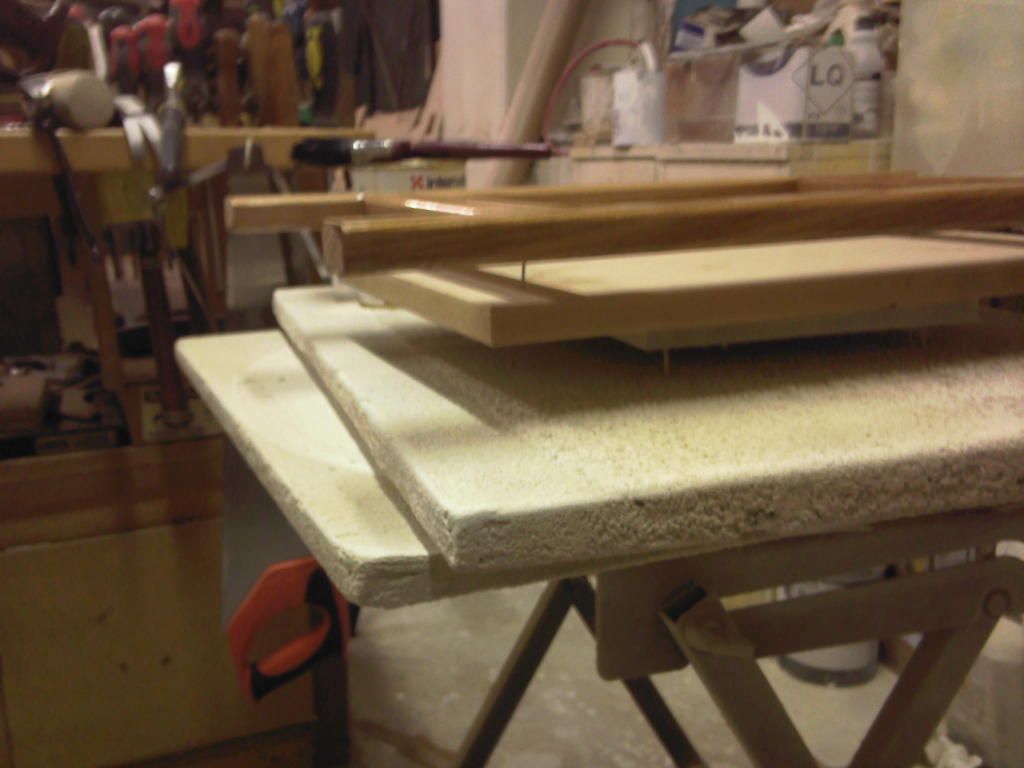
They have also had the corners rounded by router and then they were sanded well before being given their first coat of varnish.
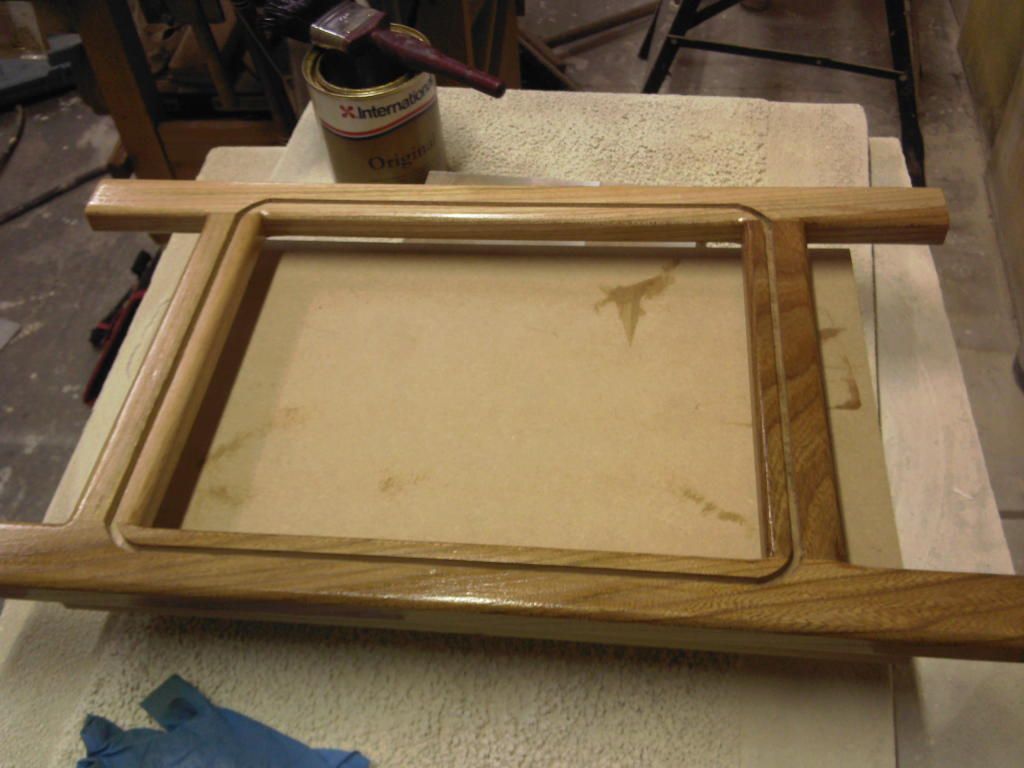
to avoid having to wait while one side dries they are placed on boards which have nails in them to support them without spoiling the coating on the bottom.
While they dried I made up the yoke.
I started with a lovely piece of cherry and drew the shape using my mdf template.
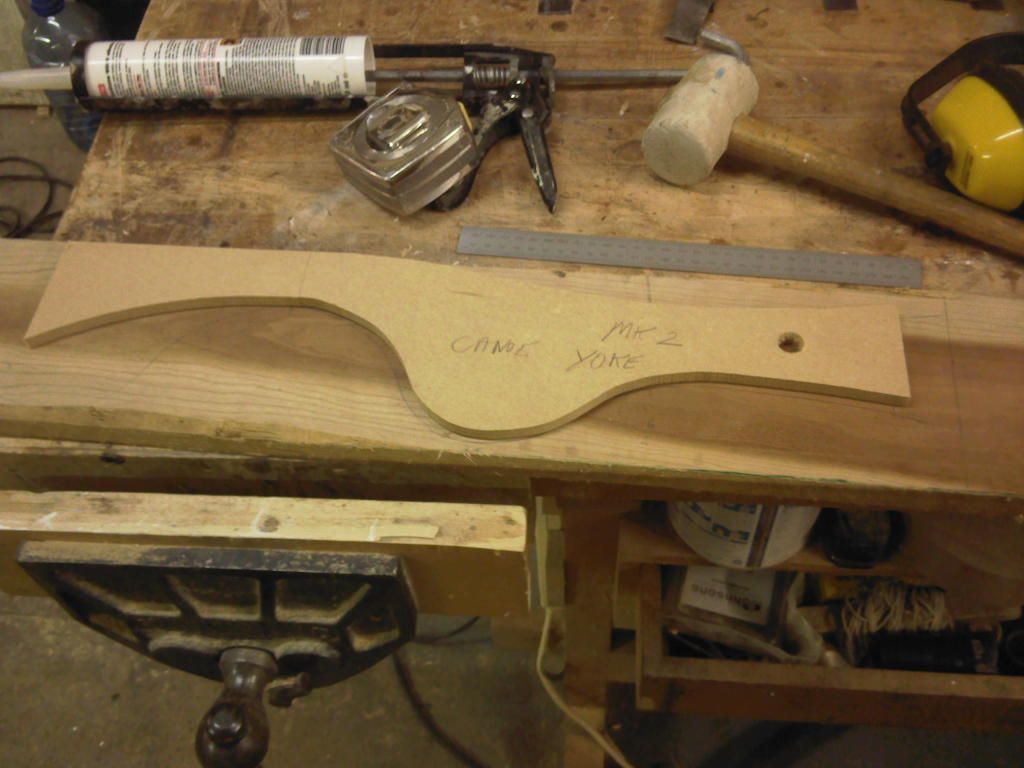
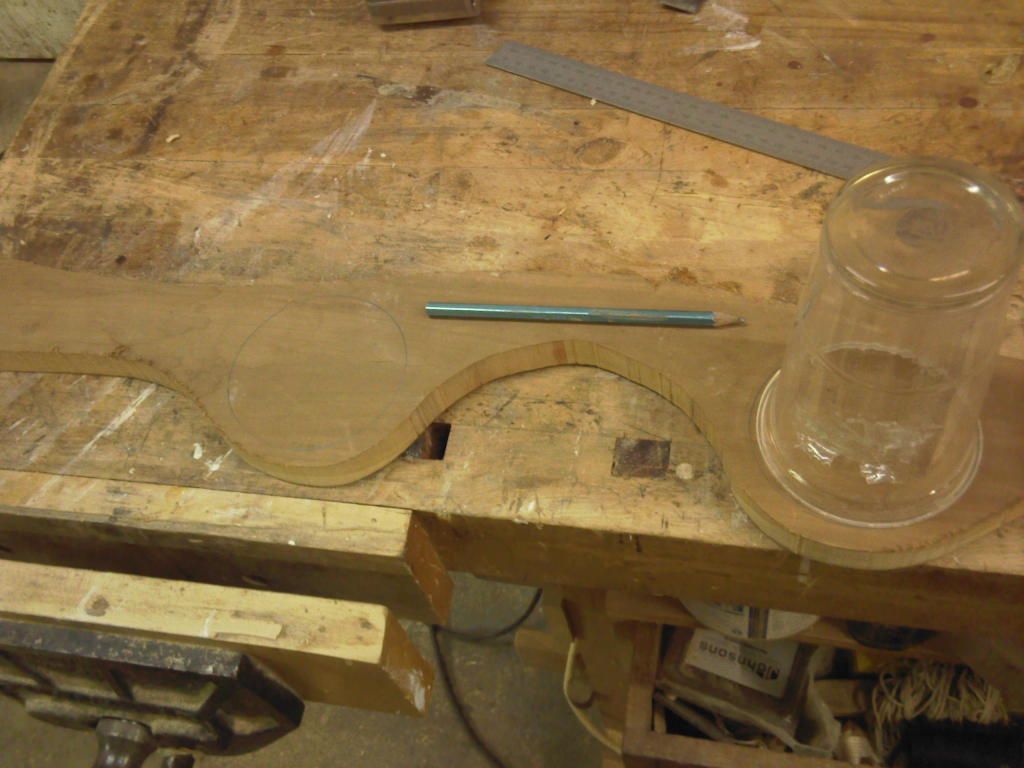
The outer shape was cut out on the bandsaw but you can use a jigsaw,bowsaw or even a coping saw if you don't have one it just takes longer.In the next picture you can see the handy use for a spare plastic pint pot where I am using it do draw the recesses for your shoulders.
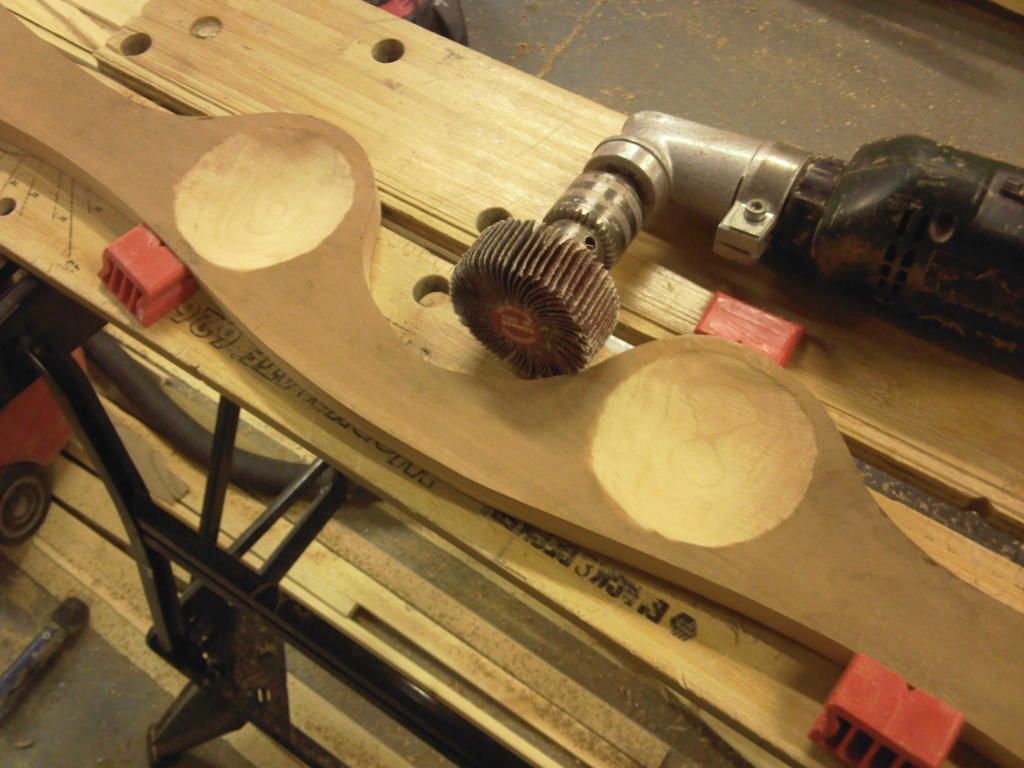
The stages in cutting these are shown in the next sequence.First they are drilled in the centre with a large sawtooth bit then a smaller one is used to drill a series of shallower holes around the first
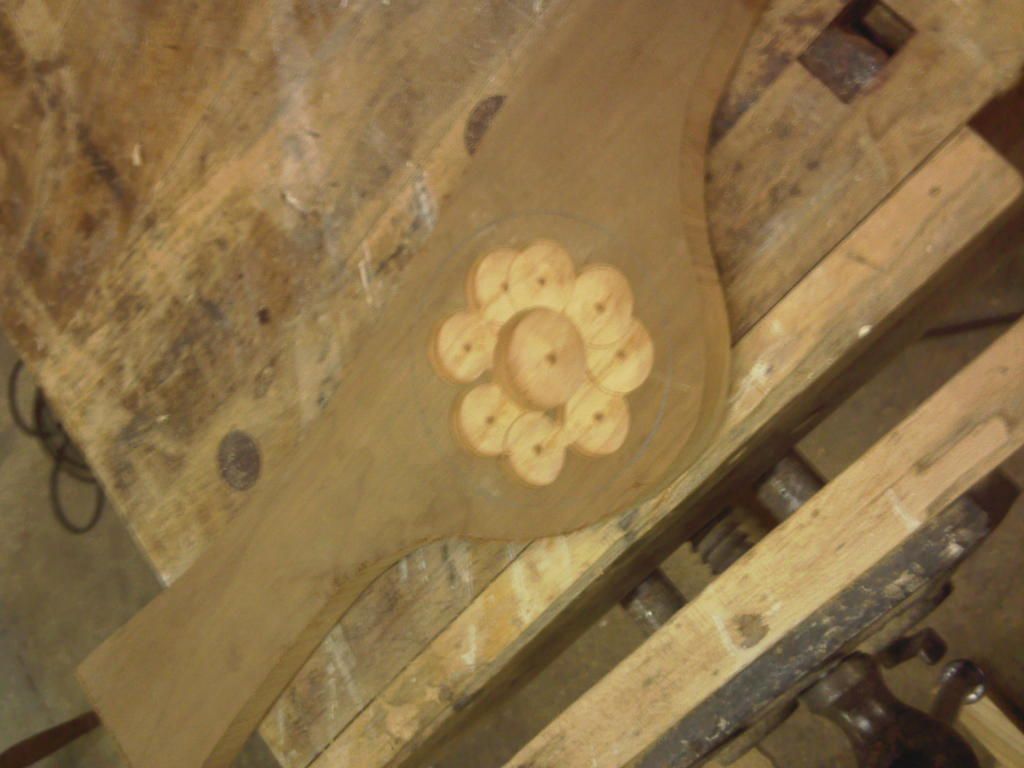
.
Next a large portion of the waste is removed with a carving gouge working from the outside of the bowl shape down into the centre until the drill cuts are removed.

The recesses are then sanded with a flap wheel scraped and then hand sanded to finish them off before the whole thing is given a final clean up and the outer edges rounded off.
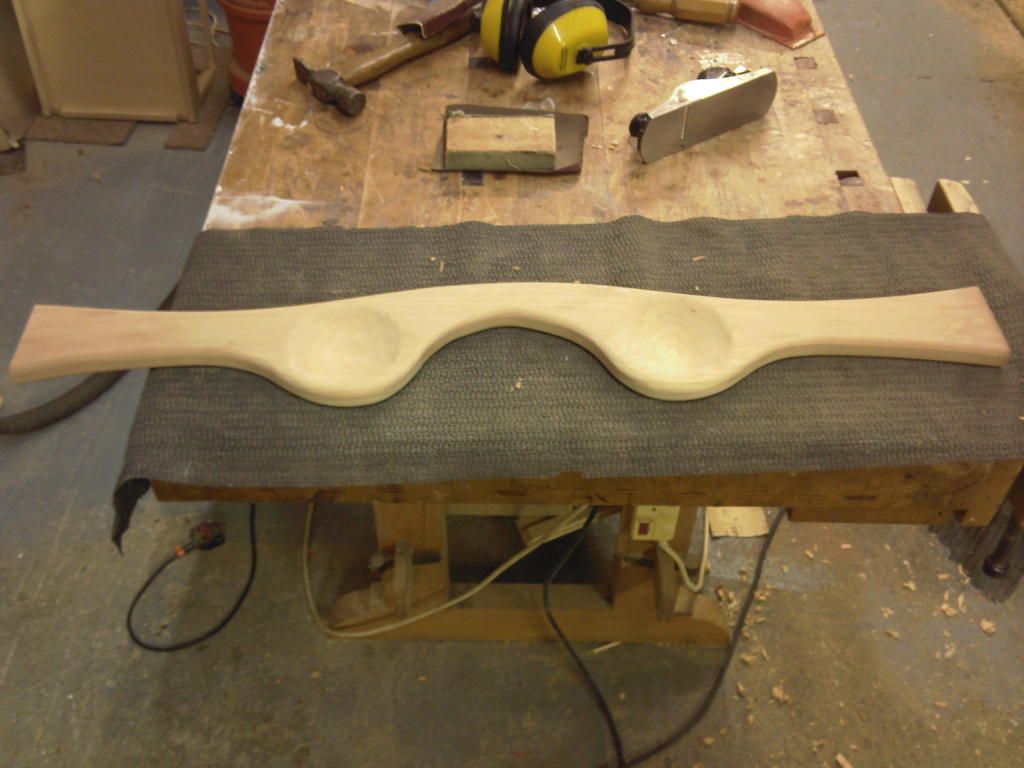
I gave the yoke a coat of varnish and that was the end of another day.
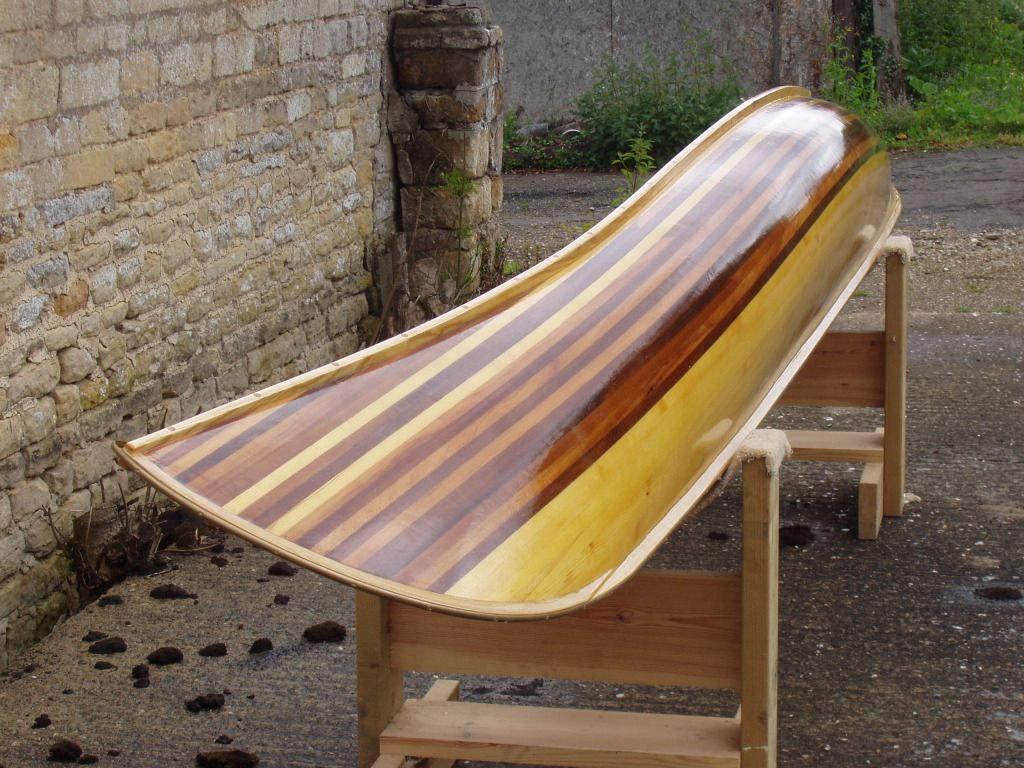
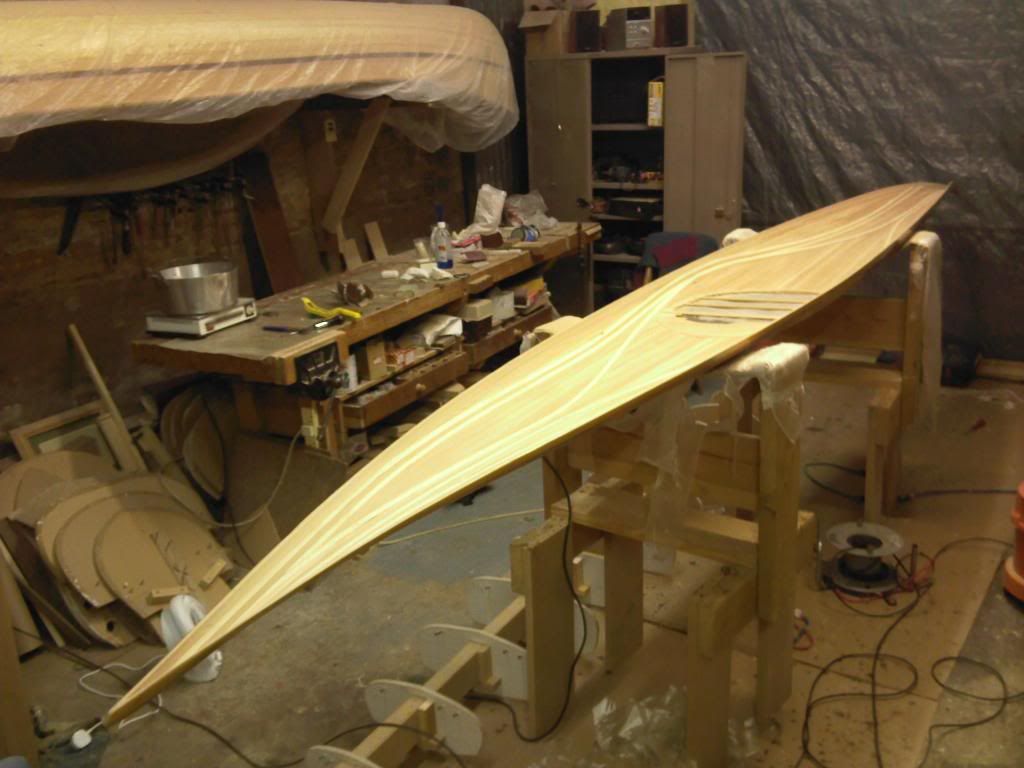
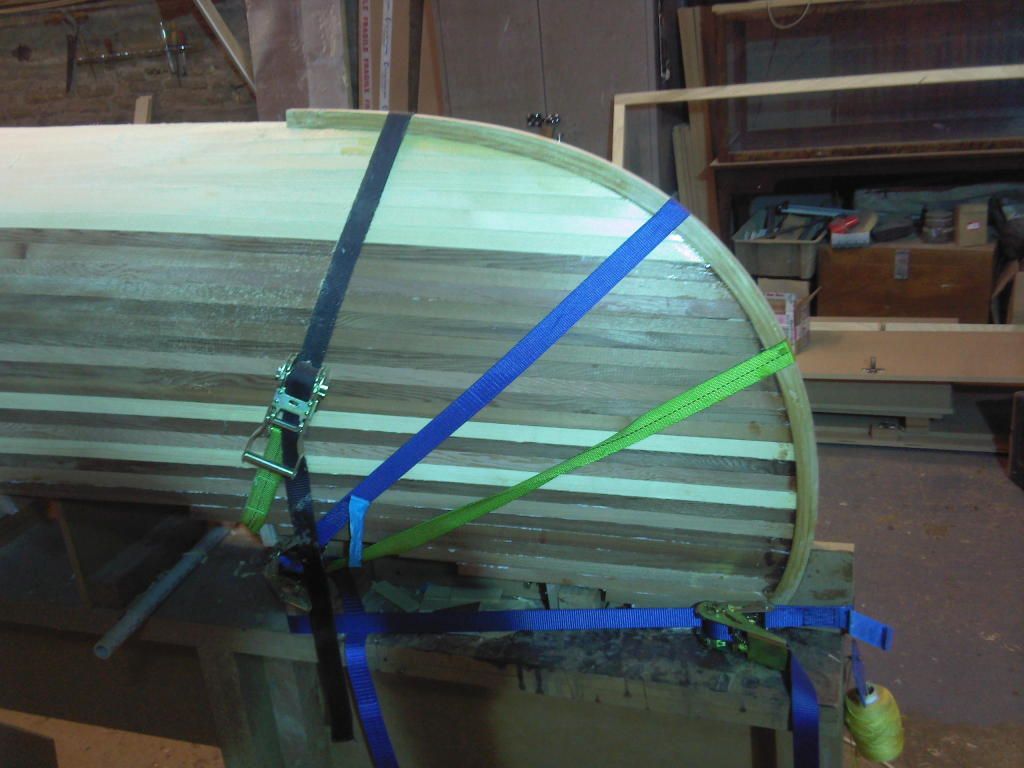
Next day the outside of the hull was sanded with 120grit dry paper and then with wet and dry.I didn't complete this process but left the resin to harden a bit more as it was clogging my paper and went ahead with removing the hull from the mould.Because the design has tumble home sides I found it easiest to remove it by unscrewing the stations from the strongback and carefully easing it off with an assistant to avoid damage.
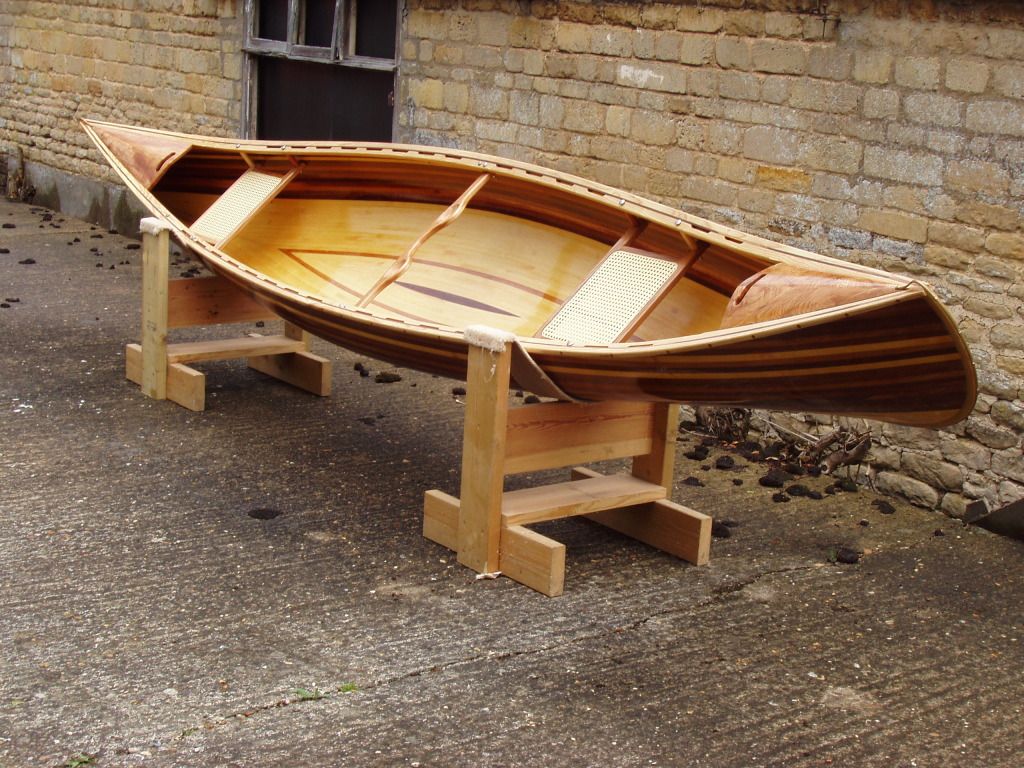
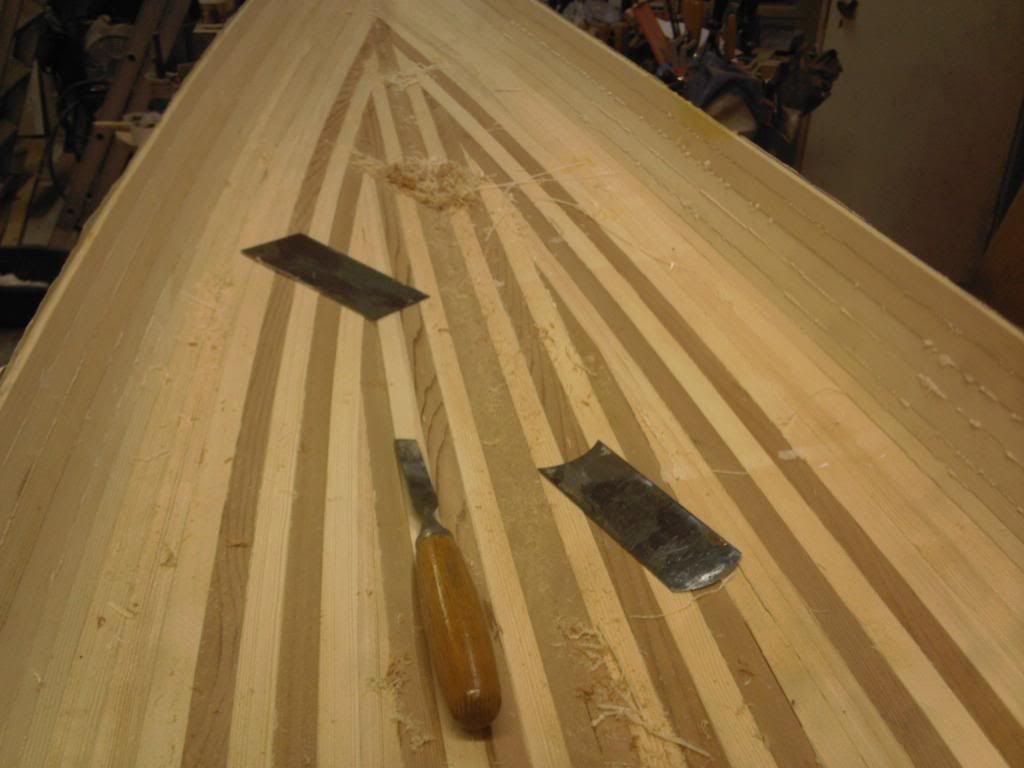
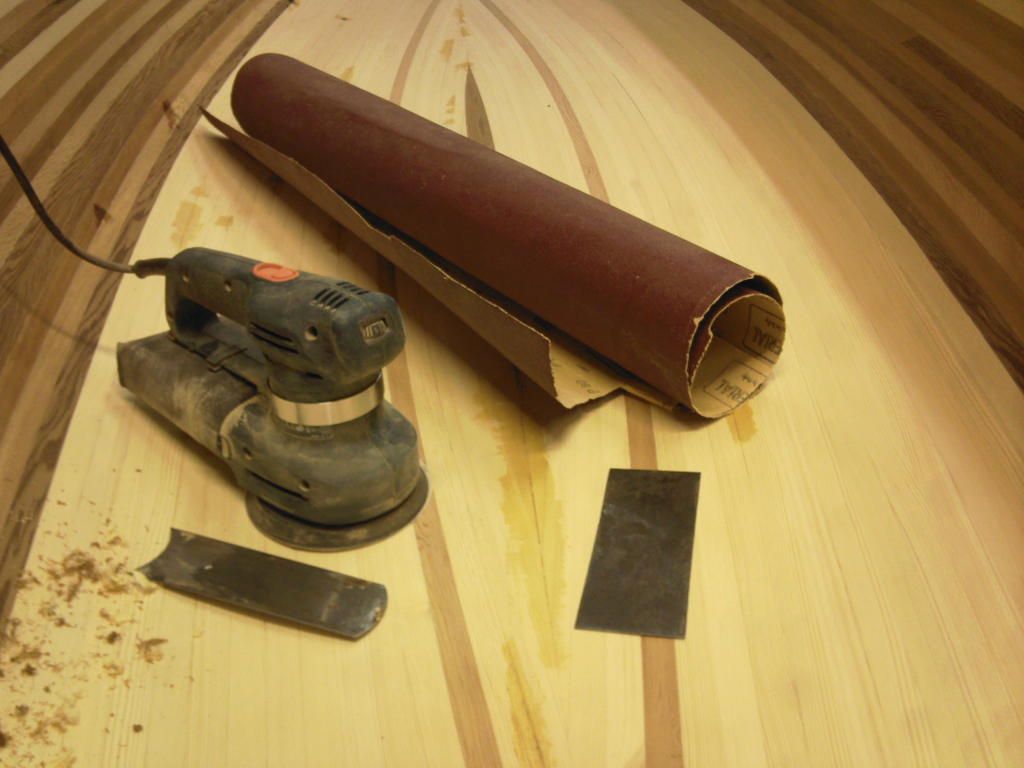
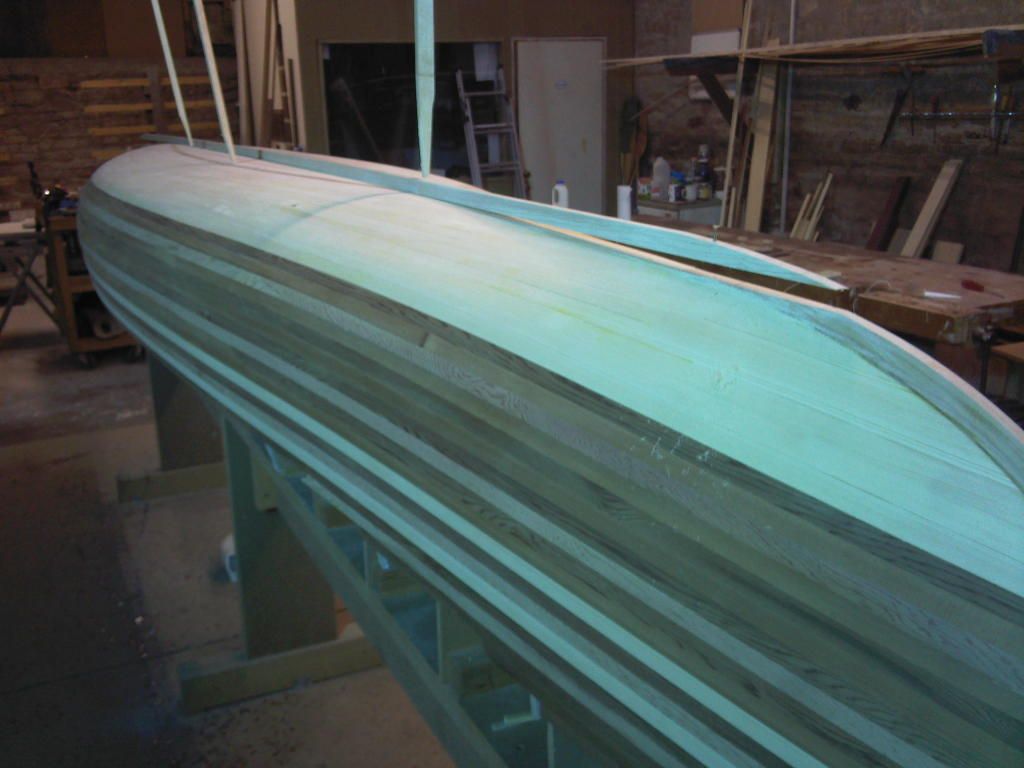
next I started the long process of scraping and sanding the inside.
I use a whole variety of tools including, surform,random orbit sander,belt sander and scrapers.One thing i have found that works well is to use a large piece of sandpaper from my wide belt sander rolled up to various diameters and rubbed up and down the inside of the hull.
After a long sanding session I filled the gaps in planking (not many) and left it for a while to work on the decks.
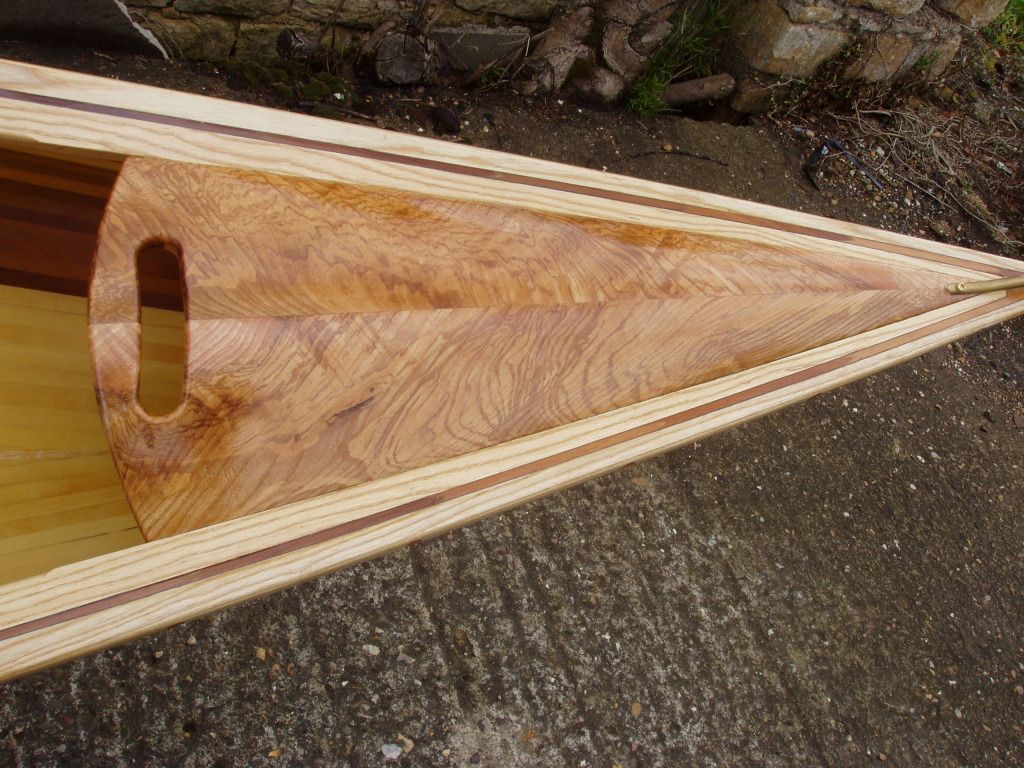
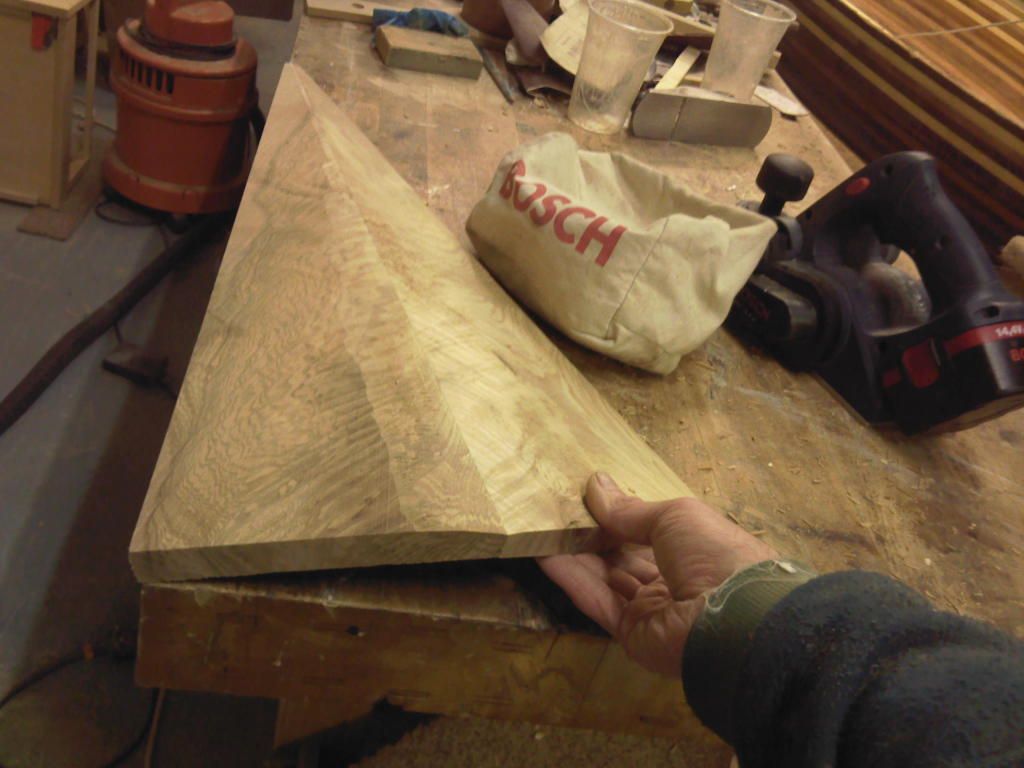
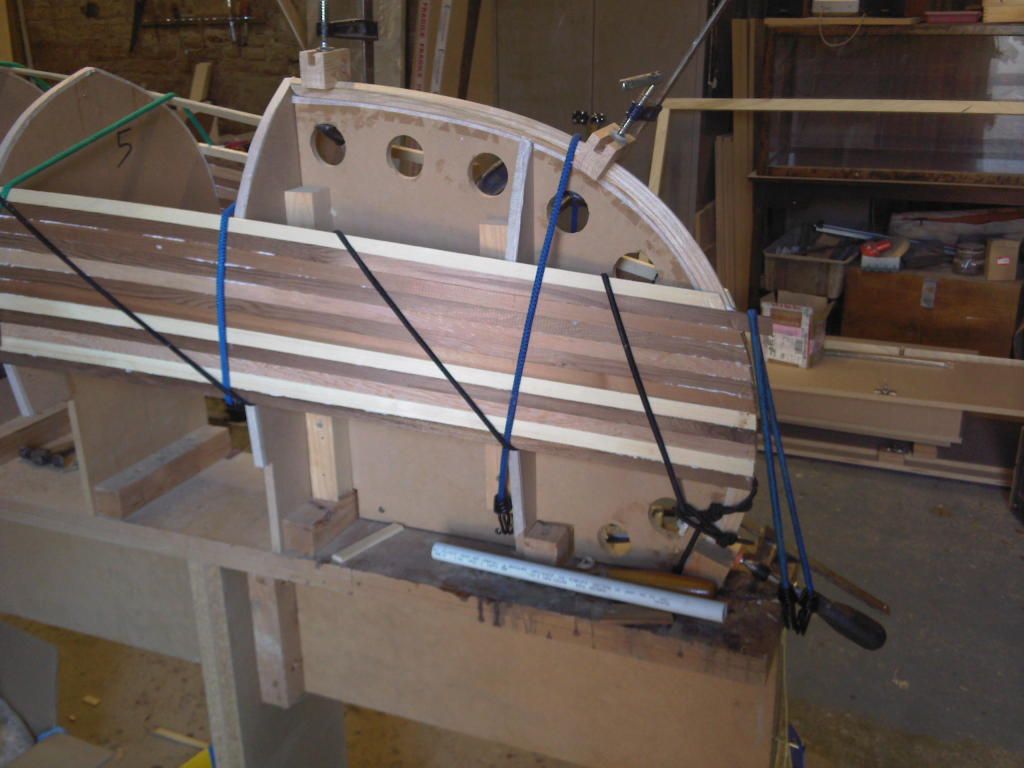
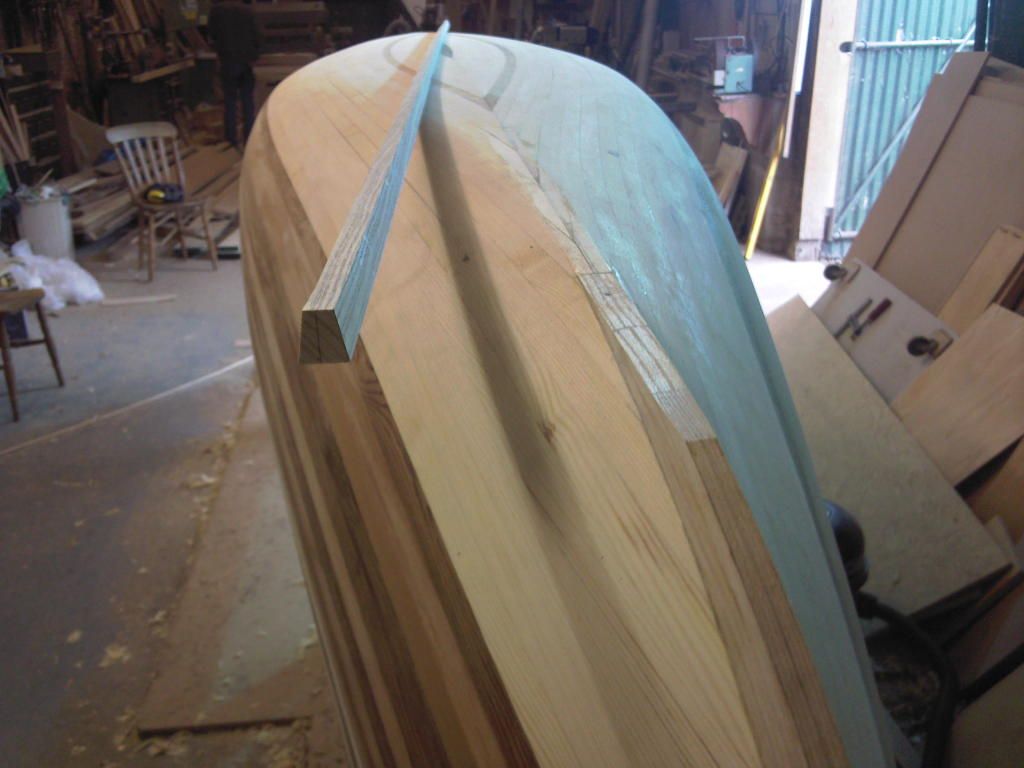
I found a really choice piece of olive ash for this planed it up and marked lines on it to cut it diagonally and switch the pieces around to form the lovely kite shapes.
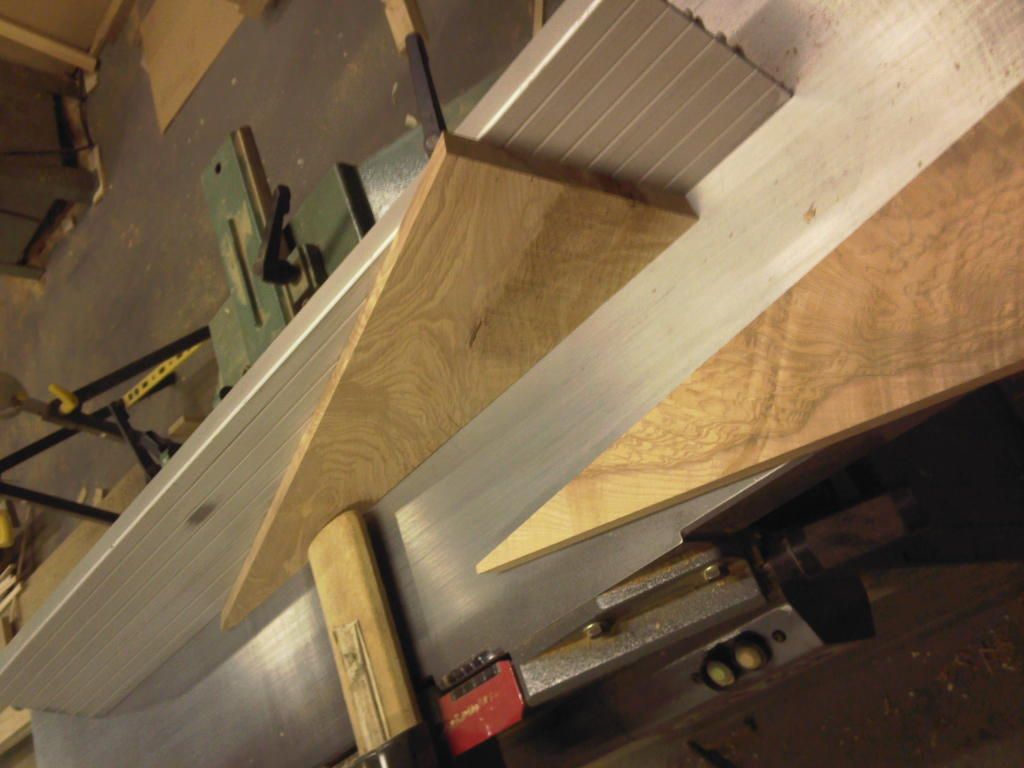
The meeting edges were planed to an angle biscuit jointed and then glued up in a simple jig and left to set whilst I made the seat pillars.
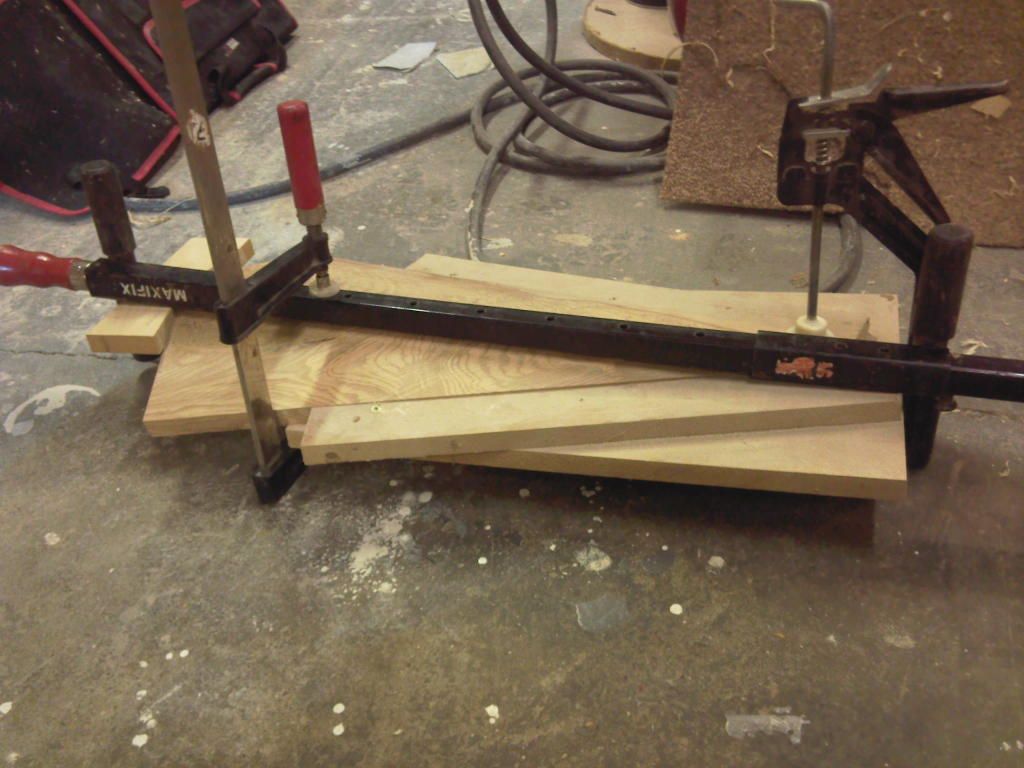
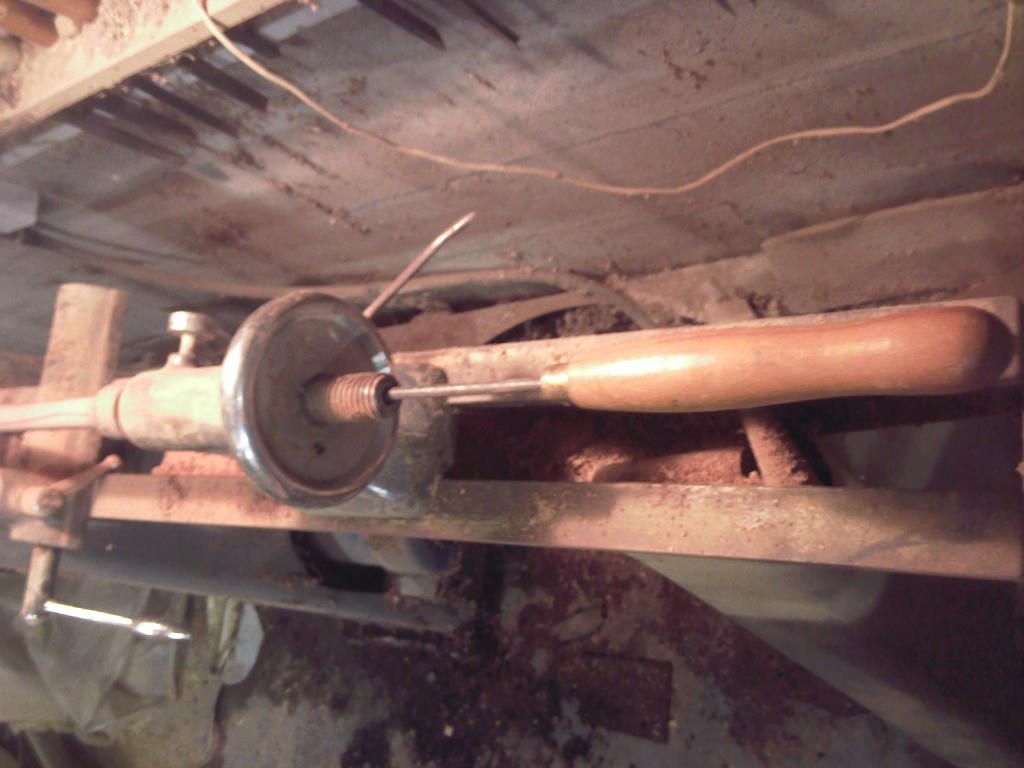
My seat pillars are just turned pieces of wood with a hole through the centre to take the bolts.I make them up from two pieces and then cut them to length at a later stage.I drill the centres out using the drill on my lathe that is used for boring lamps for a flex.If you don't have one of these it is possible to drill them with an ordinary drill once the individual pieces have been cut to length.
Next day I continued sanding the hull and scraped off the excess filler before damping it down with water and again working on the decks.
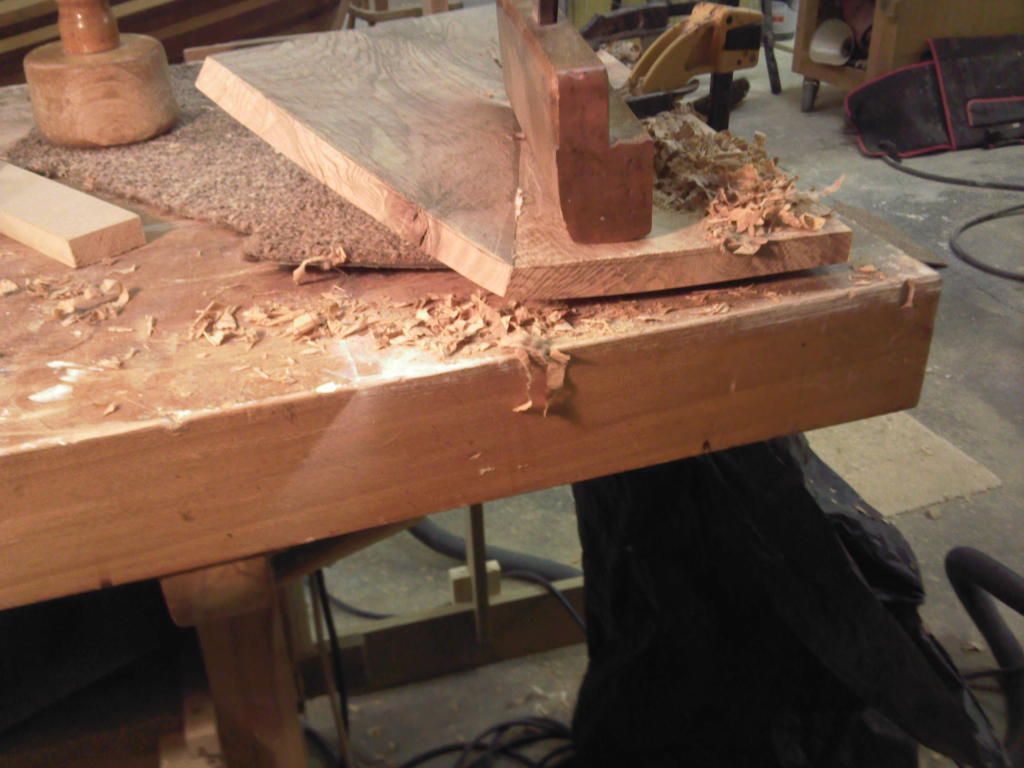
First they were shaped on the top using my power planer whilst holding the other side with my hand like so.
if you are not confident doing this or only have a hand plane you can just put the pieces back in the clamping jig to hold them.
With the wonderful grain on these pieces they developed a few tears but these were next sanded out with a belt sander.The concave side of them was a bit more tricky and I used an old convex moulding plane followed by a small belt sander across the grain before sanding them with the orbital sander to finish off.
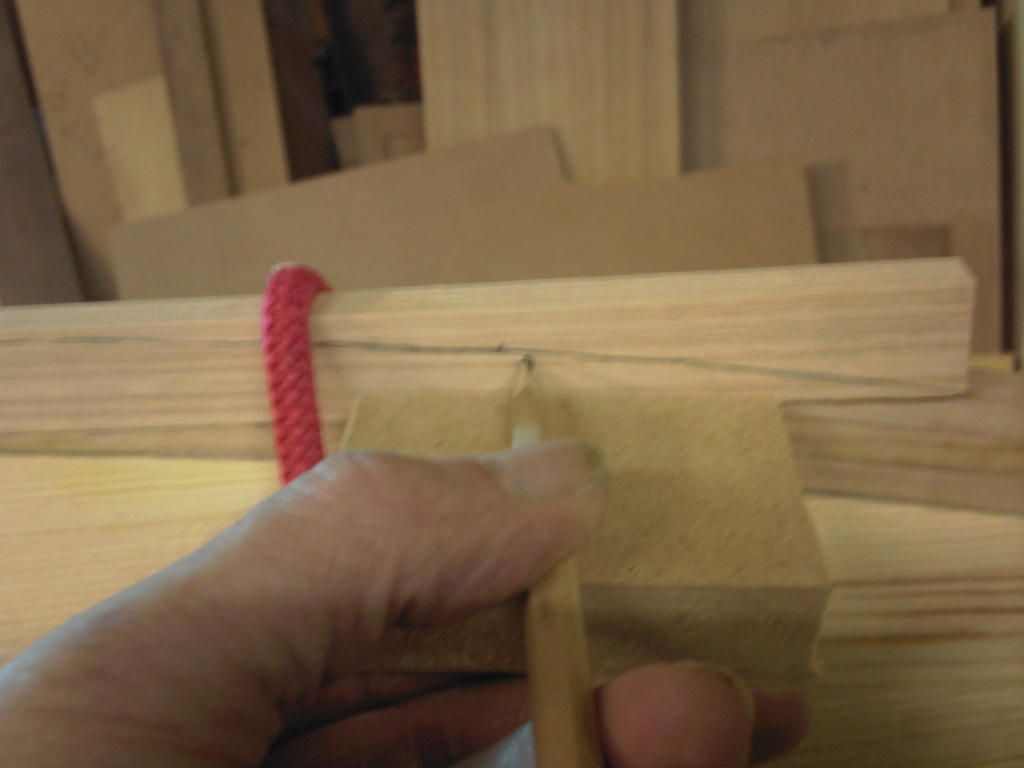
Prior to final sanding they have handles cut out and shaped in them.The edge was first marked and cut to a curve.
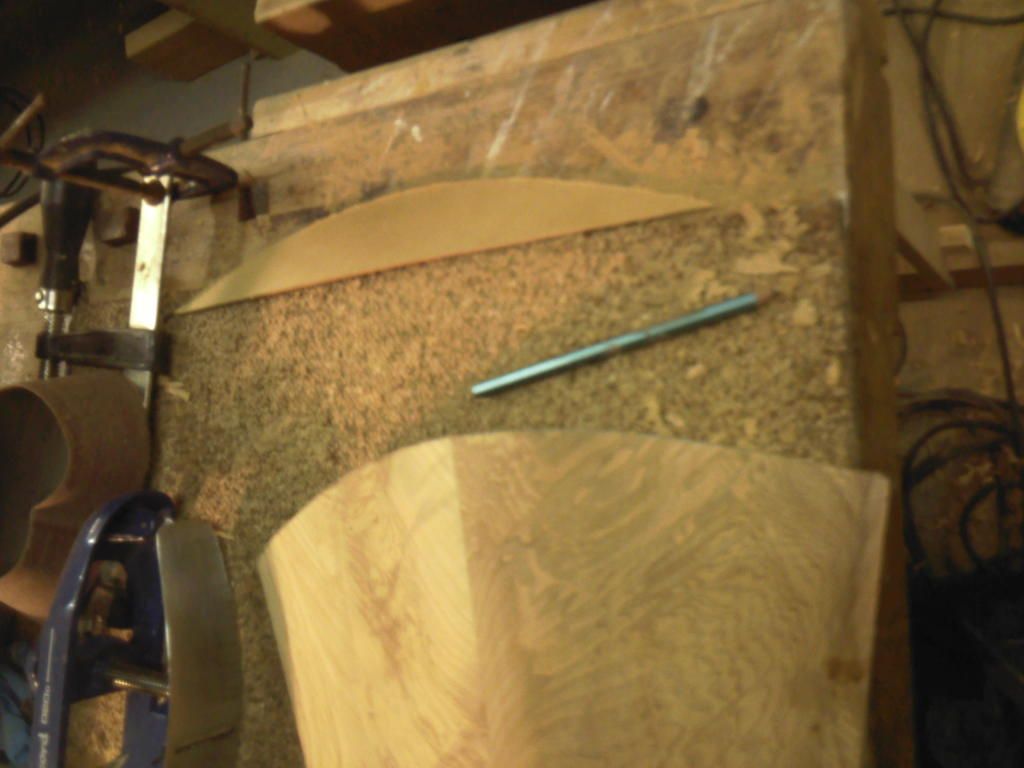
Then I made a template for the handle shape,marked them out and drilled out the ends.
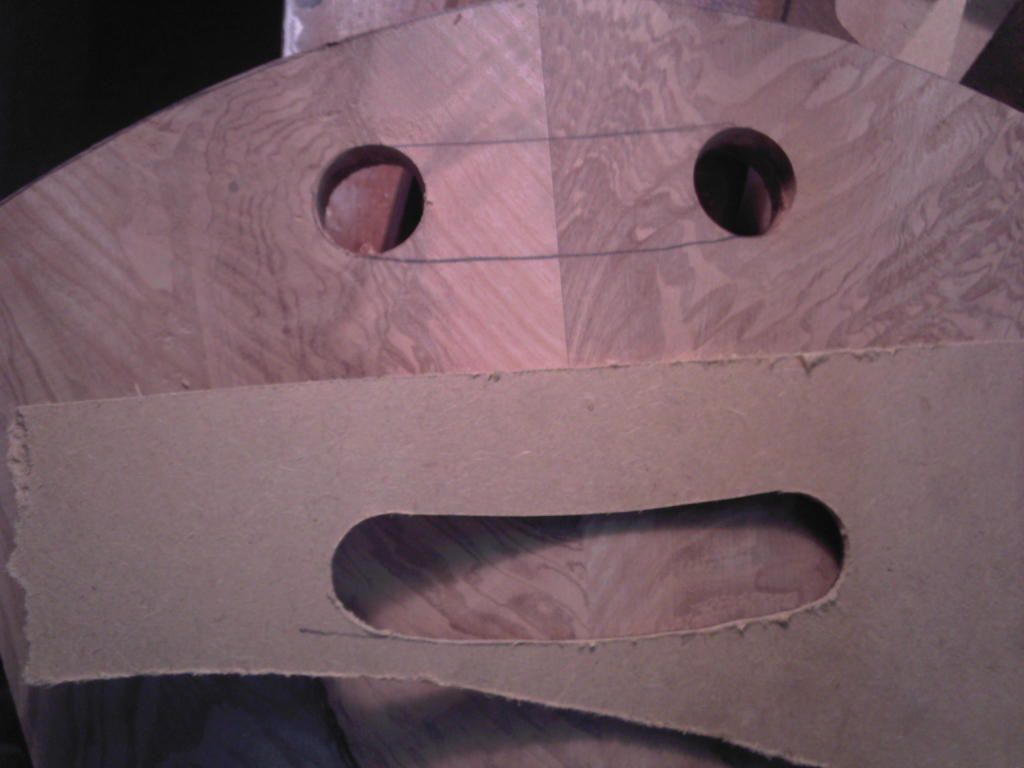
(No It's not a cyberman!)
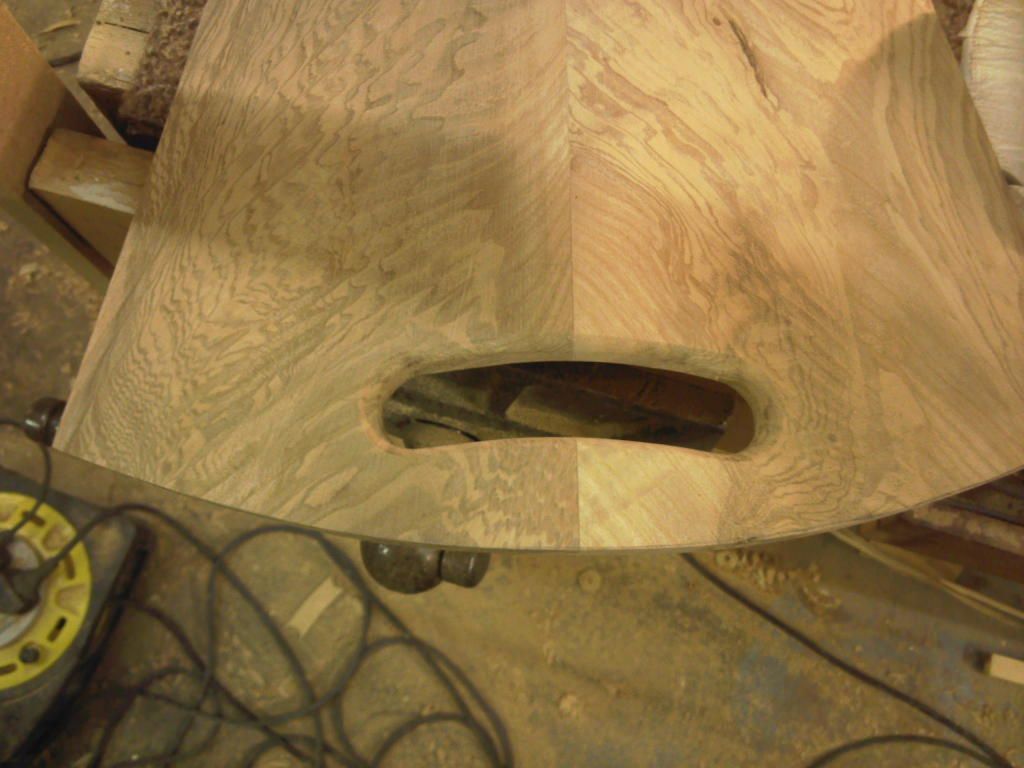
Finally they were cut out with a jigsaw and the edges routed sanded and filed to shape with a rasp before a final sanding.
Another week over glassing the inside next week.
Cheers Alick
 .
.

 More later