Hi Jim
I based the size on a bit of guesswork and the length of the planking offcuts I had left over.I just though about how heavy it might become and decided the size I have is about right.I will think about what I am going to put in afterwards and as I tend to be a weekend or day paddler most of the time I don't think I need it to be too big.
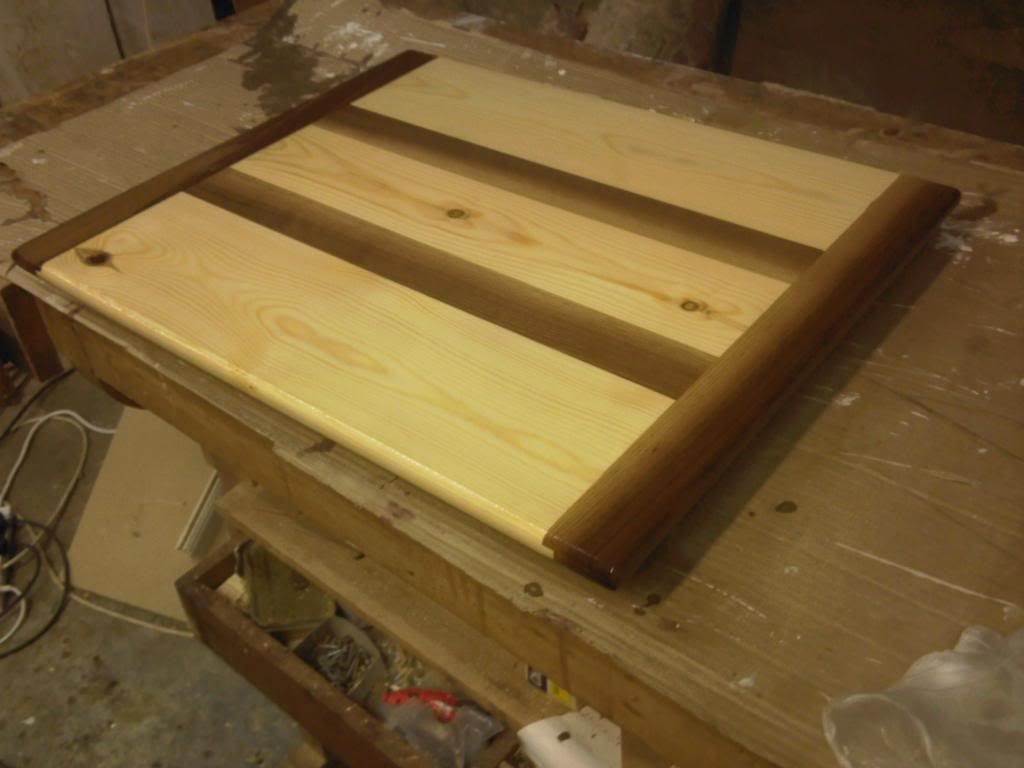
Time taken so far has been about thirty hours and today I did a bit more on the lid and box edge.
I began by cleaning up its edges with the belt sander.
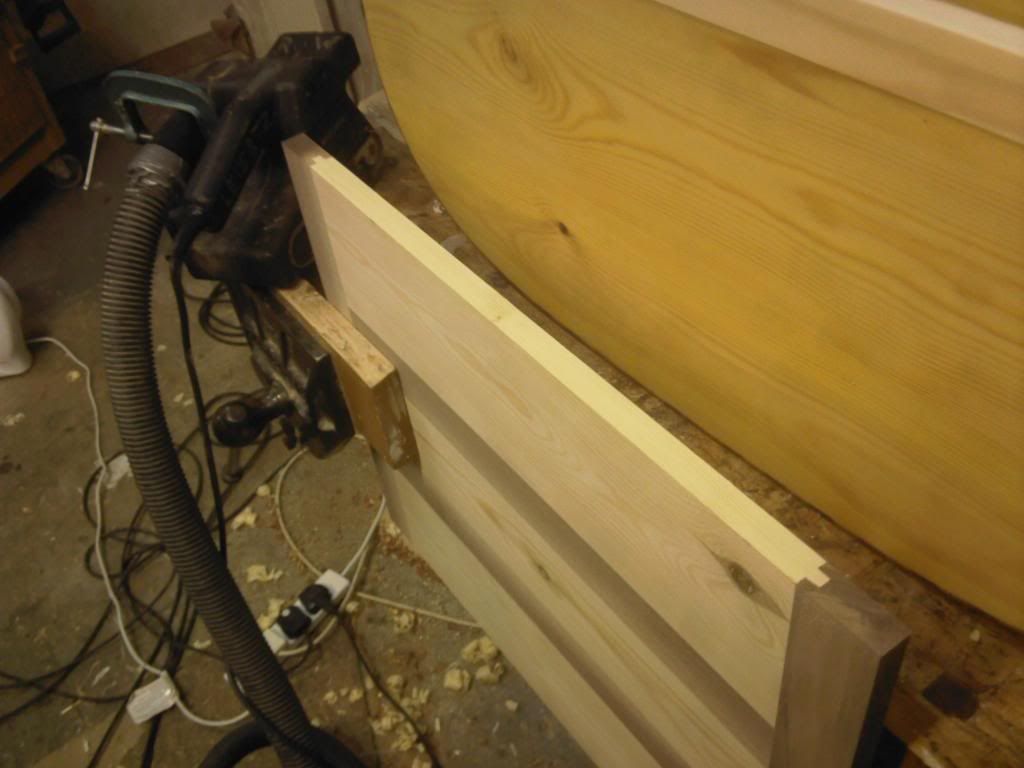
Then I rounded them off with a router.(not to be confused with a router some kind of internet computer box thingy.Us woodworkers had the word first so hands off!)
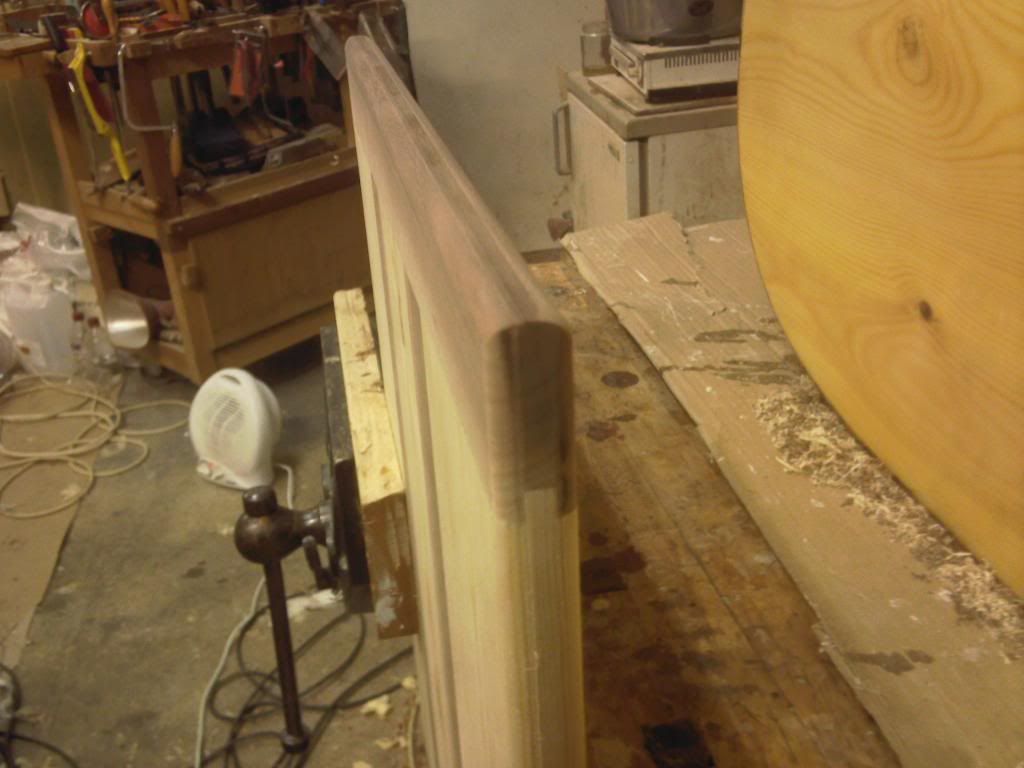
Then I gave them an orbital sand followed by a bit of hand sanding to take the point off each corner.
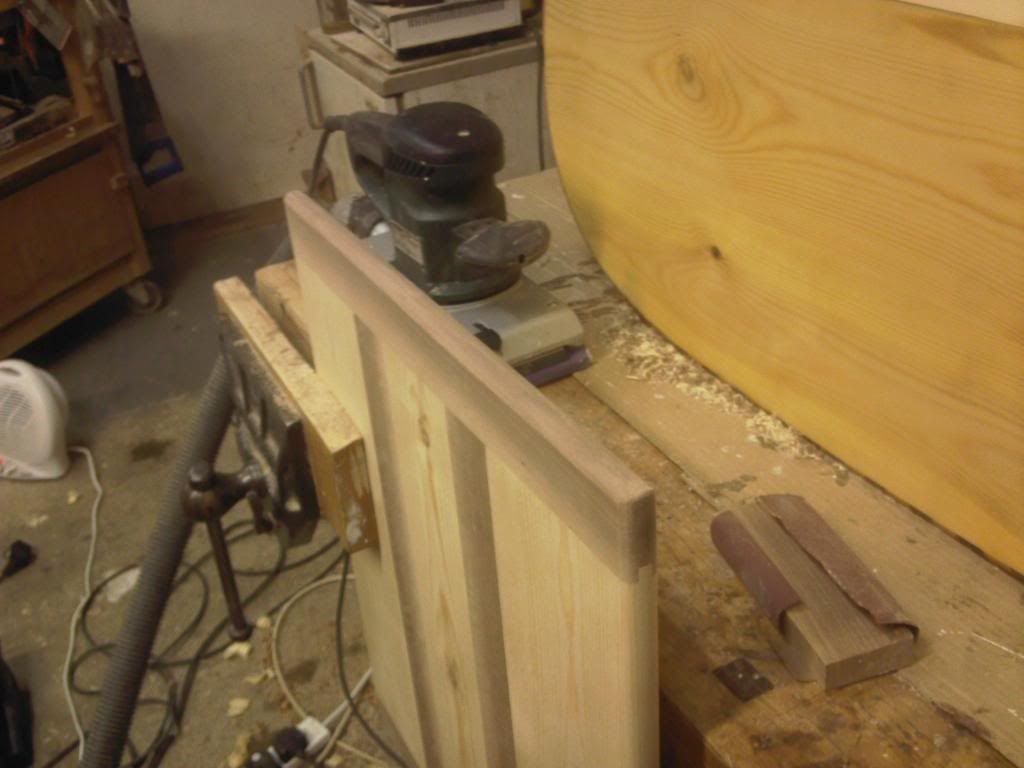
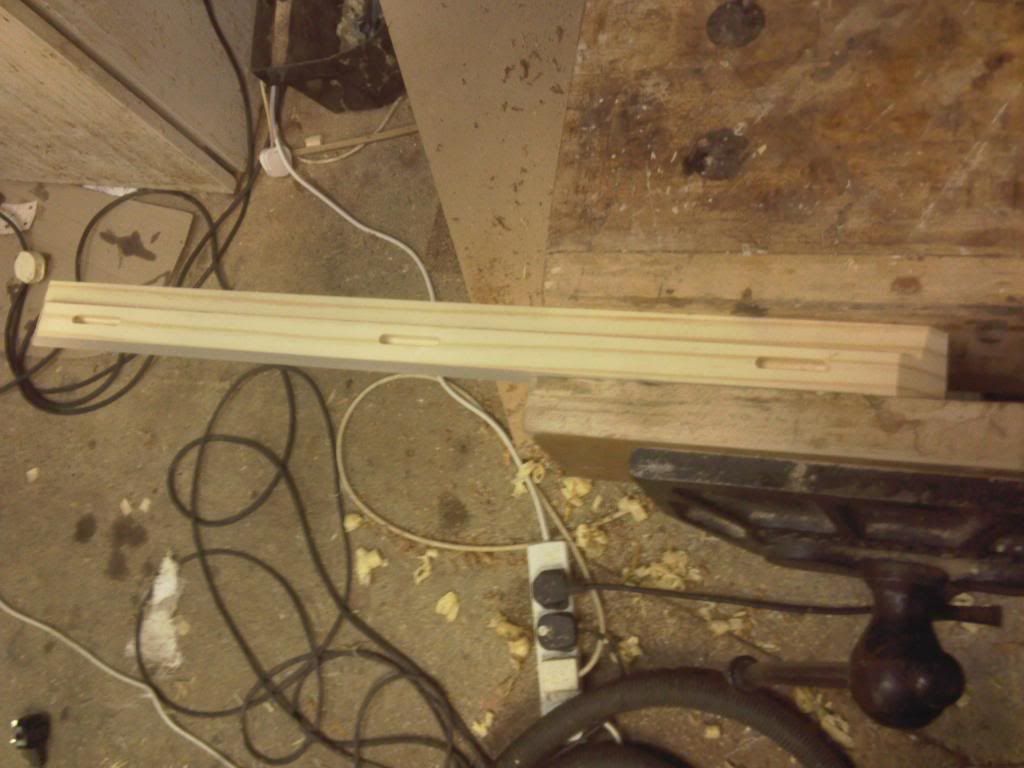
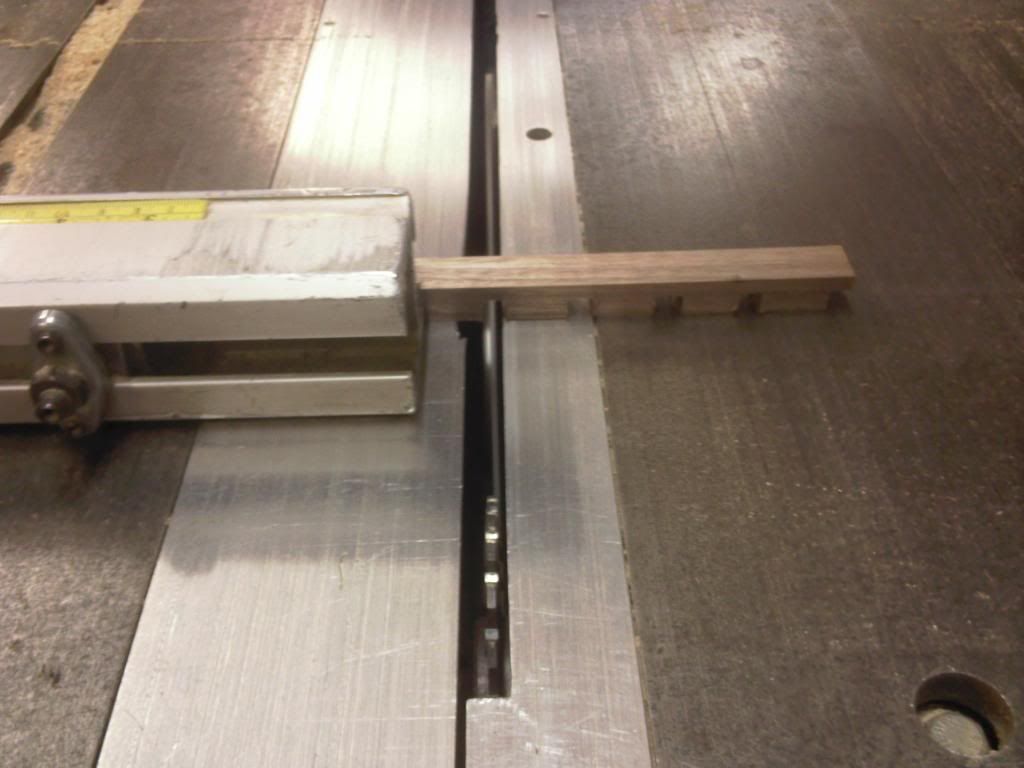
Then I routed some small slots in the lid lip pieces that will be used with buttons to fix the top.
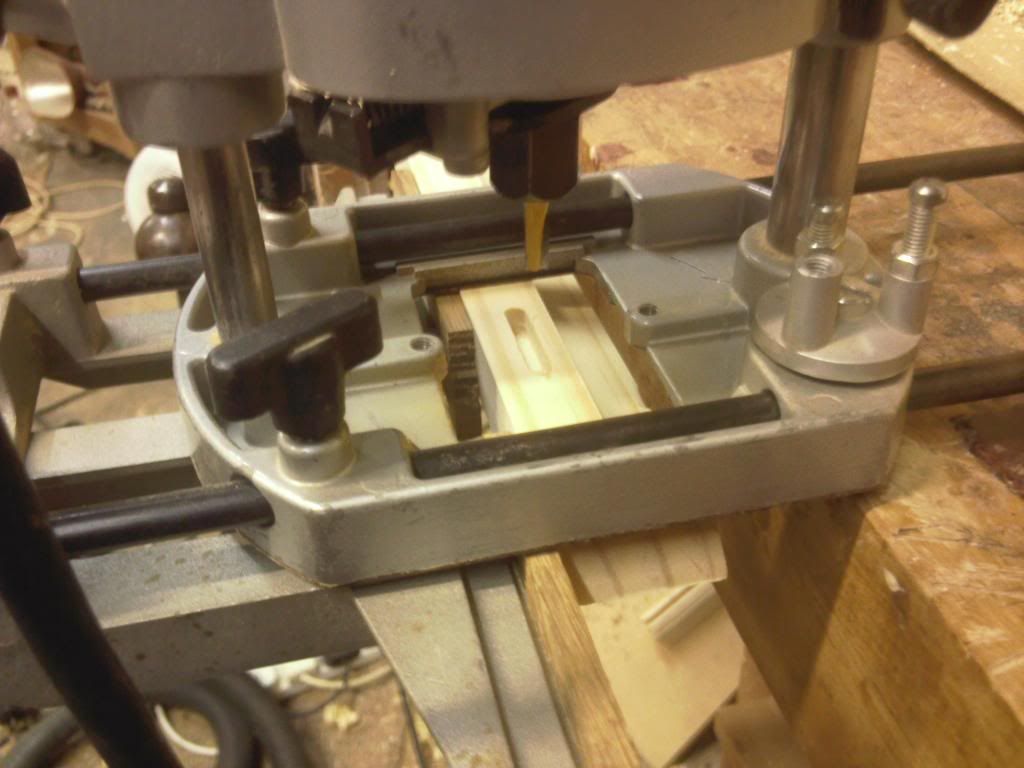
The spacing of them is not critical and they are about an inch long.
The inside surfaces of the lid edges were cleaned up and then I glued them up with PU glue.First I put them in place on the lip of the box with the strap around them ready but loose so I can get it on quickly once the glue is applied to the mitred ends of the lid pieces.

Then I applied the glue and strapped it up in place.

So that the glue doesn't stick it to the box edge I carefully removed it with the strap in place and left it to set on a flat surface.
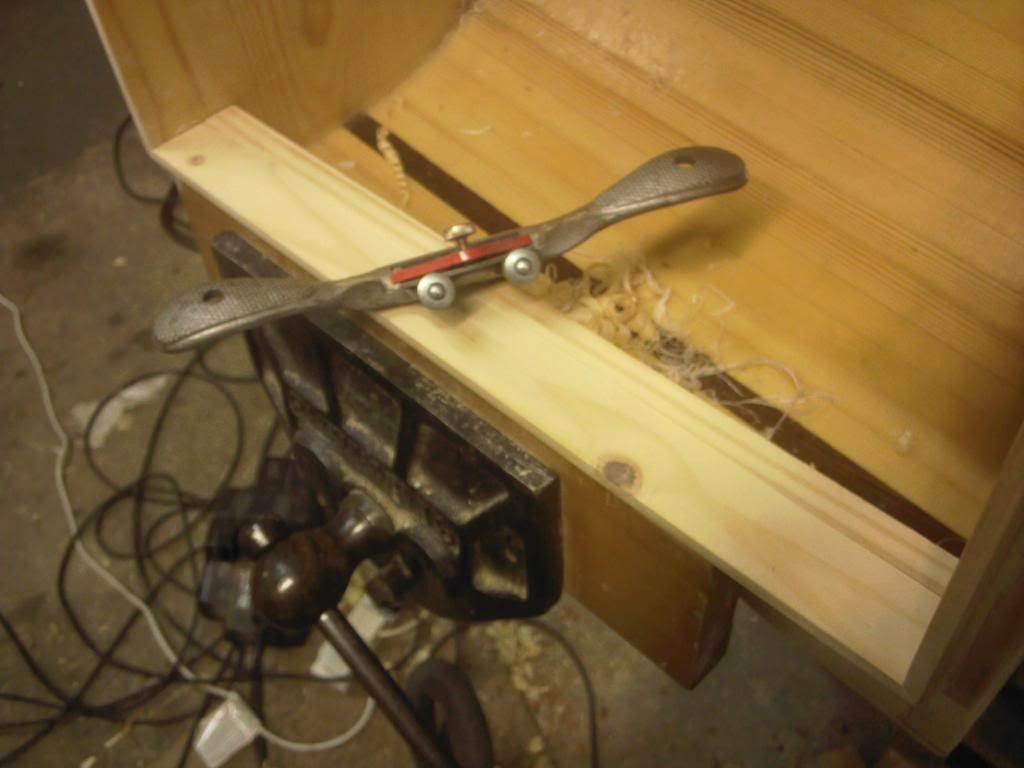
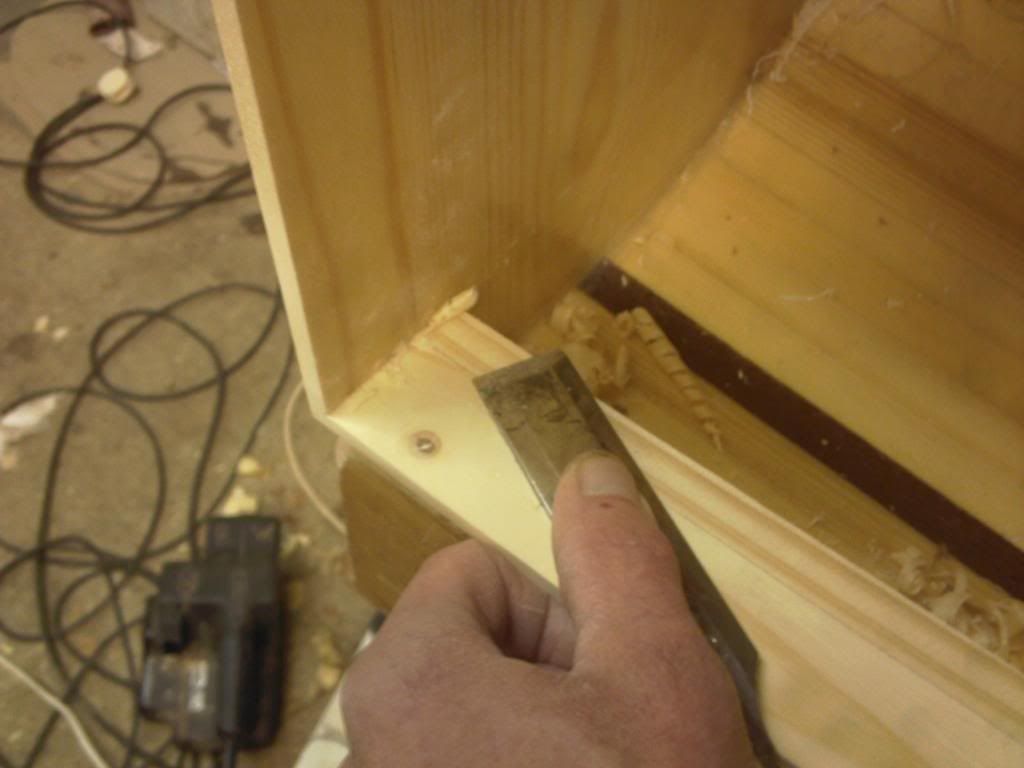
Whilst it set I cleaned up the inside of the box edges here I am using a spokeshave to make the inner edge flush before sanding.
The corners are taken down with a chisel.
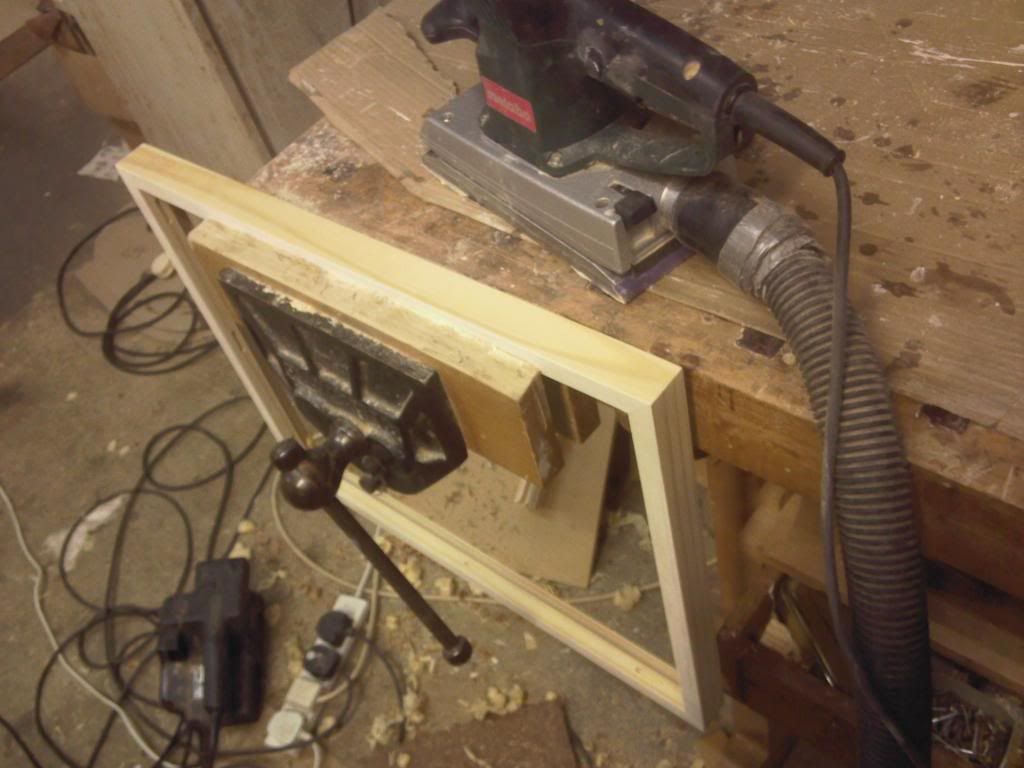
By the time I had done that the lid rim was set and ready to clean up.
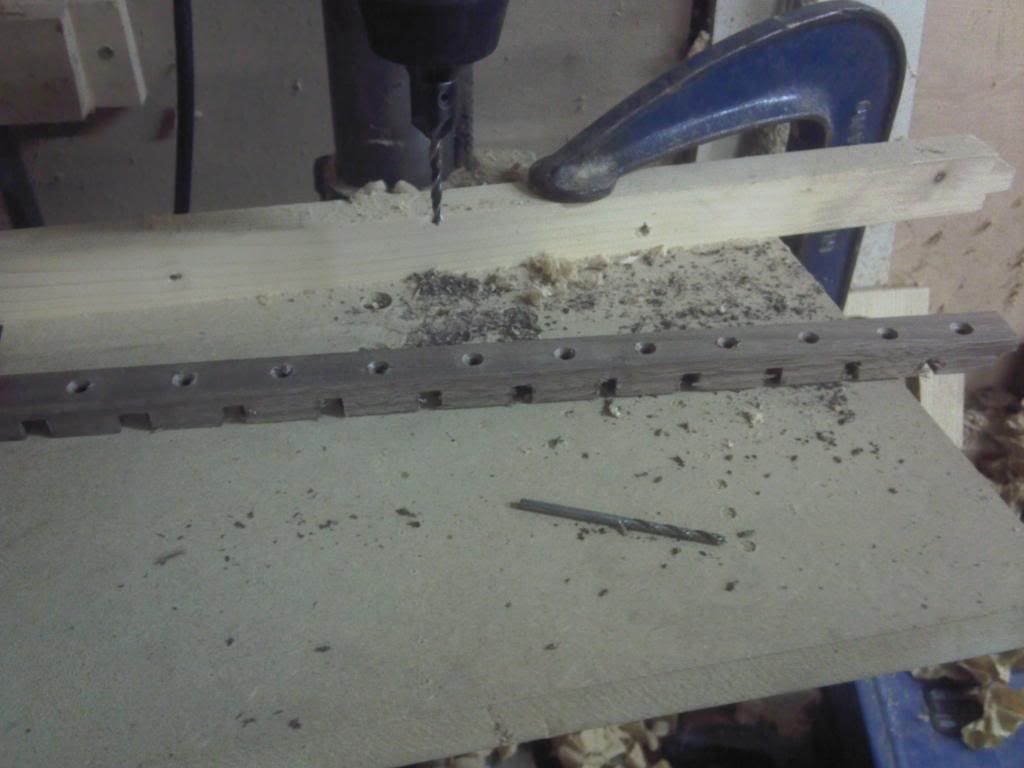
and I made up some buttons with a scrap of walnut.Here I am cutting out slots that will form the tongue of each button.
Next I drill them as it is easier than when they have been cut to length.
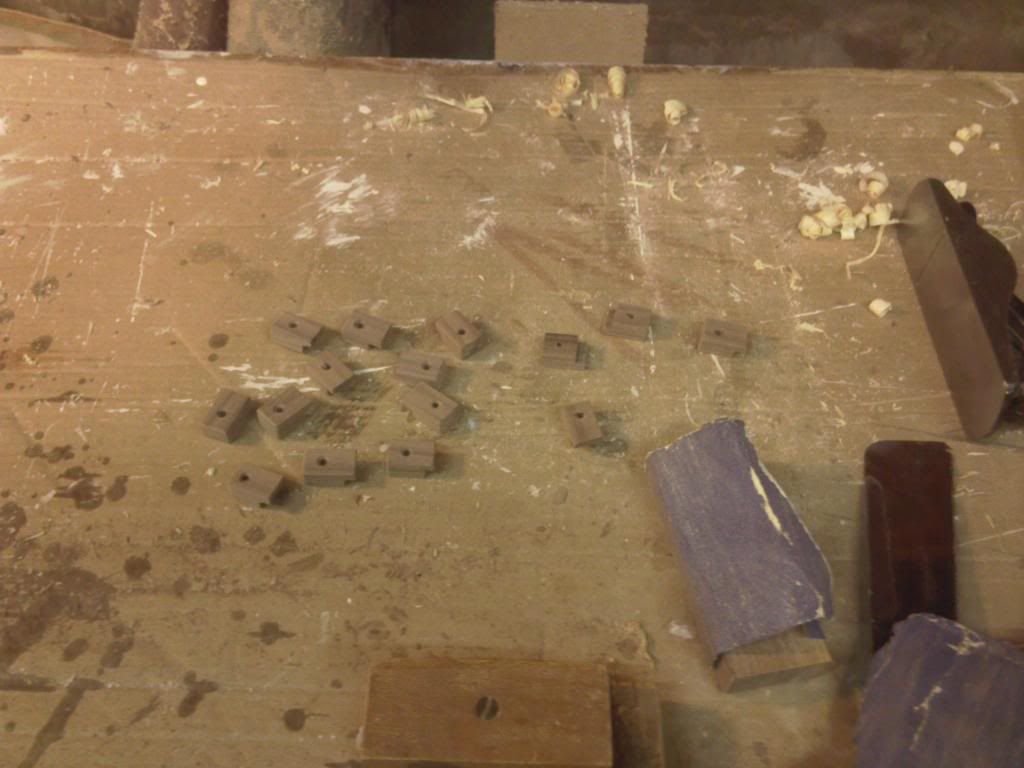
They are then sanded, cut to length and sanded on the cut ends.
This is how they will fit with screws through them into the lid.
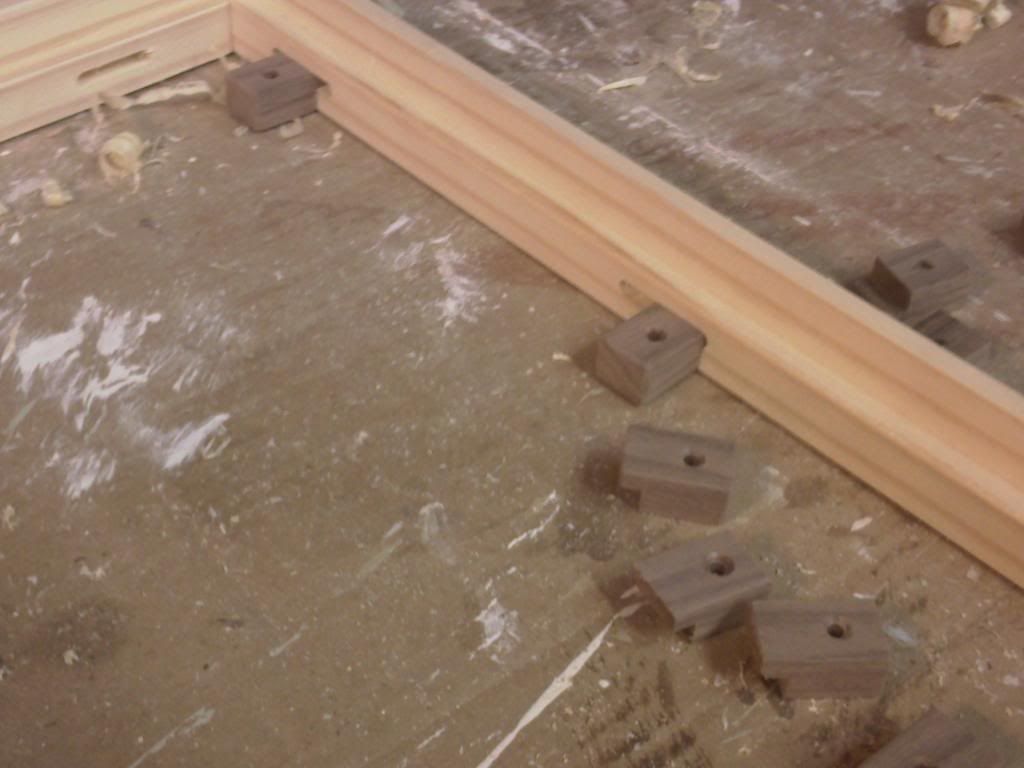
The point of all this is an important one and the reason why many table tops are fitted this way.These fixings will allow the wood of the top to shrink and move independently of the edges below it so it WON'T split but WILL stay flat against the frame below it.
Next I cleaned all the parts up and coated the top, lip and lid edges with resin.There is no need for cloth here and the resin is just to increase the durability and waterproofing of the lid.
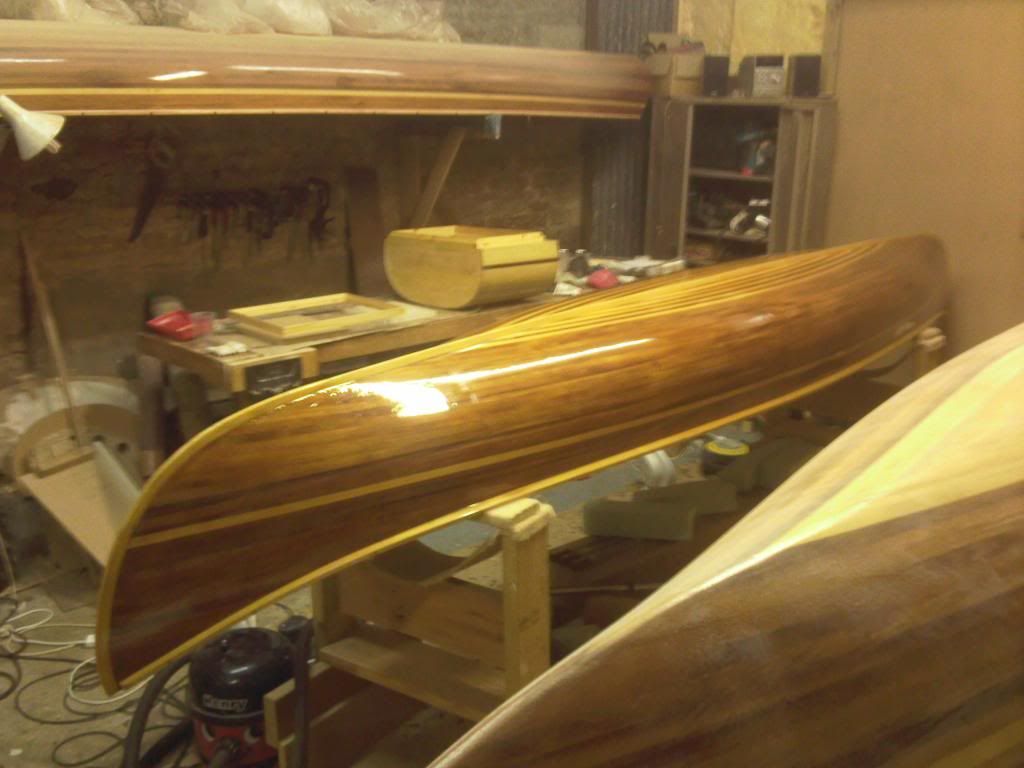
With that done I had time to give my boat a coat of varnish on its underside and then I left it all to dry.
Cheers

Alick


